Talk to an Expert
We will help you get your DNA Spaces dashboard up and running in no time.
Tell us how we can assist you?
Perform the following steps to turn on location updates in Meraki:
Go to Network-Wide -> Configure -> General in Meraki Dashboard.
Enable Analytics and Scanning API under “Location and scanning” section. “Add a Post URL” link will be visible now. 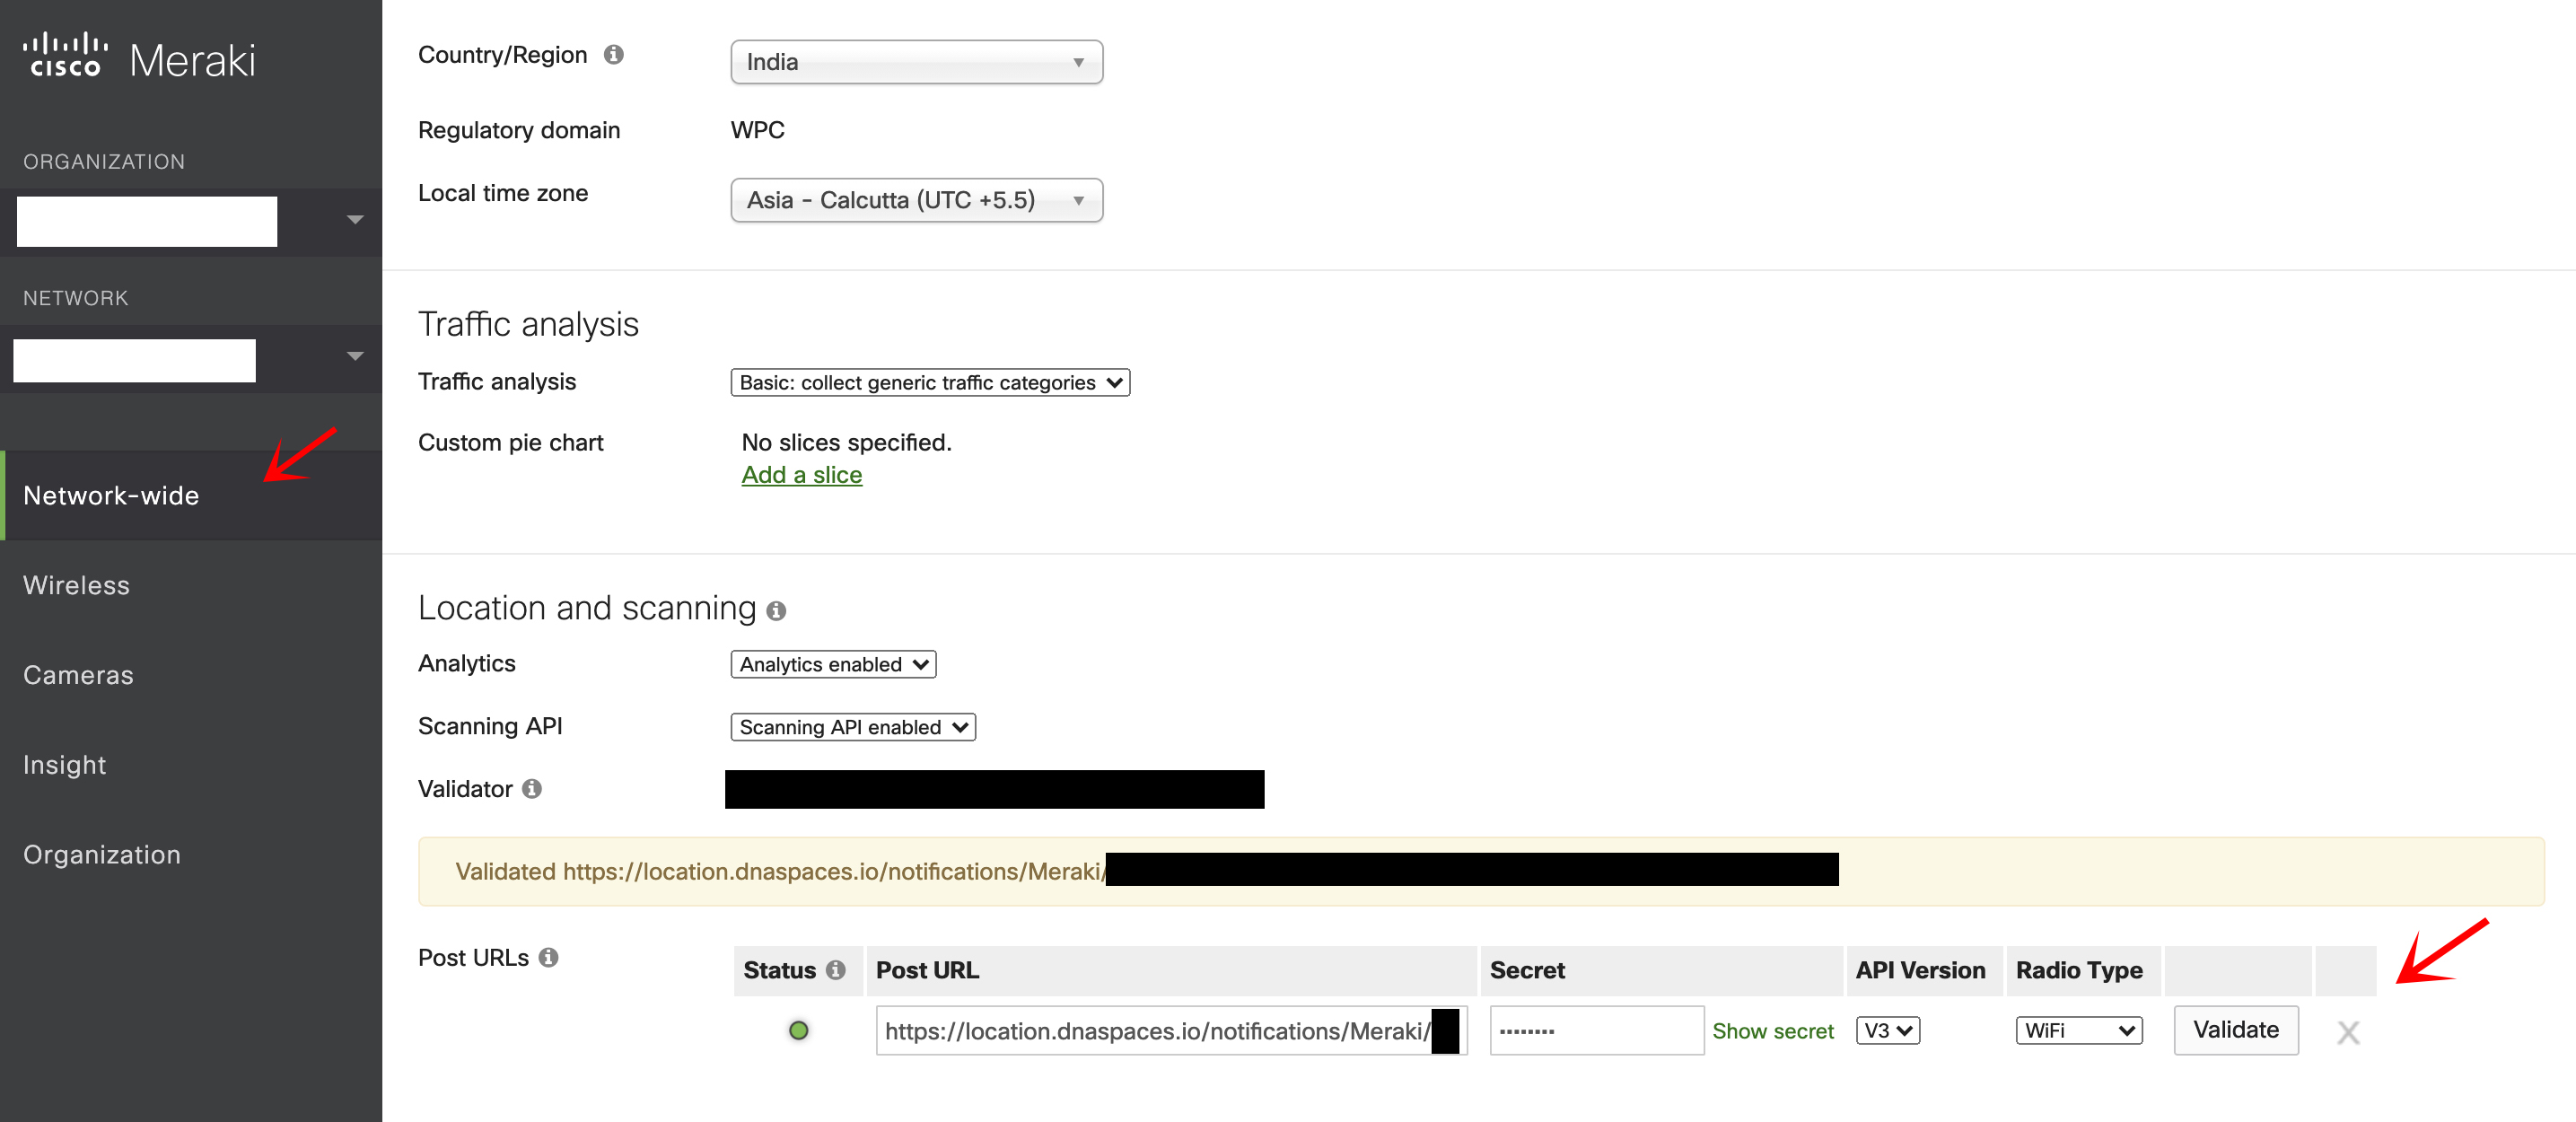
Click on “Add a Post URL” under the same section.
Configure under Post URLs.
Paste the following Post URL :
https://location.dnaspaces.io/notifications/Meraki/{yourdnaspacesname}/{network_id}/{url_validator}
Customers in Europe: https://location.dnaspaces.eu/notifications/Meraki/{yourdnaspacesname}/{network_id}/{url_validator}
Customers in Singapore:
https://location.ciscospaces.sg/notifications/Meraki/spacessgescaltionteam/{network_id}/{URLValidator}
Secret : {yourdnaspacesname} API Version : 3.0
Click on Save to update the settings.
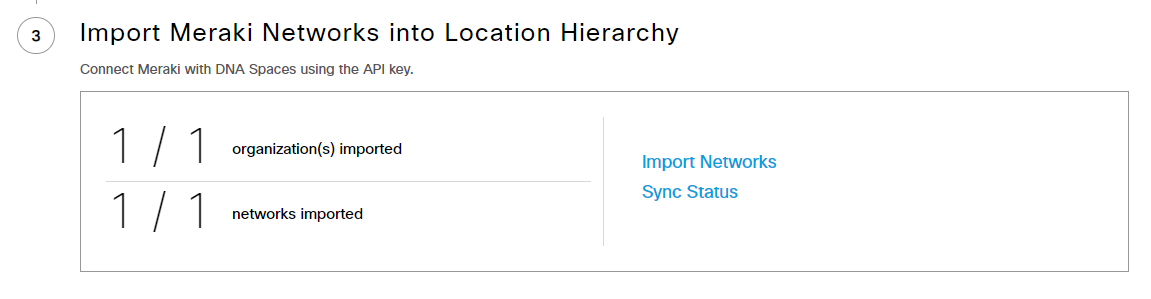
Login into Cisco Spaces account and Import networks
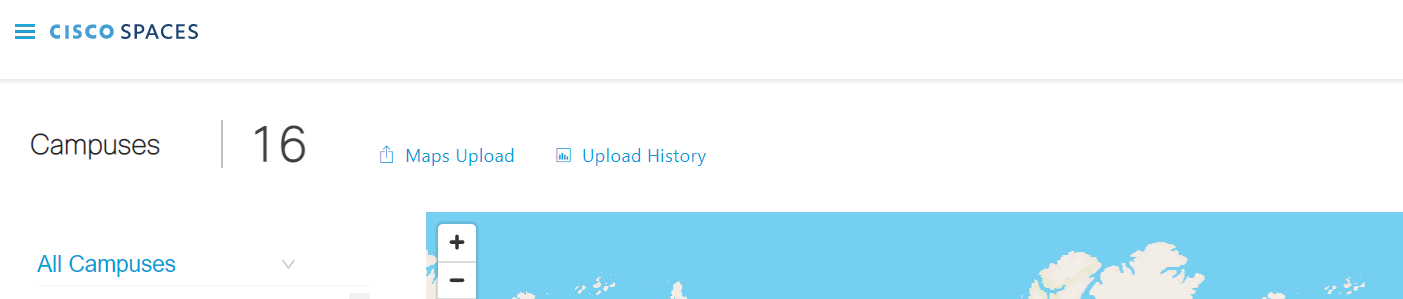
Note: After adding Meraki networks into the Location Hierarchy, any maps that have been created within your Meraki dashboard will automatically be imported into the Cisco Spaces Map Services. You can validate that the import was successful by navigating to the Map Service and checking the “Upload History”.
Menu > Setup > Map Service > Upload History