Talk to an Expert
We will help you get your DNA Spaces dashboard up and running in no time.
Tell us how we can assist you?
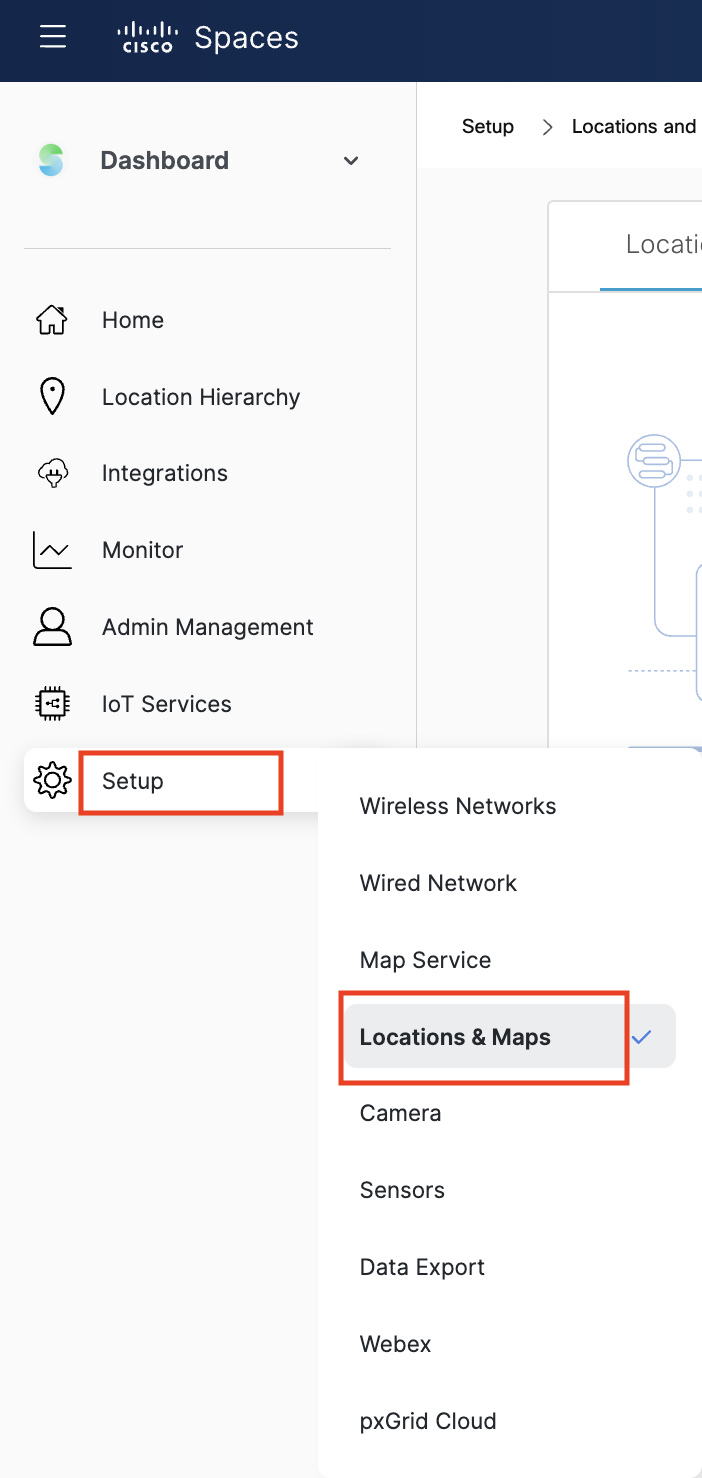
Login to the Cisco Spaces dashboard click the Menu icon and Navigate to Setup > Locations & Maps
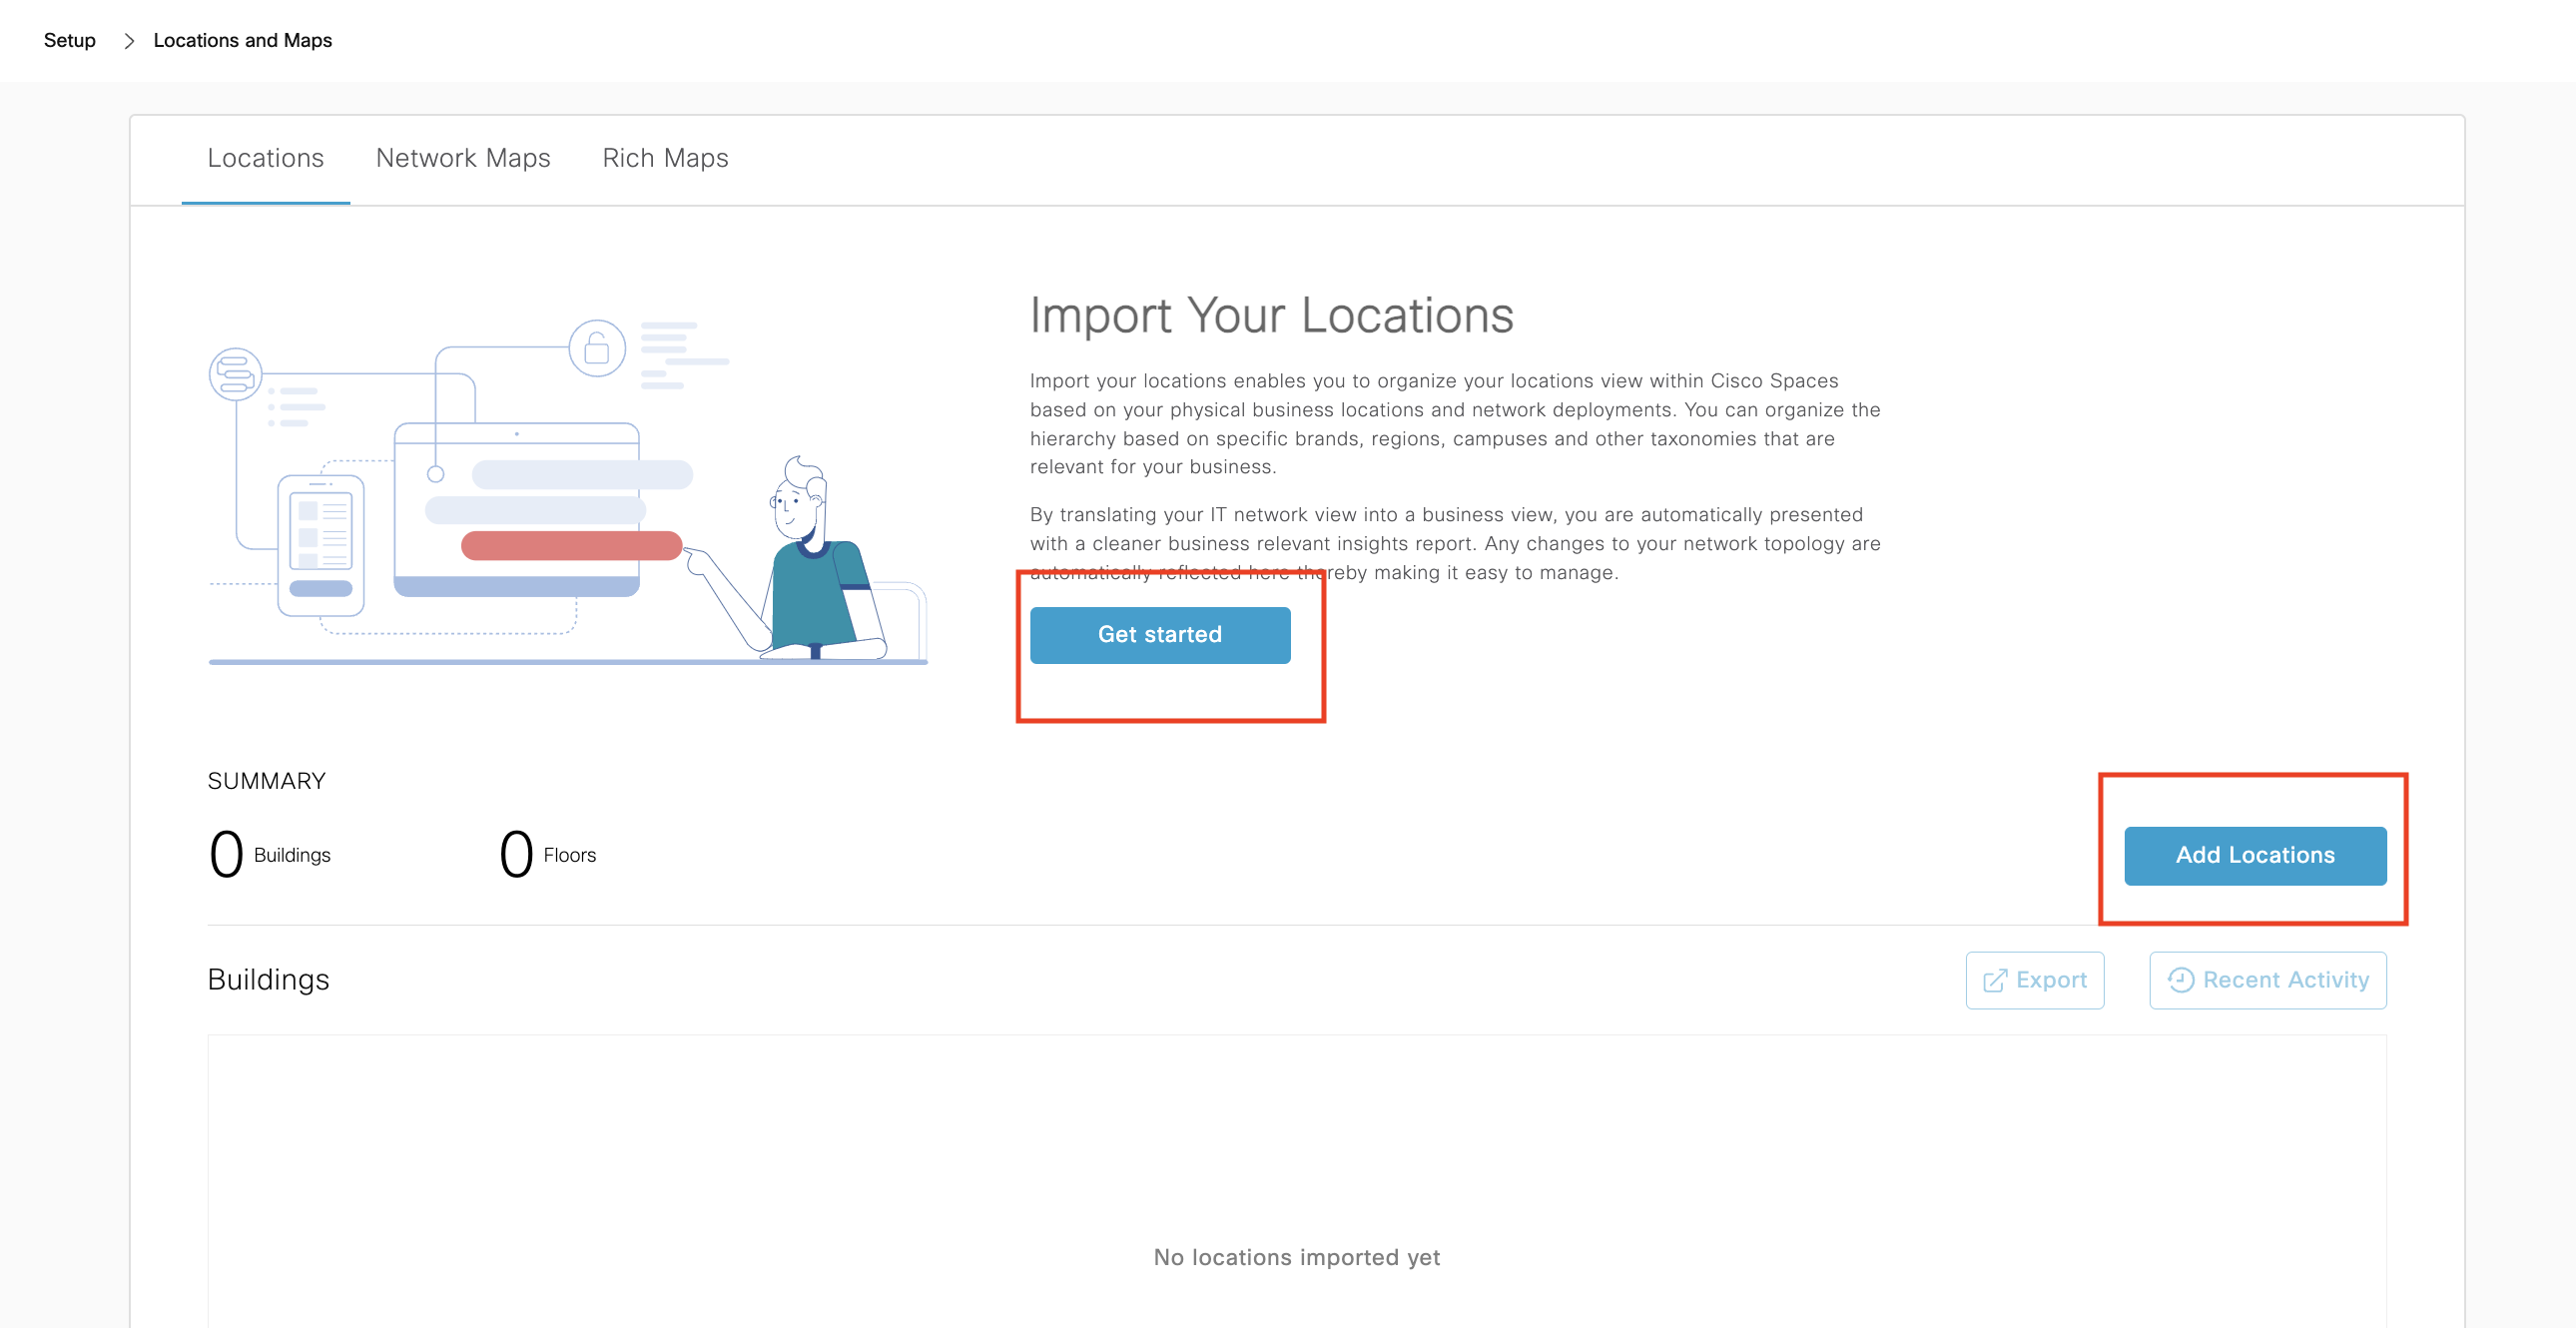
If you do not have any locations in your location hierarchy then your view under Setup > Locations & Maps will look like the following image.
Select ‘Get Started’ or ‘Add Locations’ to import locations
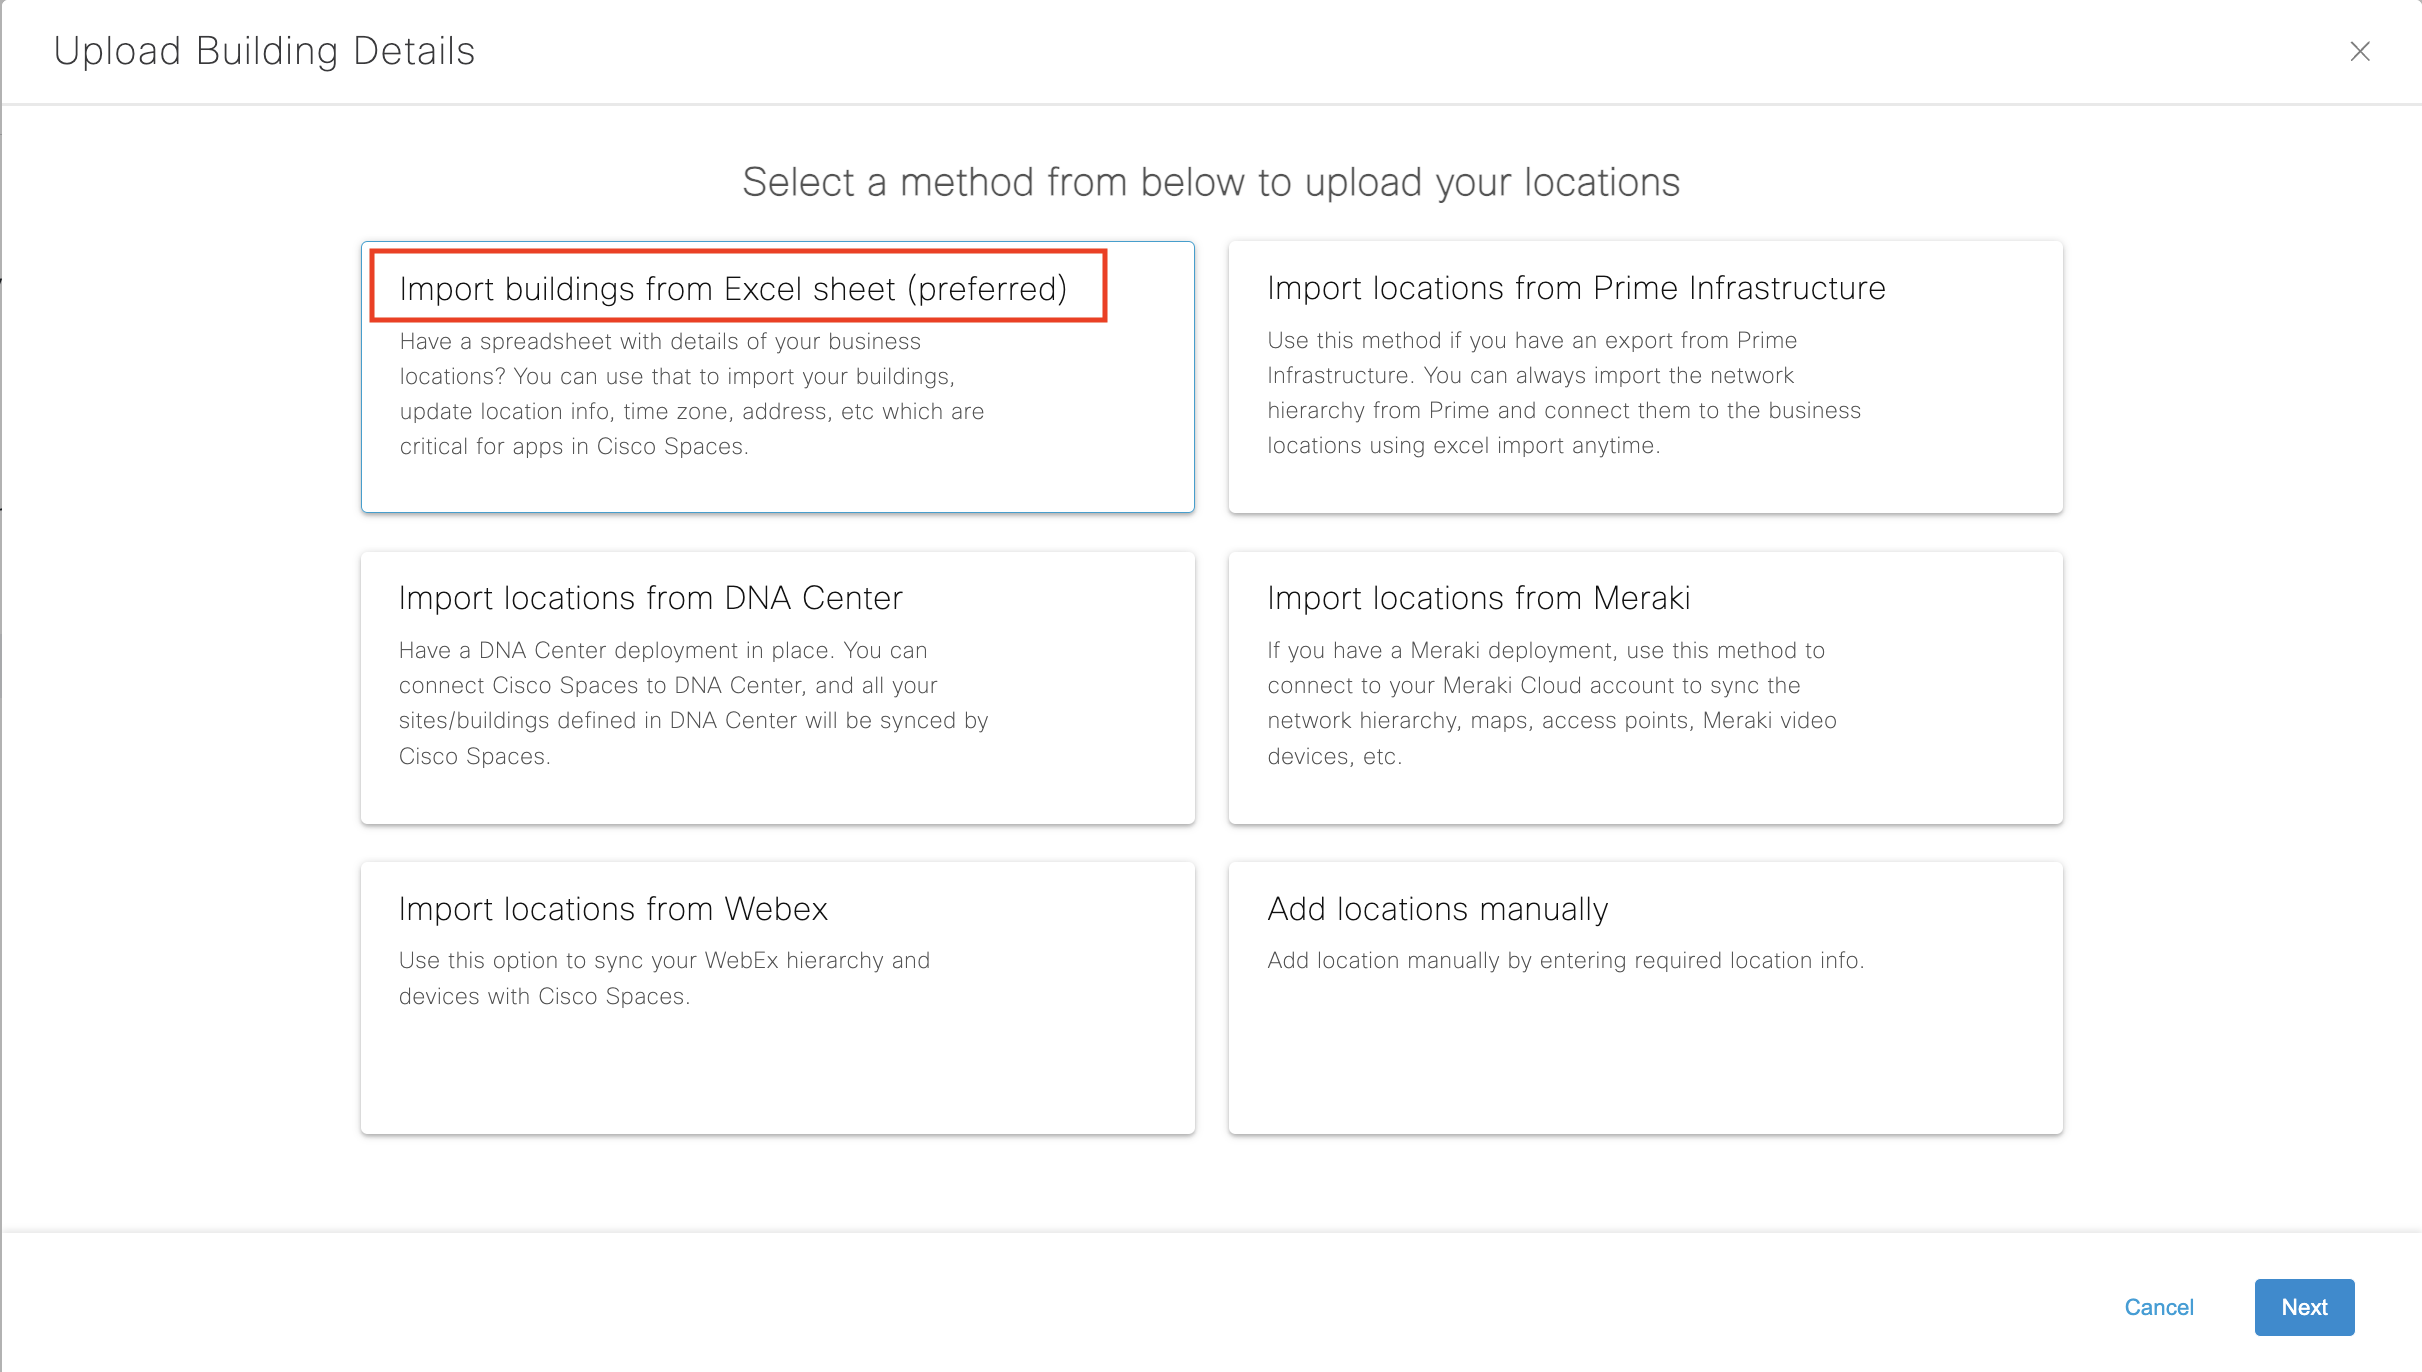
Select ‘Import buildings from Excel sheet’ and Click “Next”
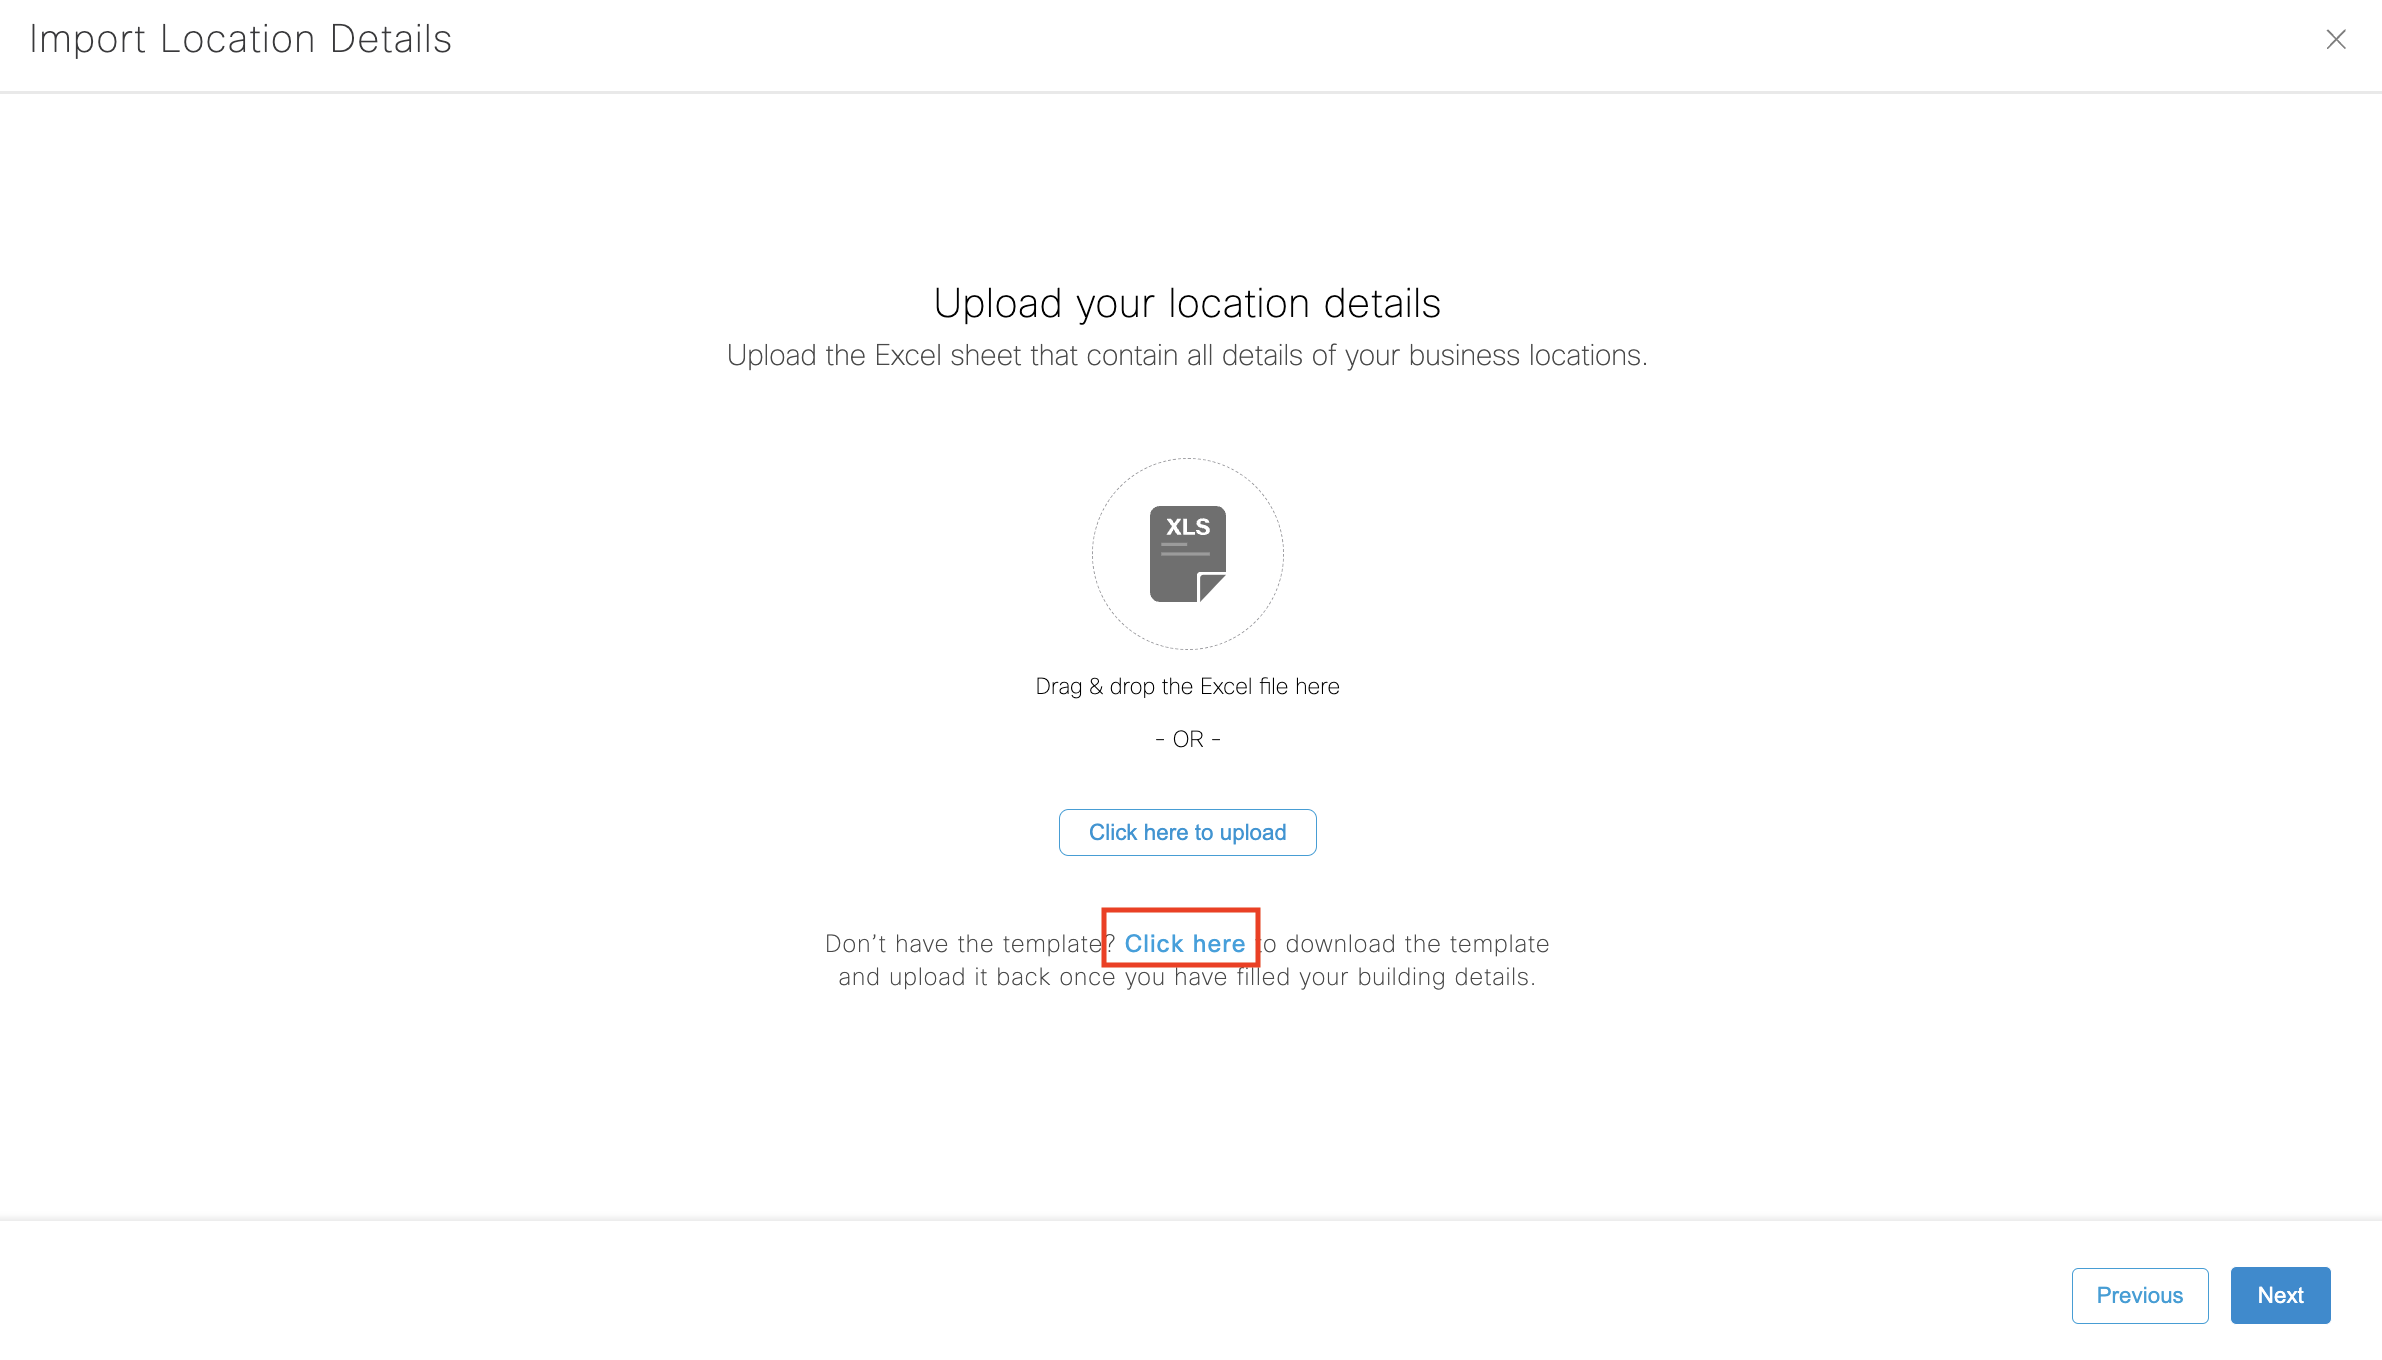
Select ‘Click here’ to download the Excel template that will be used to build the new hierarchy
Fill in the location info in the Excel template – refer to the image below for details on the Excel template items.

Once the Excel sheet is ready with the required data Click on ‘Click here to upload’ to upload the file and Select “Next”

Cross-check if the columns imported match the mapped data. Tag the columns with appropriate data based on your Excel sheet wherever needed.

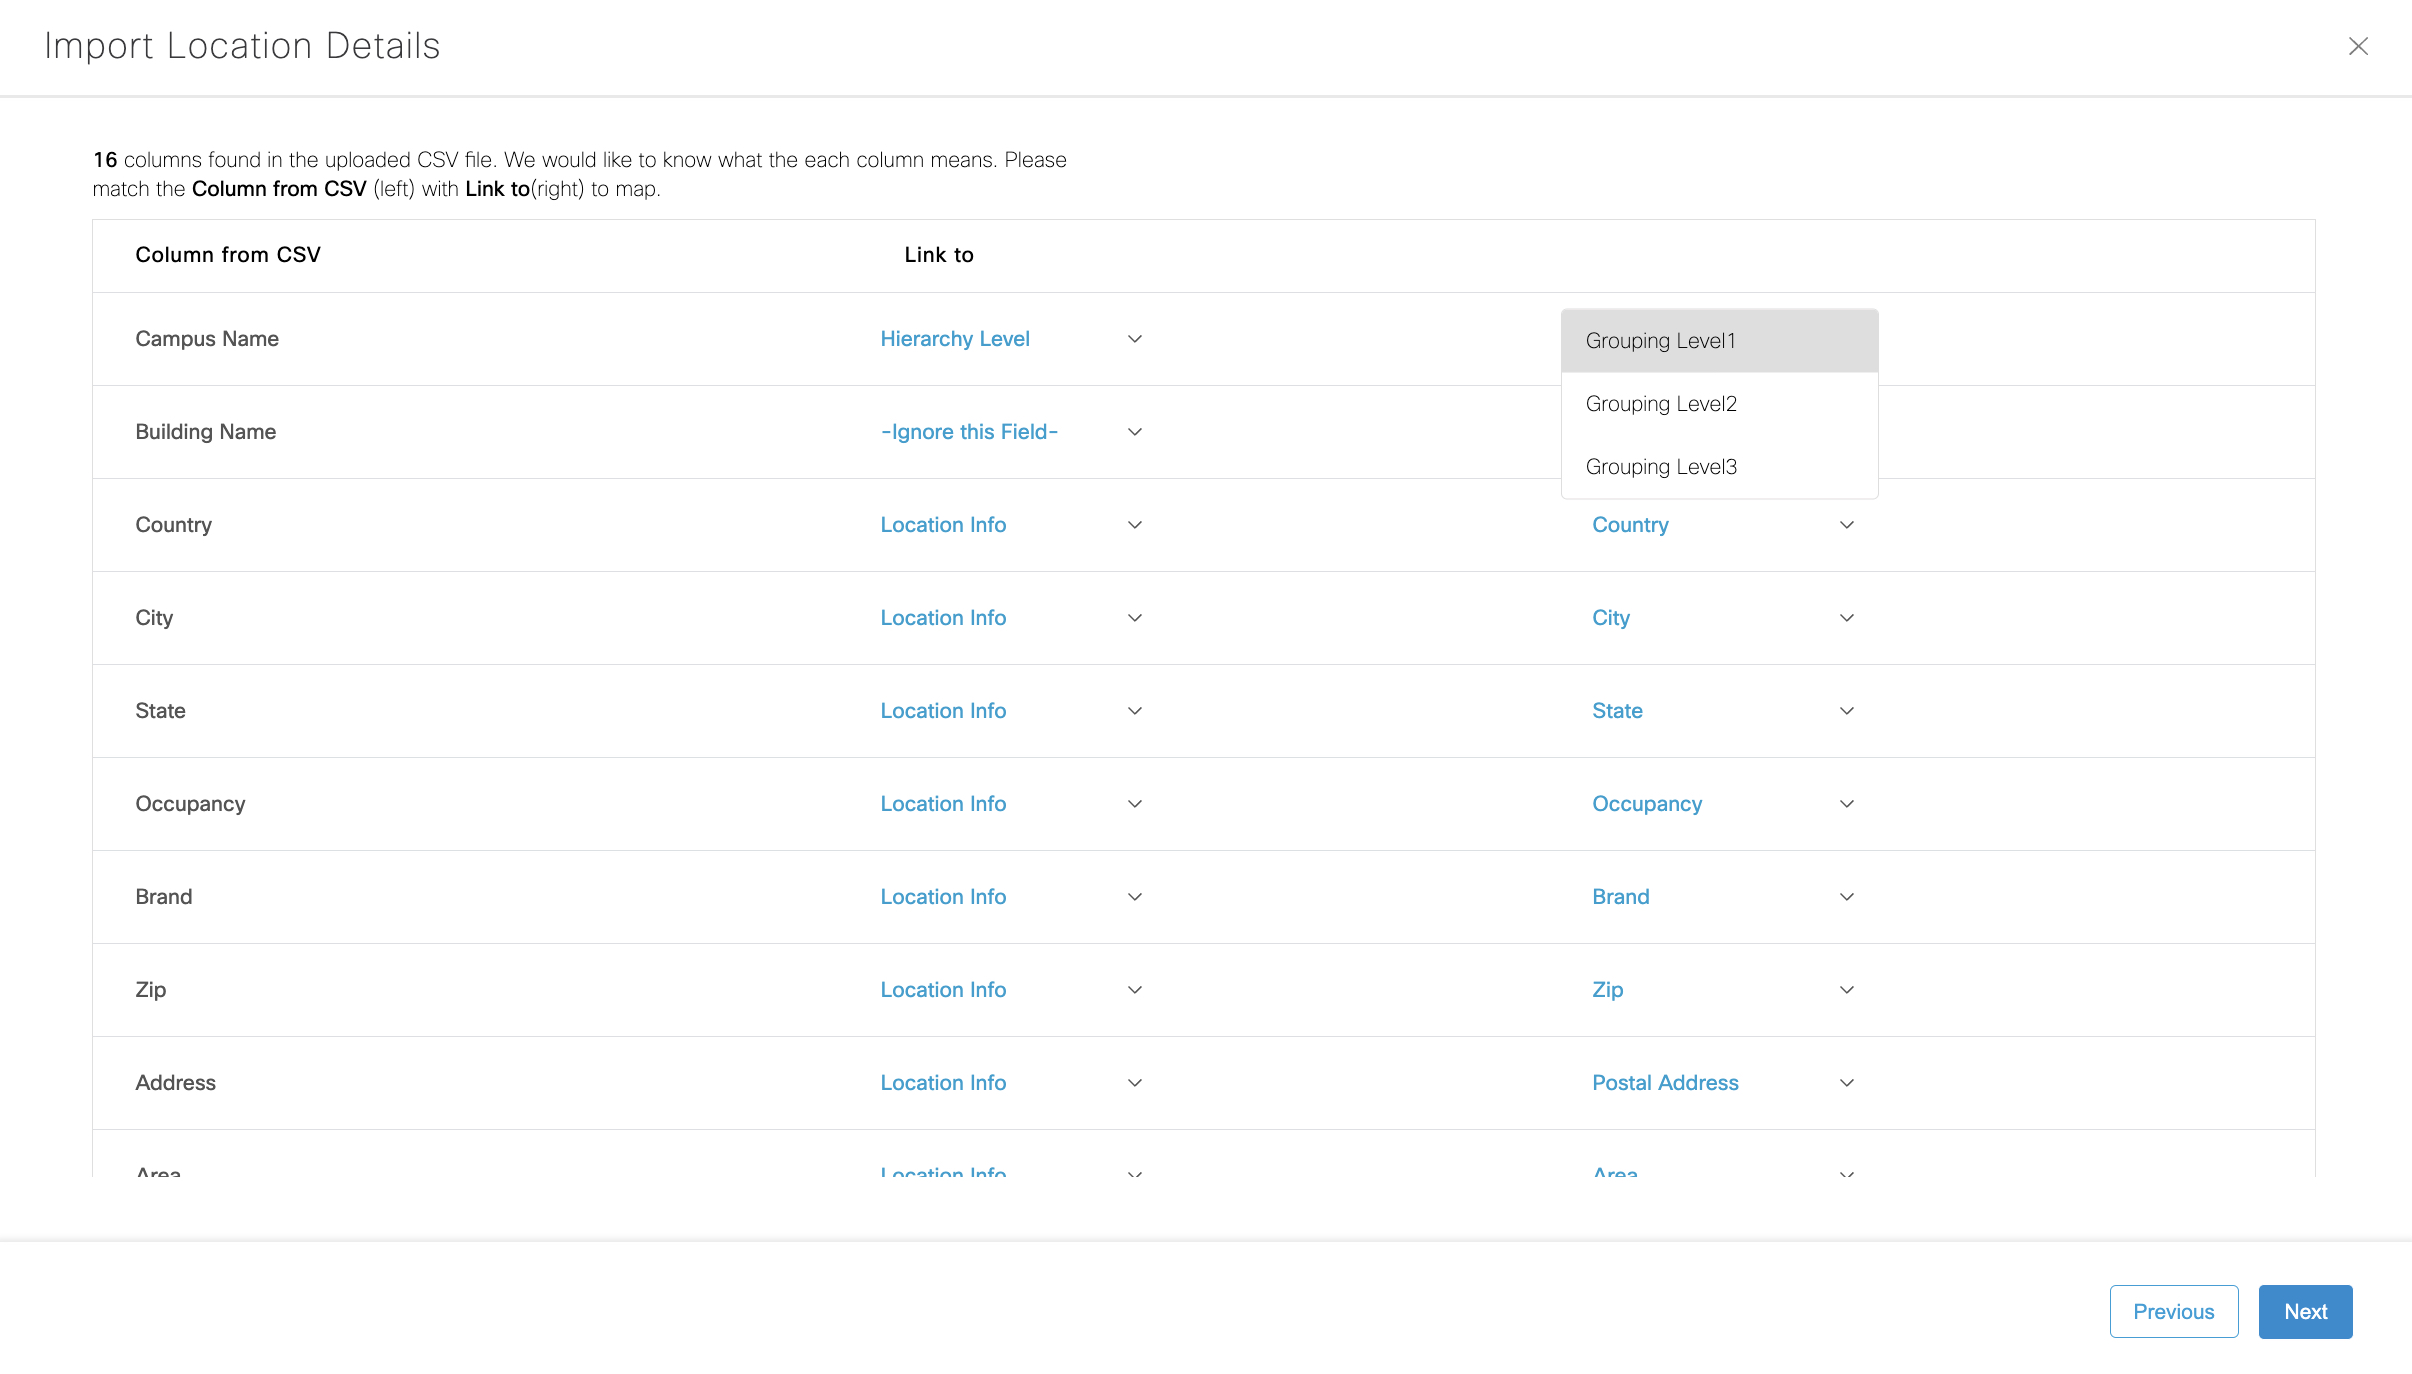
Once the data is mapped correctly Click “Next” to proceed
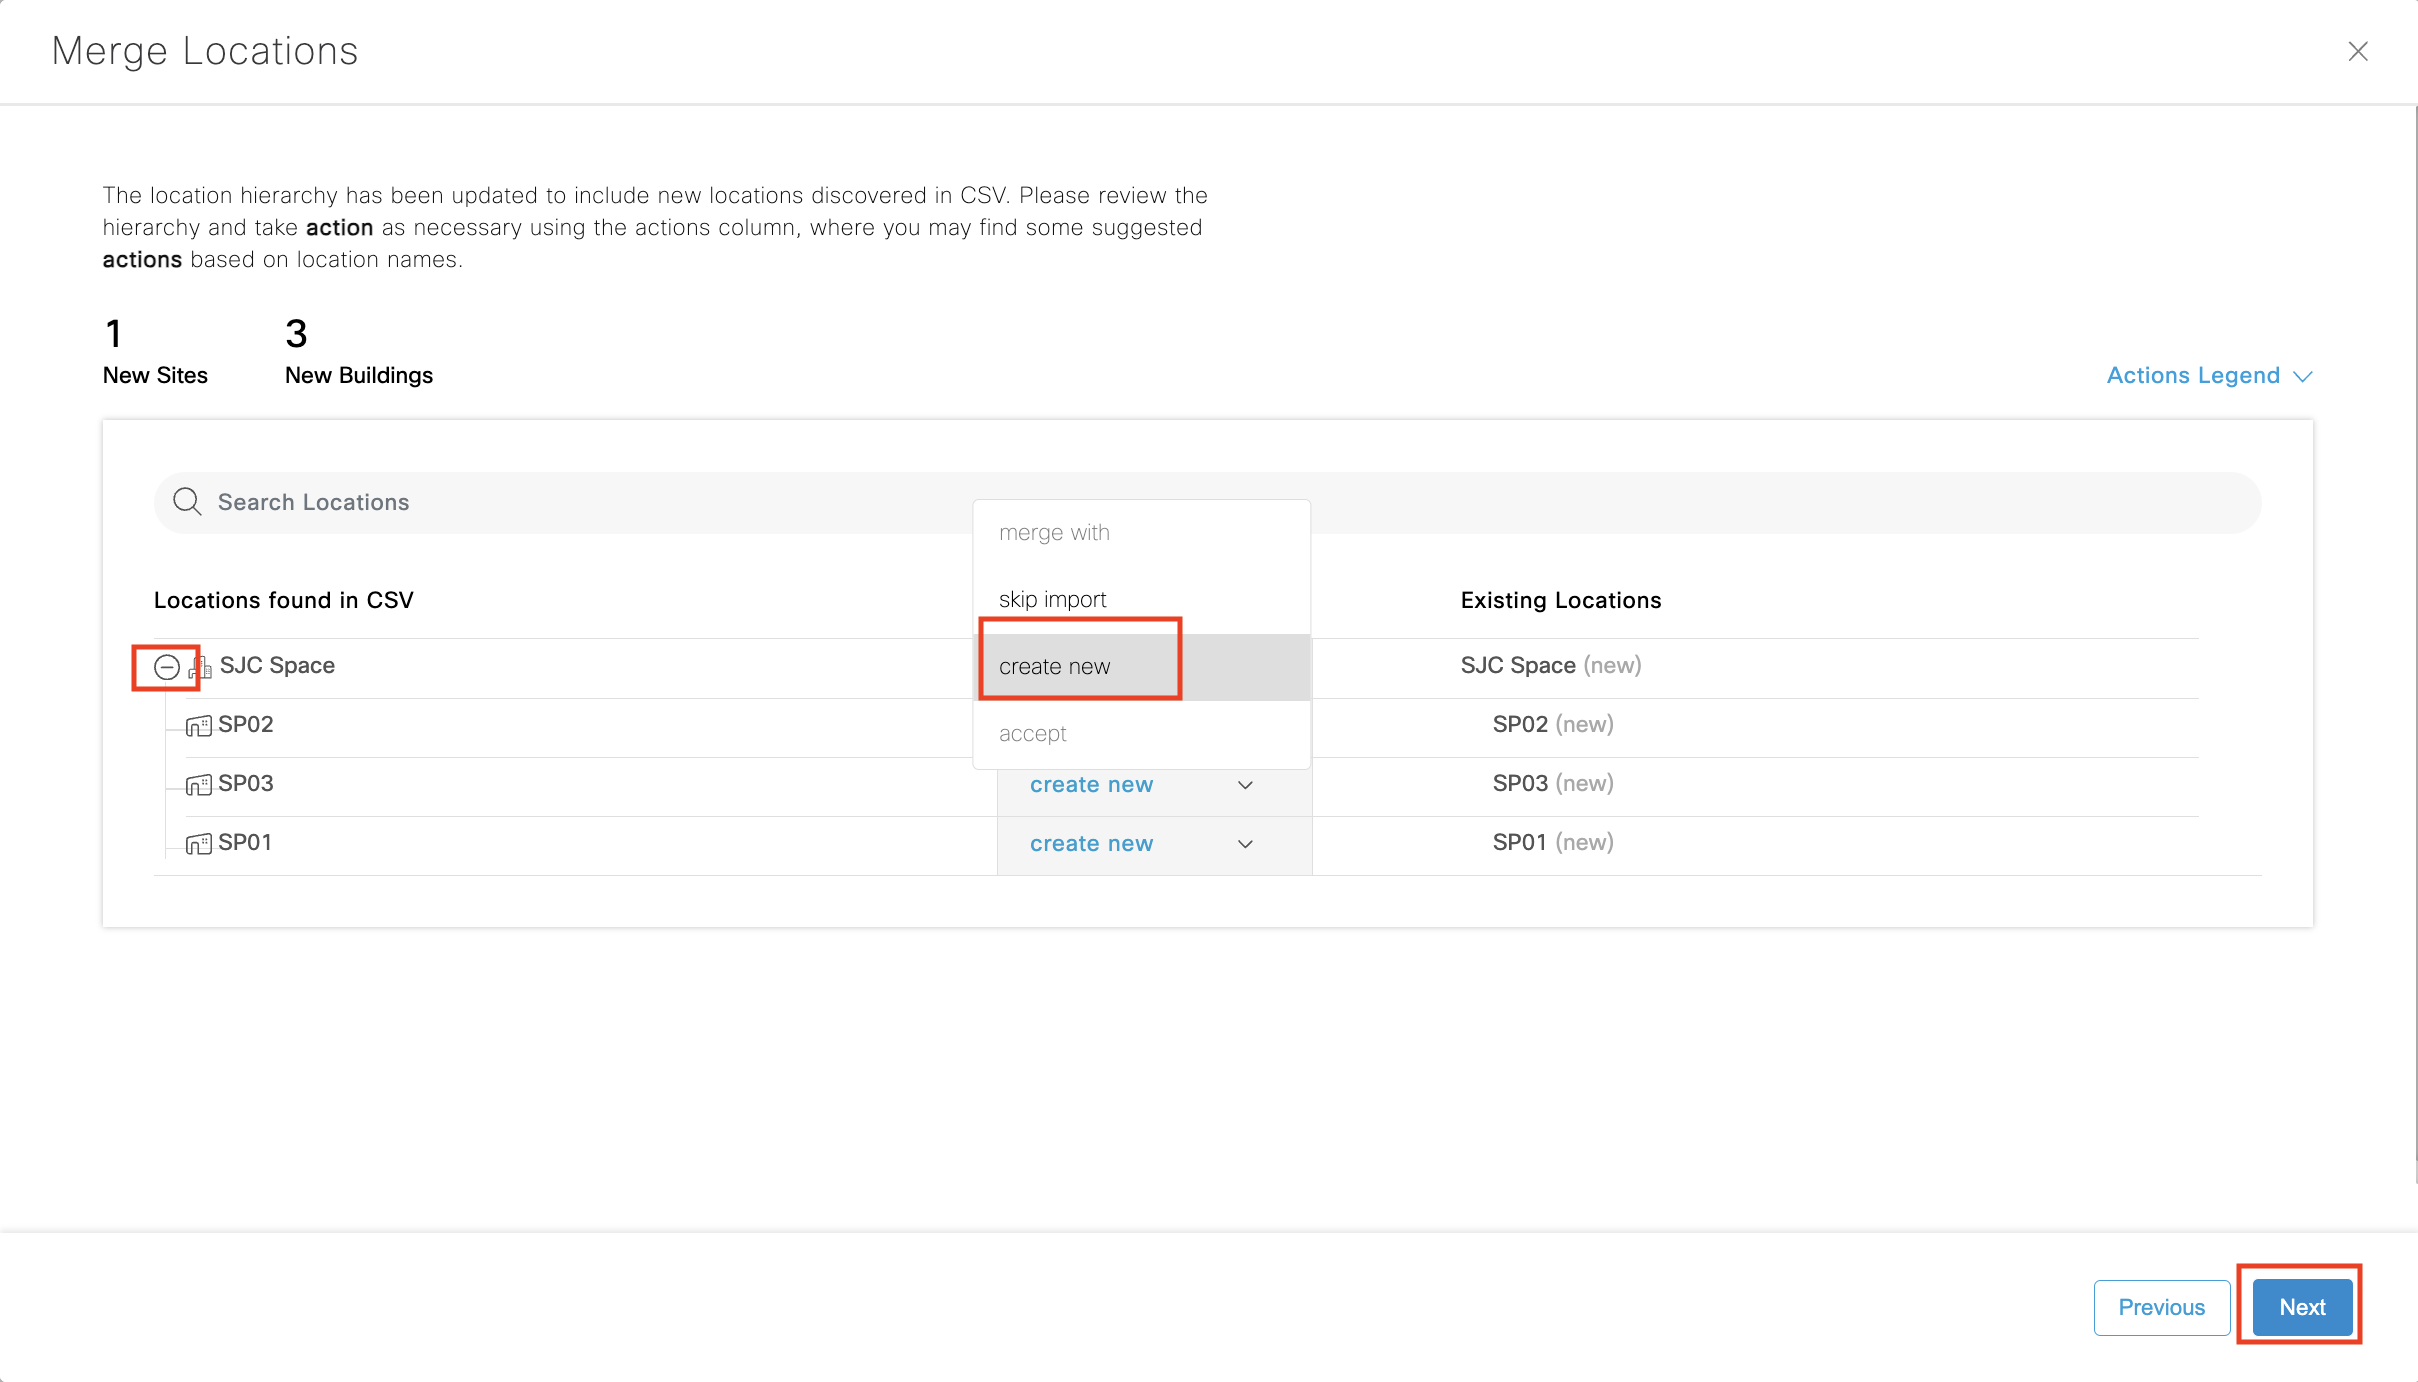
Since it is a new location we shall keep it as ‘create as new’ and click “Next”
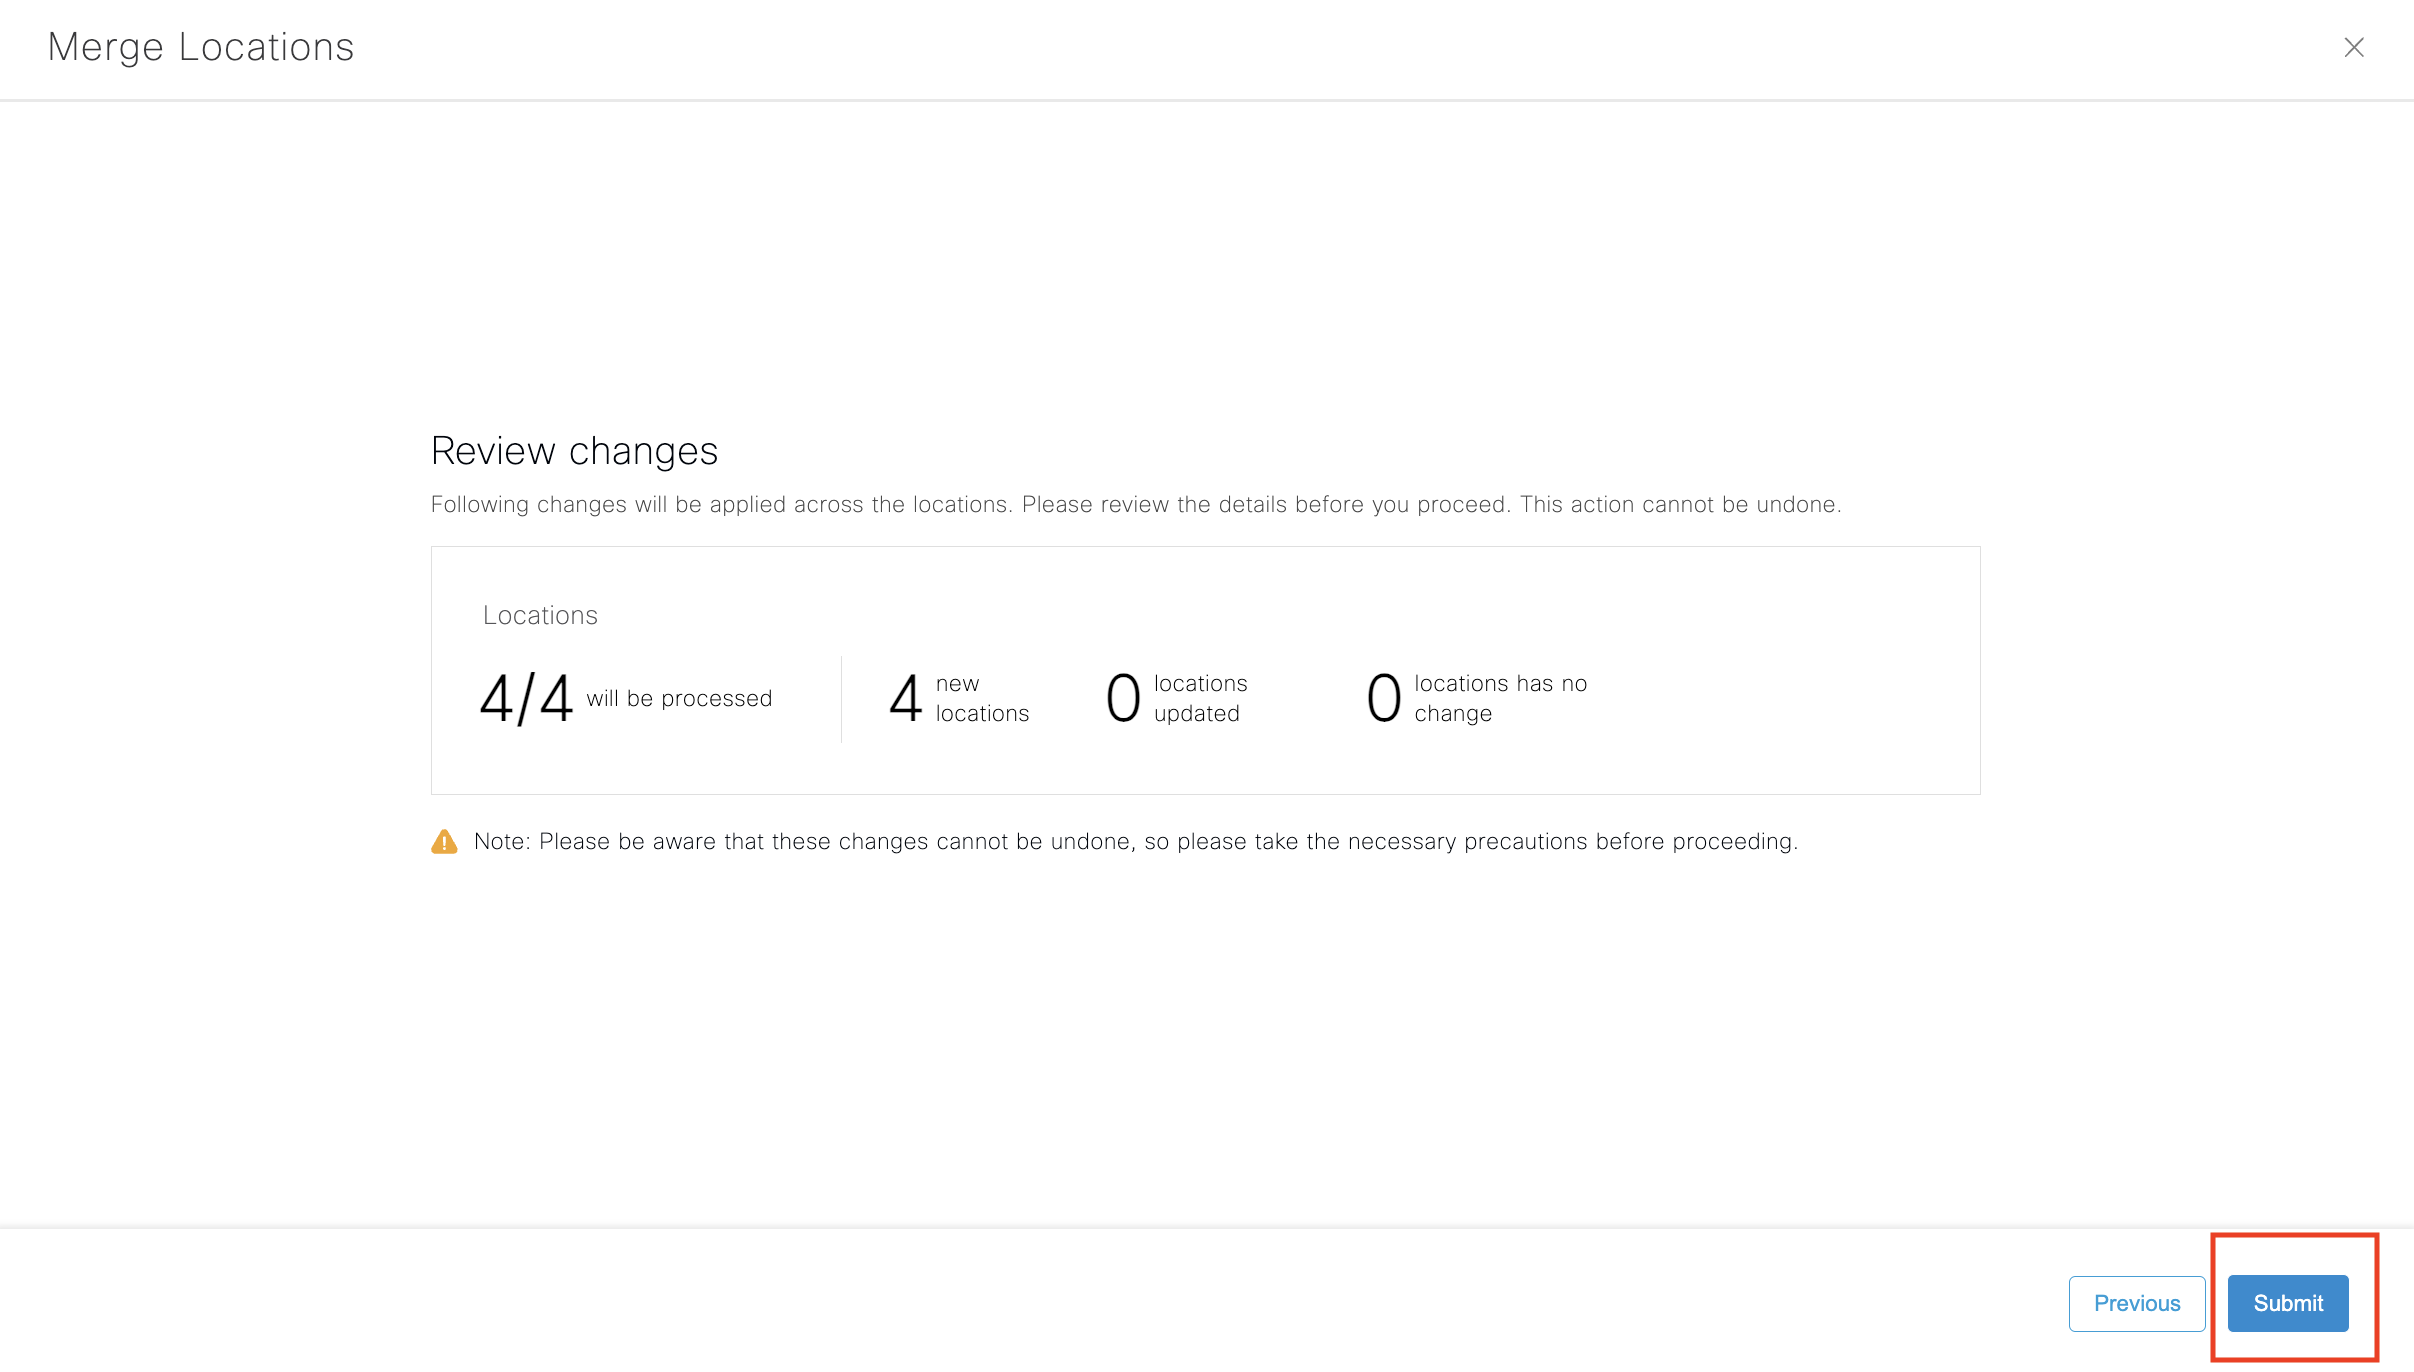
Review changes and Click “Submit”
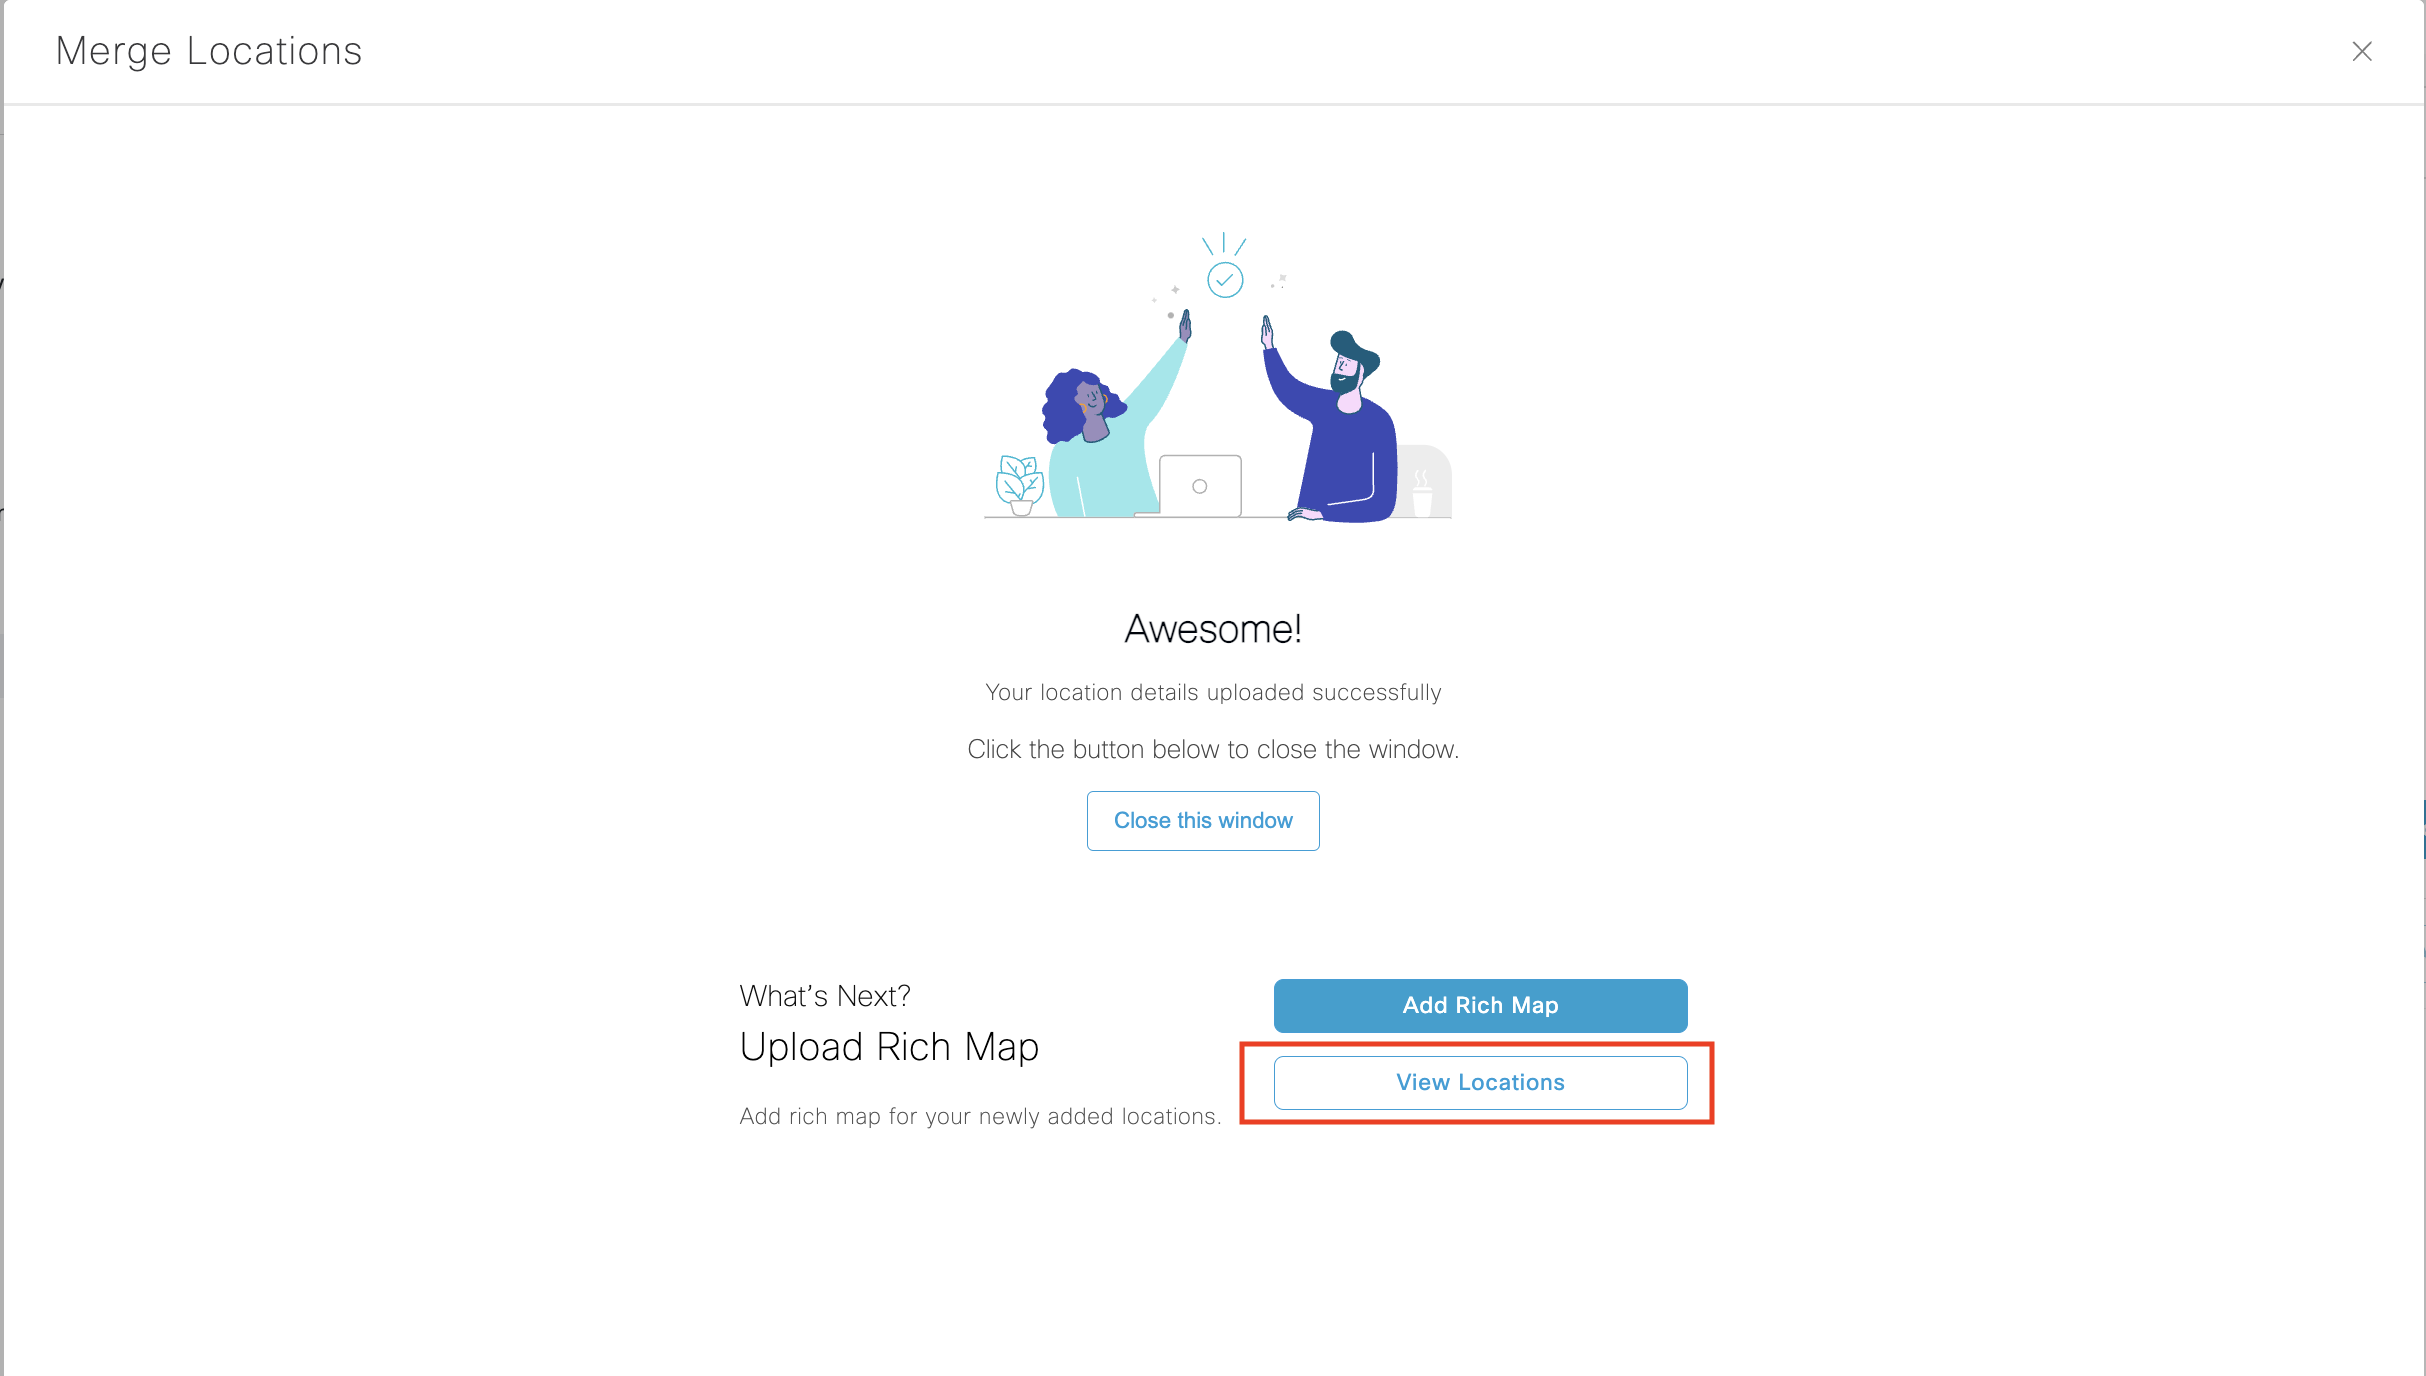
Once the location details have been added successfully Select “View Locations”
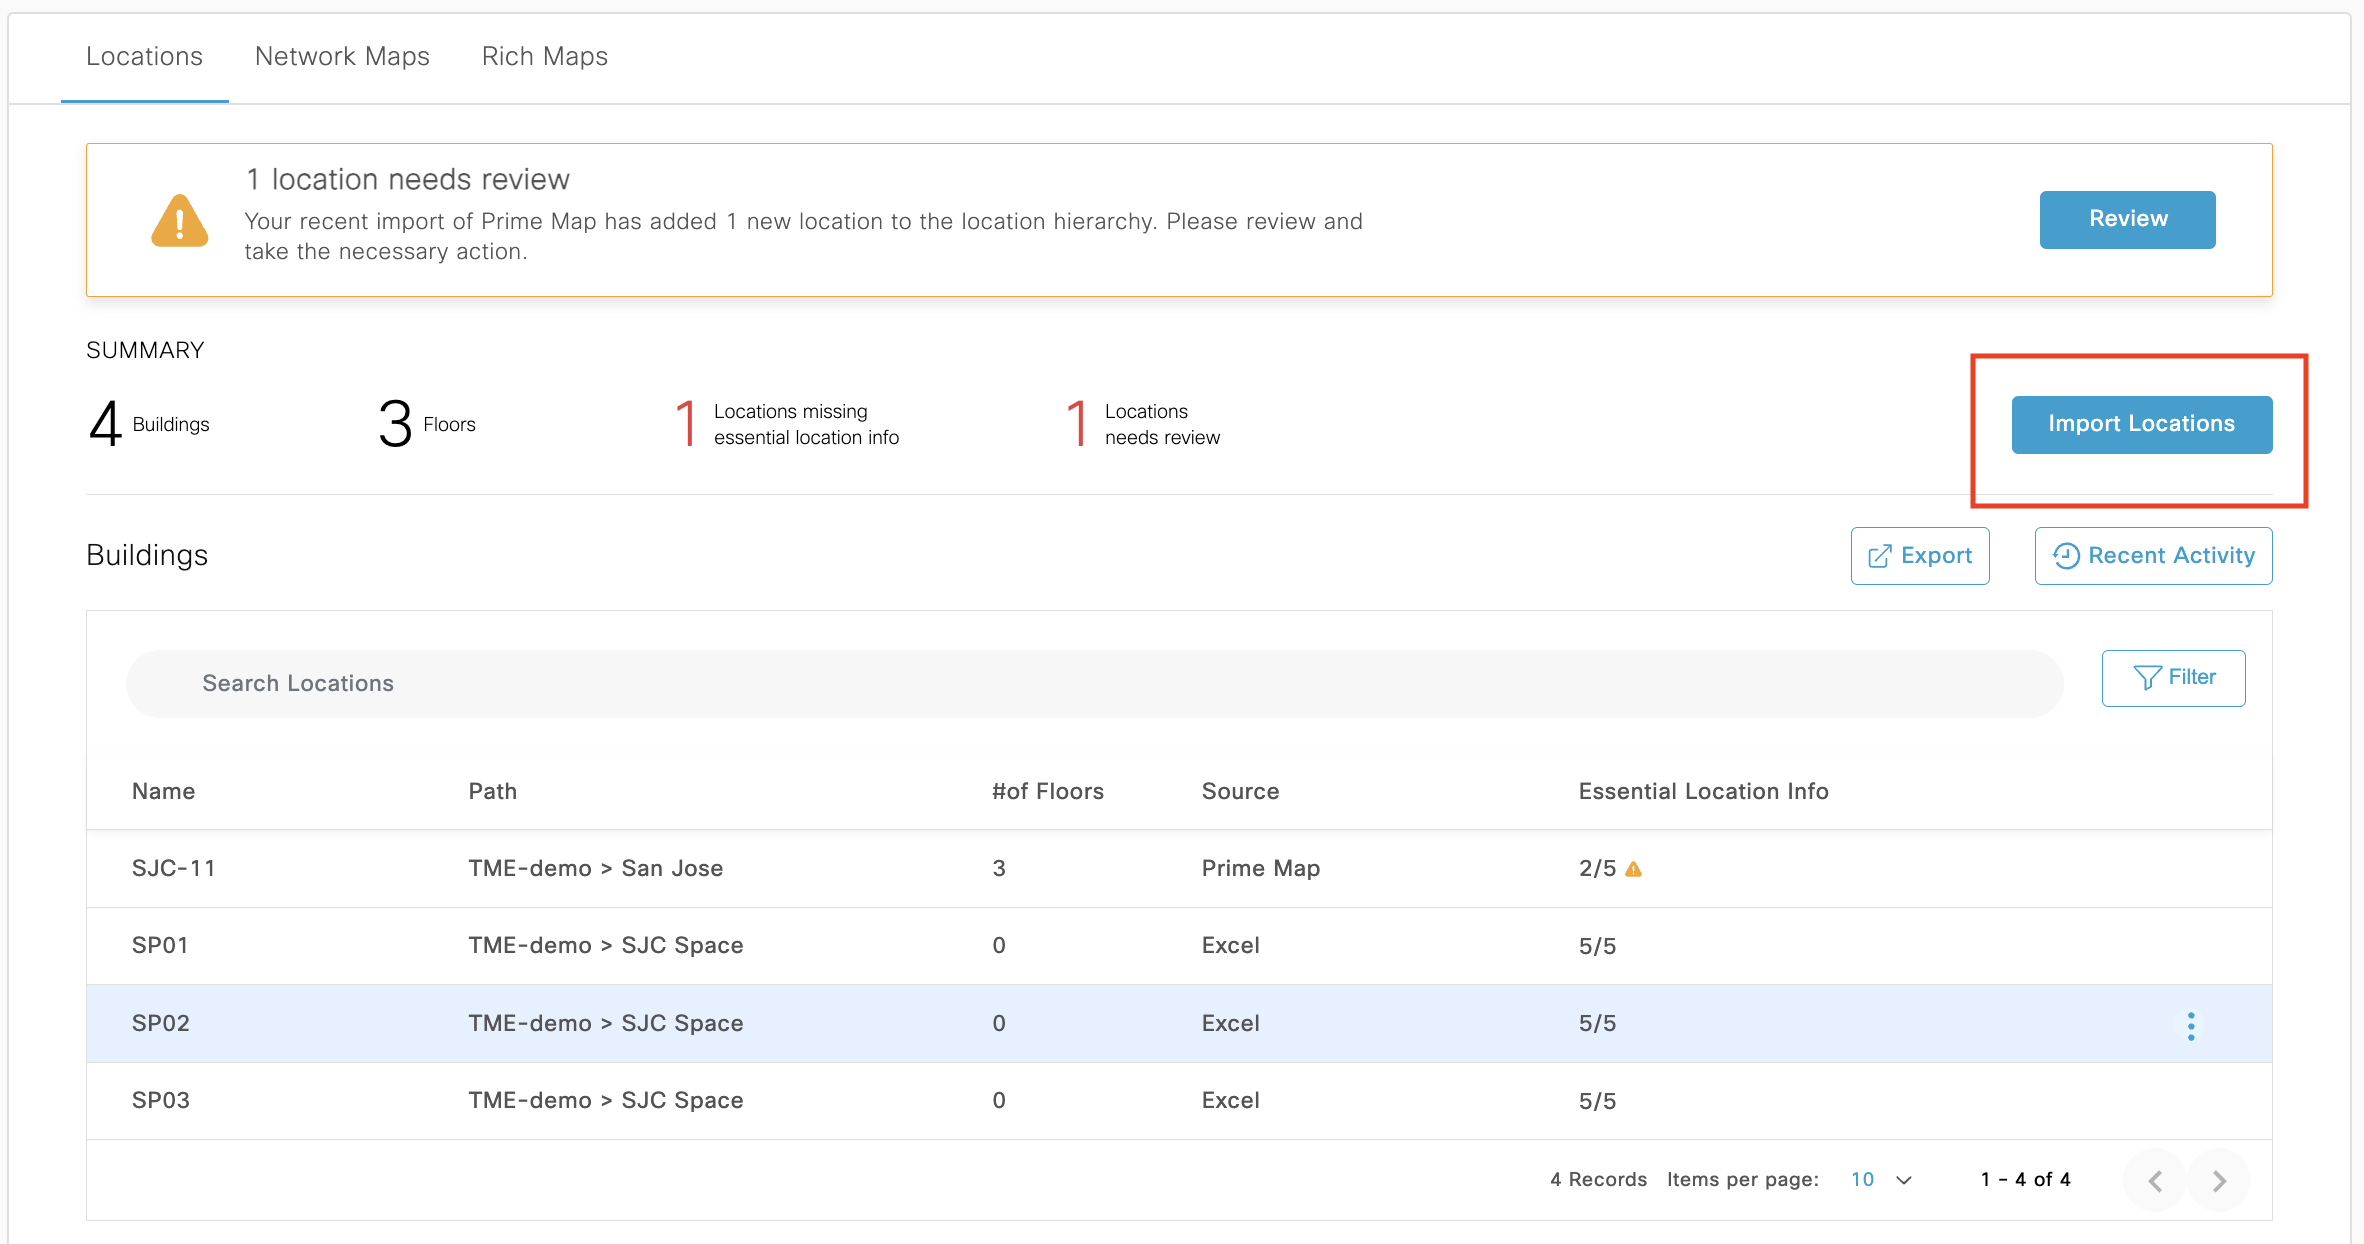
Now that the Excel sheet is imported, proceed to sync Network Hierarchy by clicking on “Import Locations”
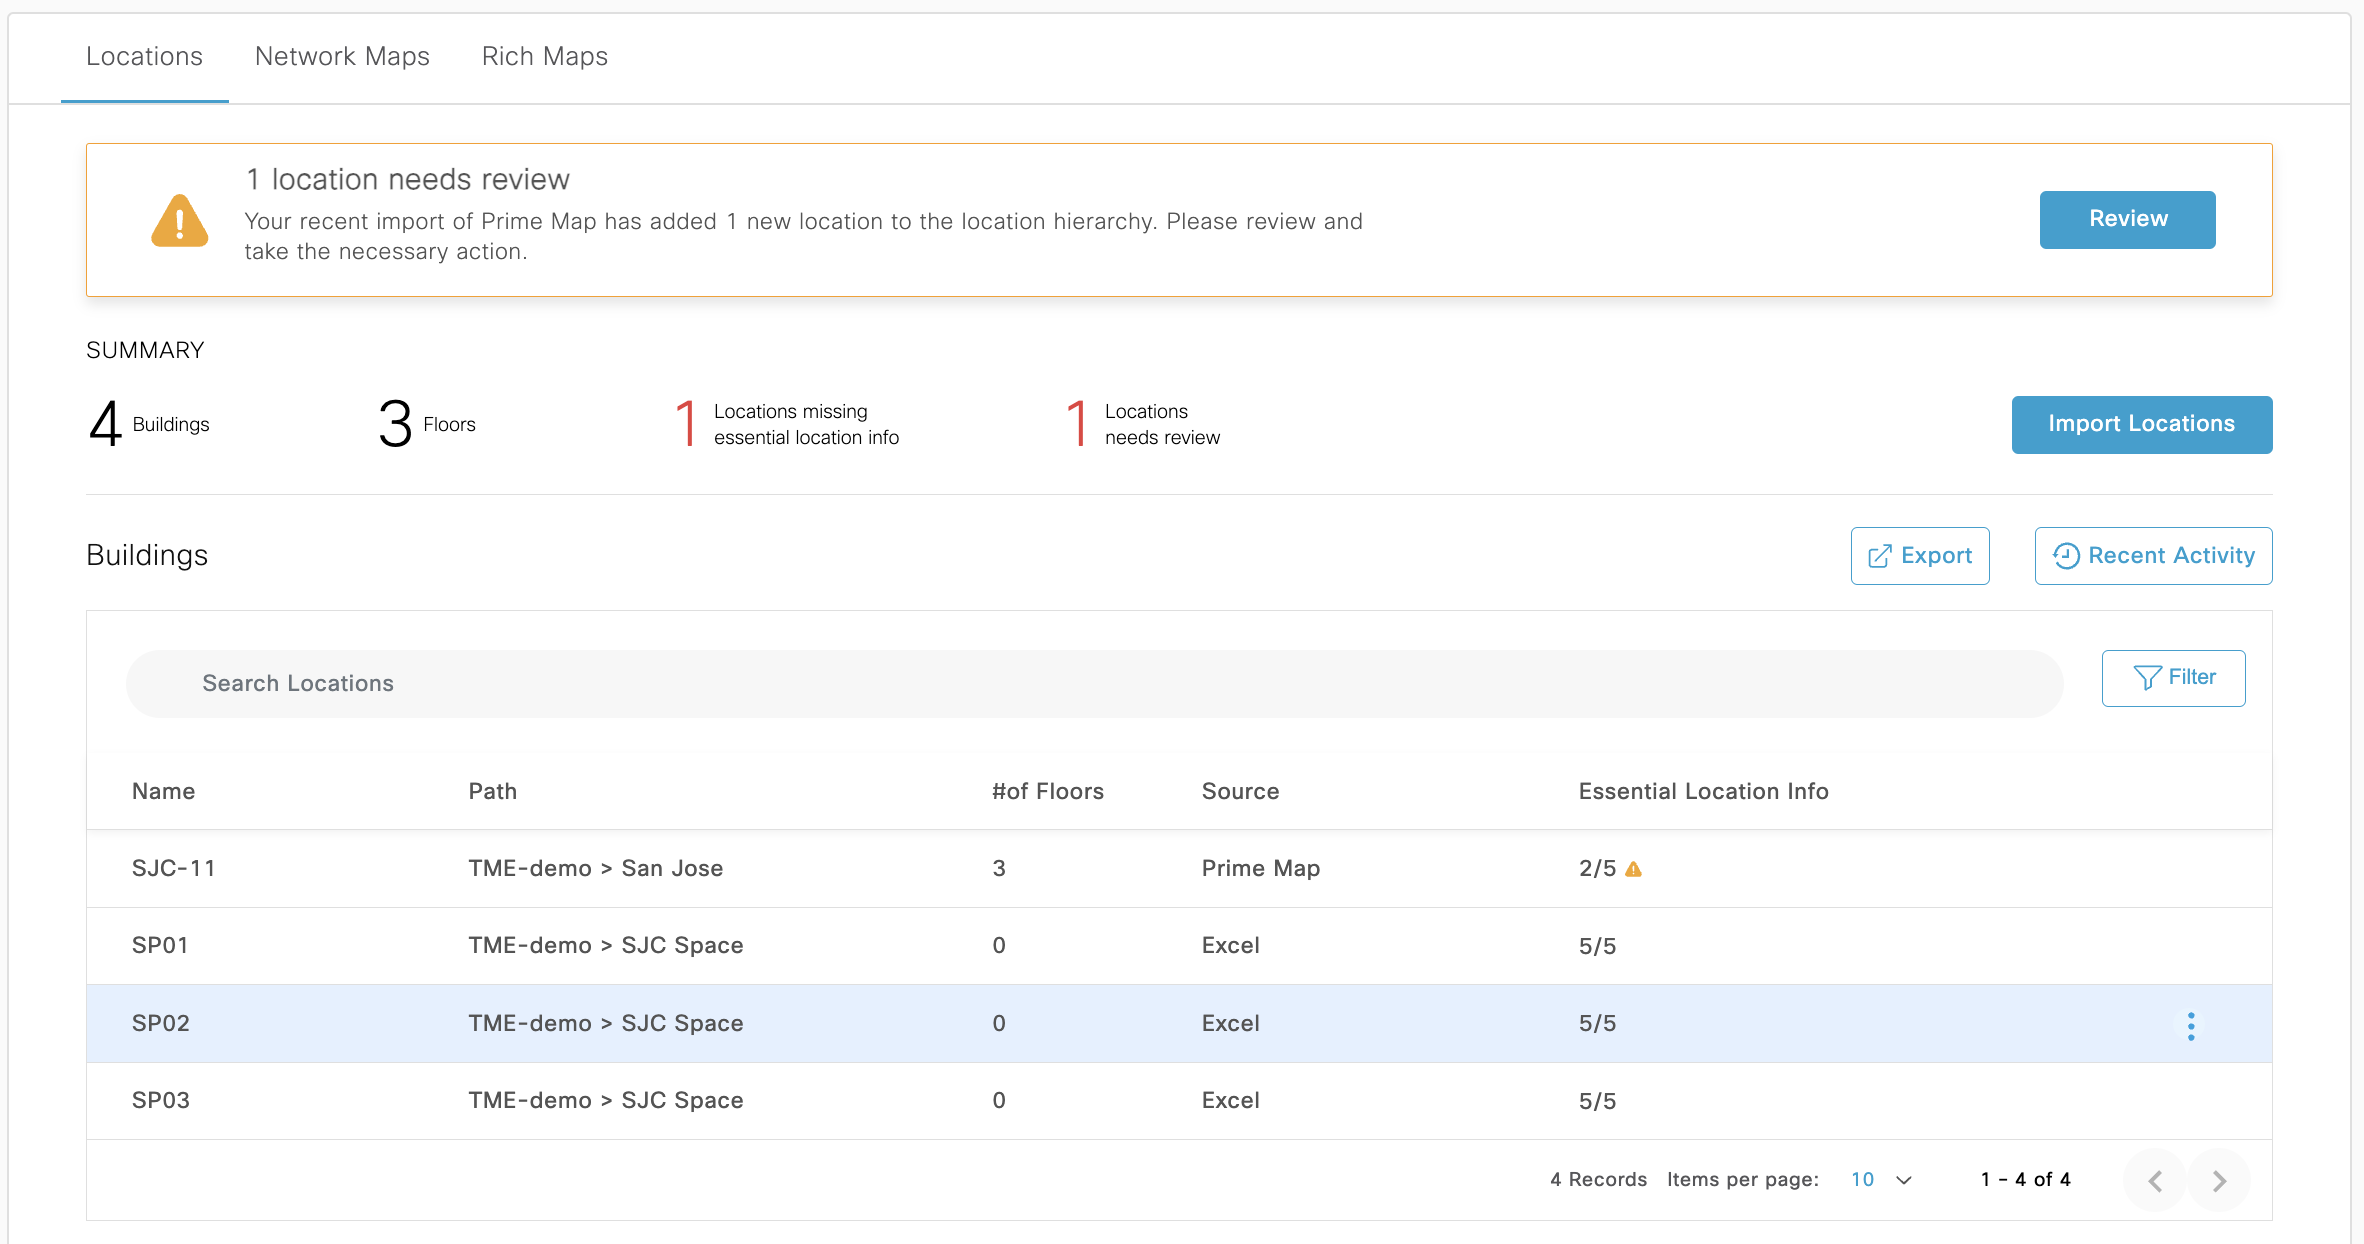
Choose to Import one or more ways to onboard Location Hierarchy from the options below:
Import Location from Webex
Import Locations from Meraki
Import Locations from Catalyst Center (formerly DNA Center)
Import Locations Manually
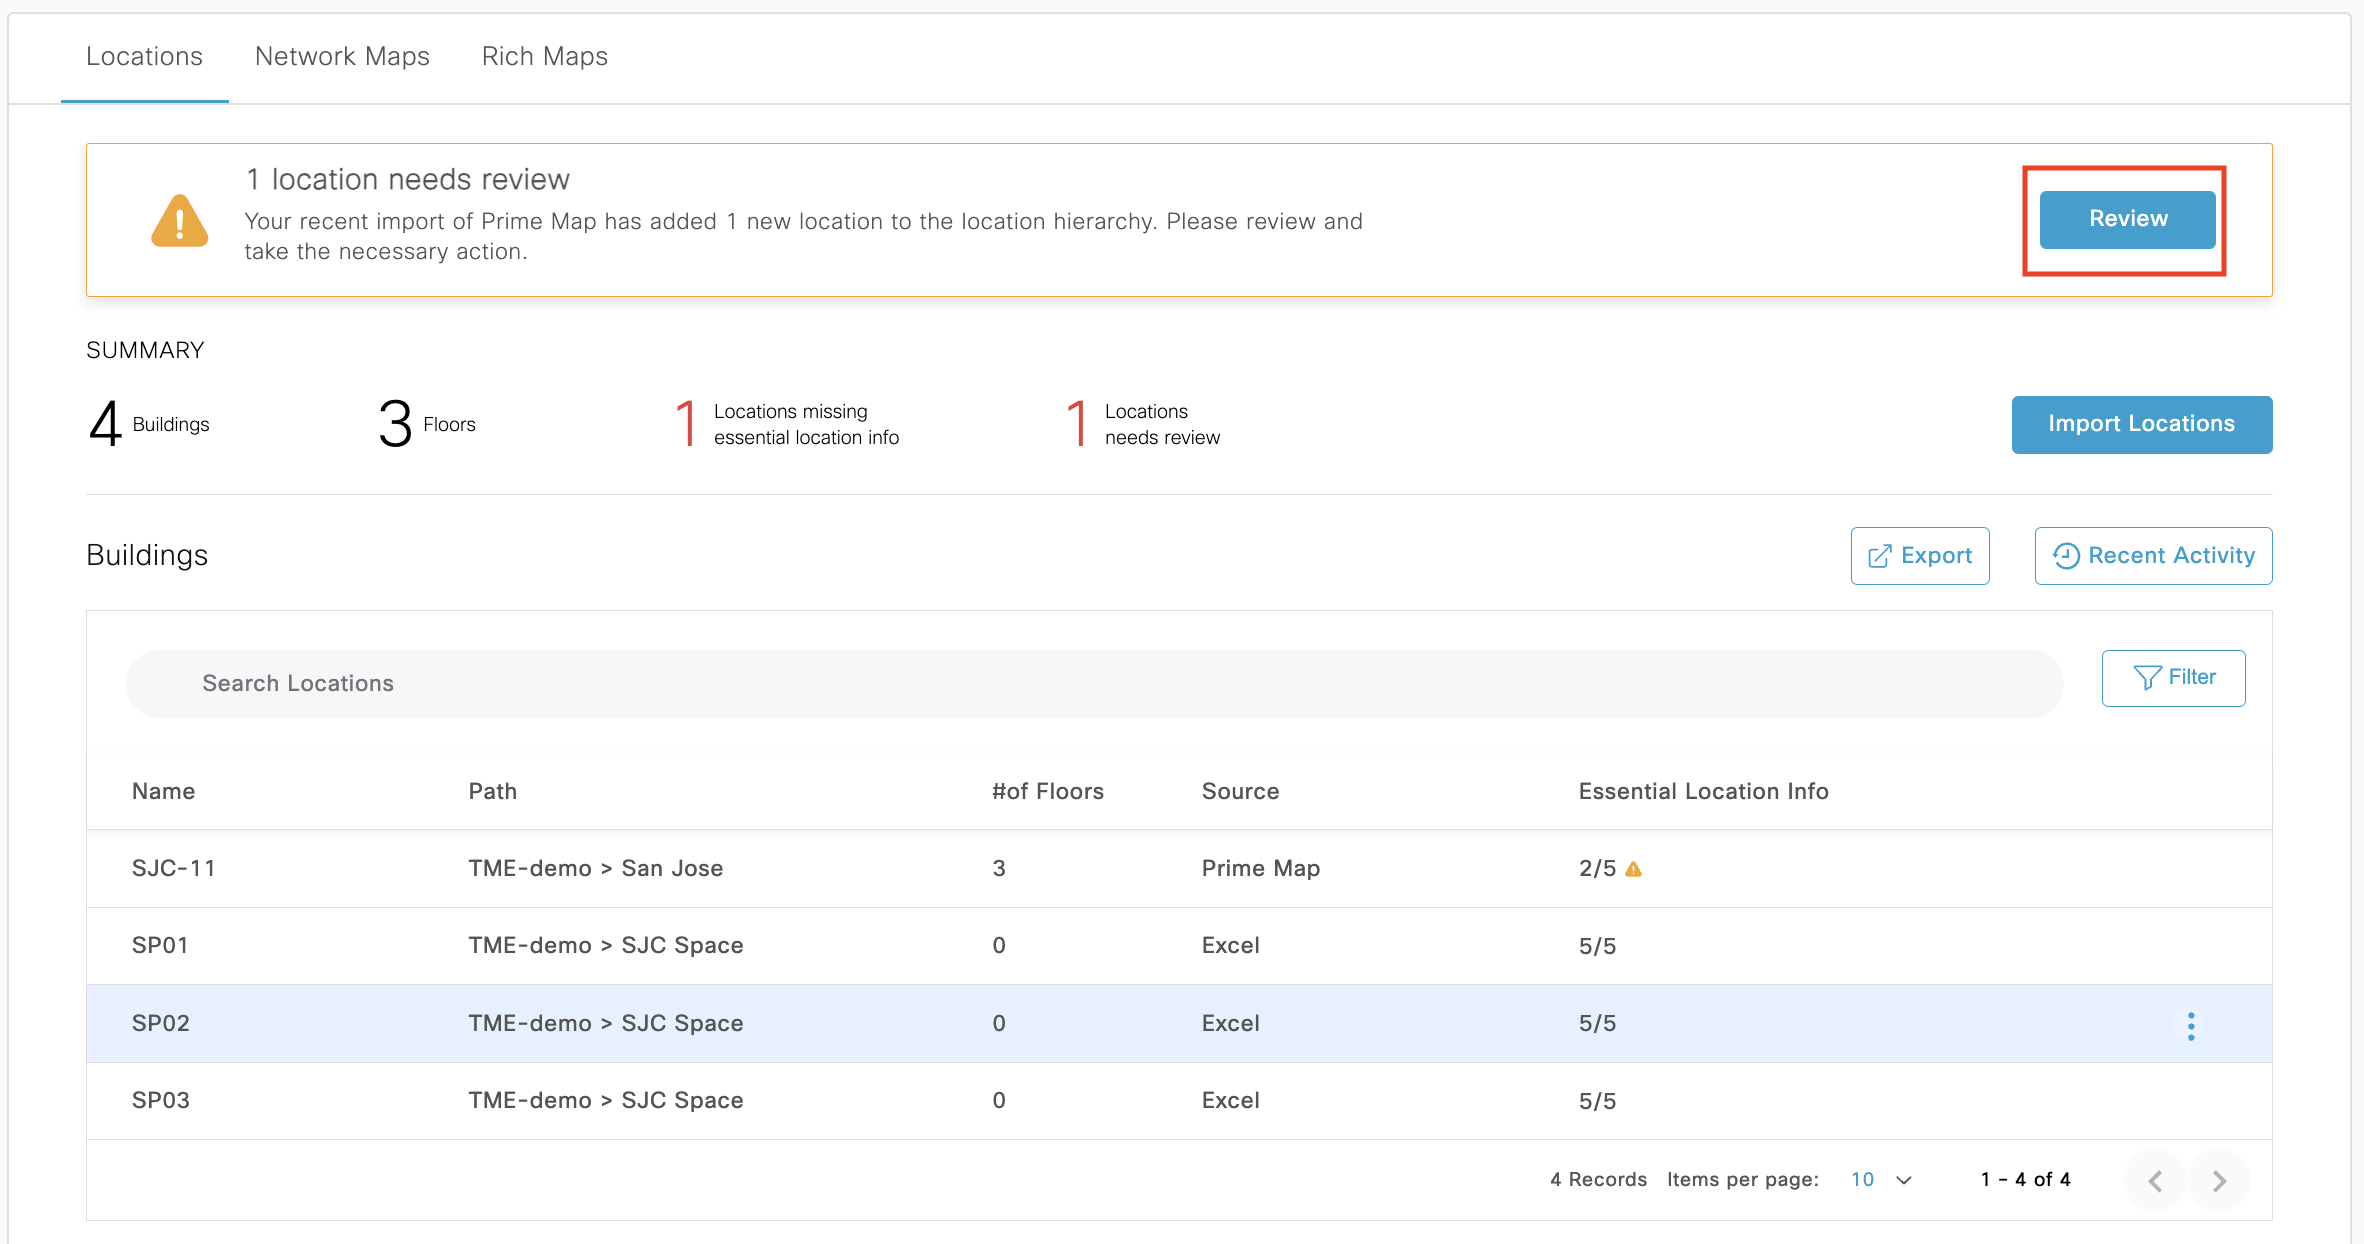
If you do have an existing location Hierarchy You can view it under Setup > Locations & Maps
Click on “Review”
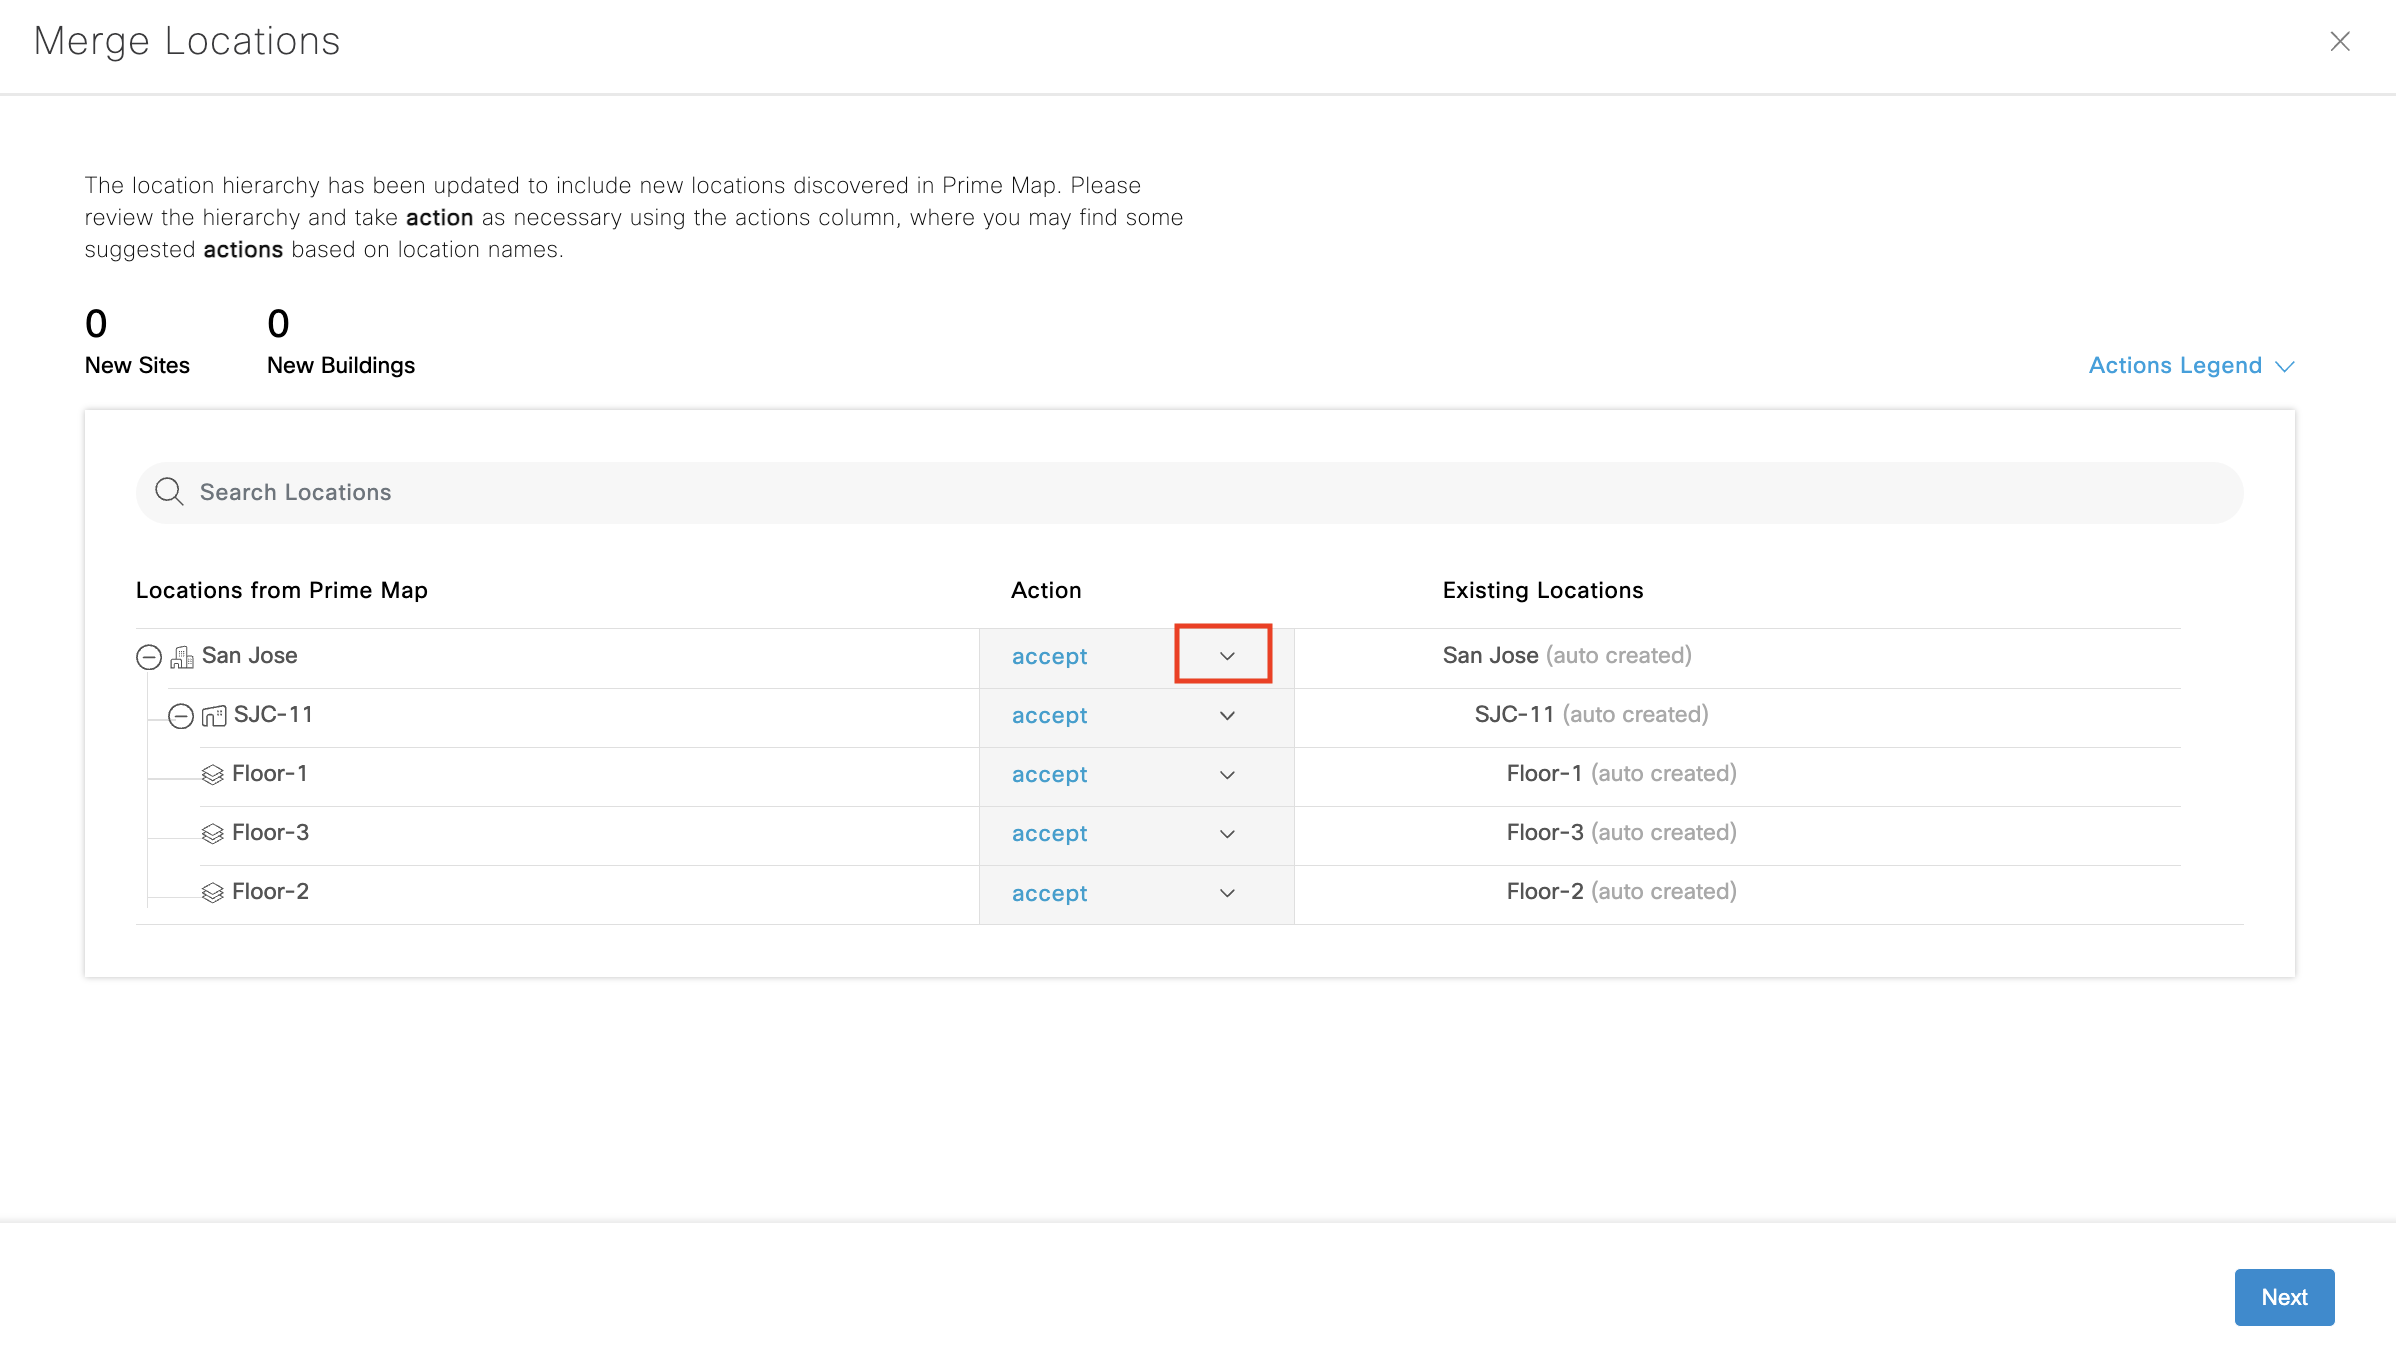
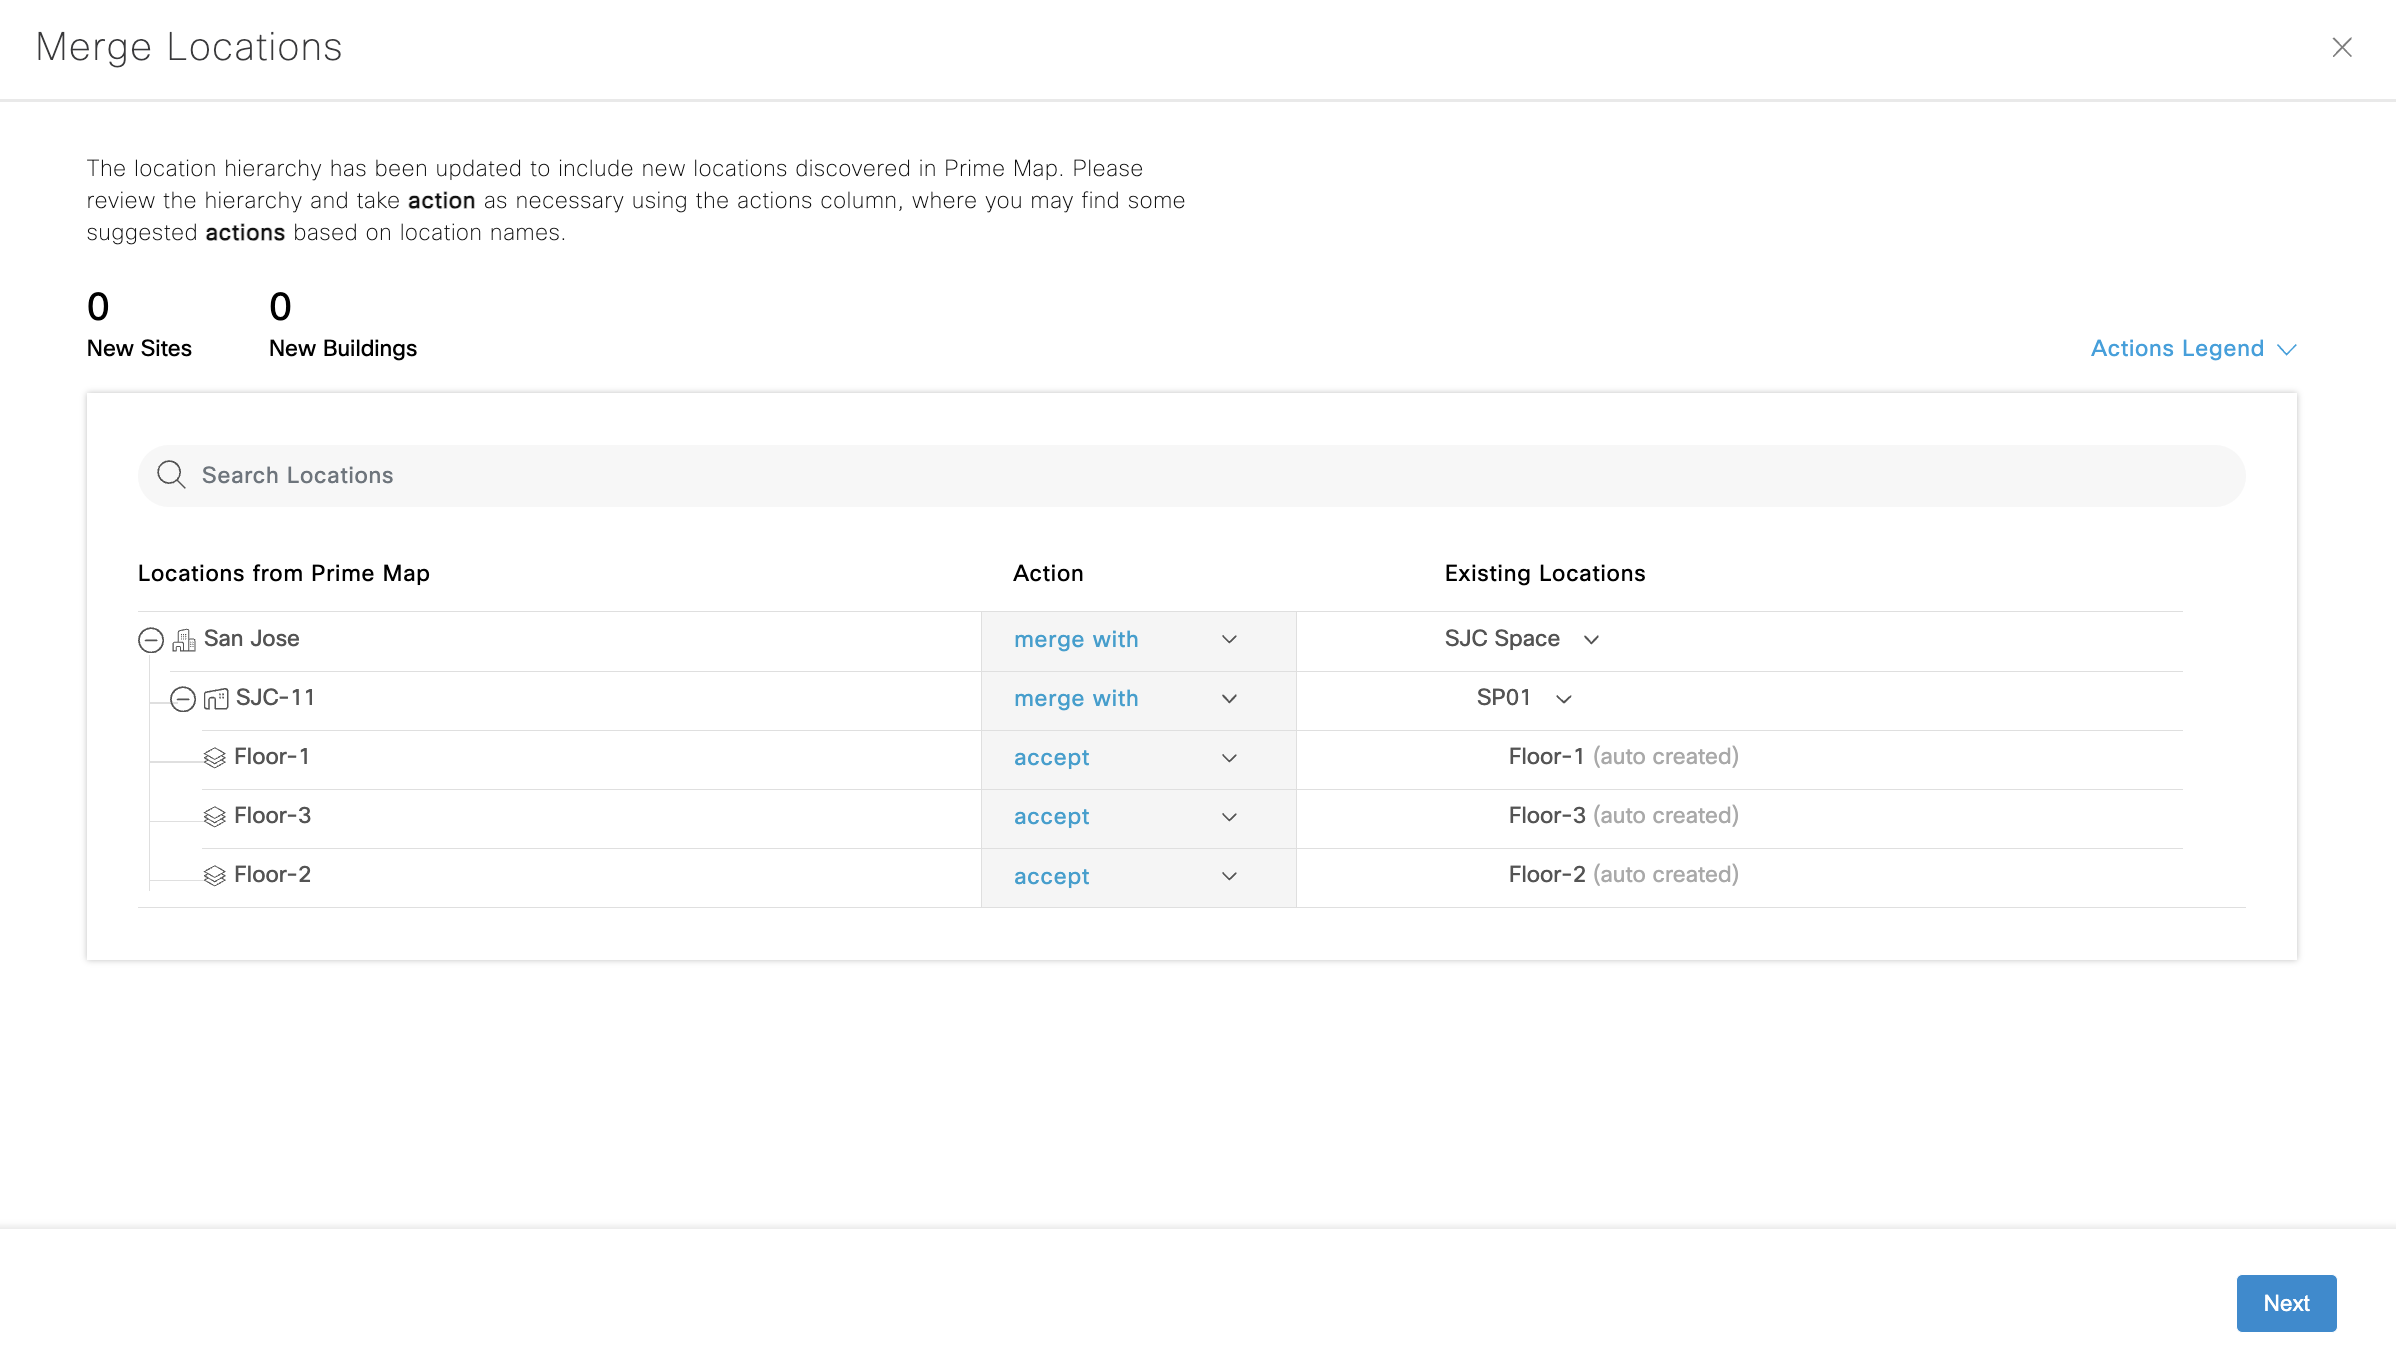
Click on the + sign to expand and review your locations

Click on the drop-down under “Action”
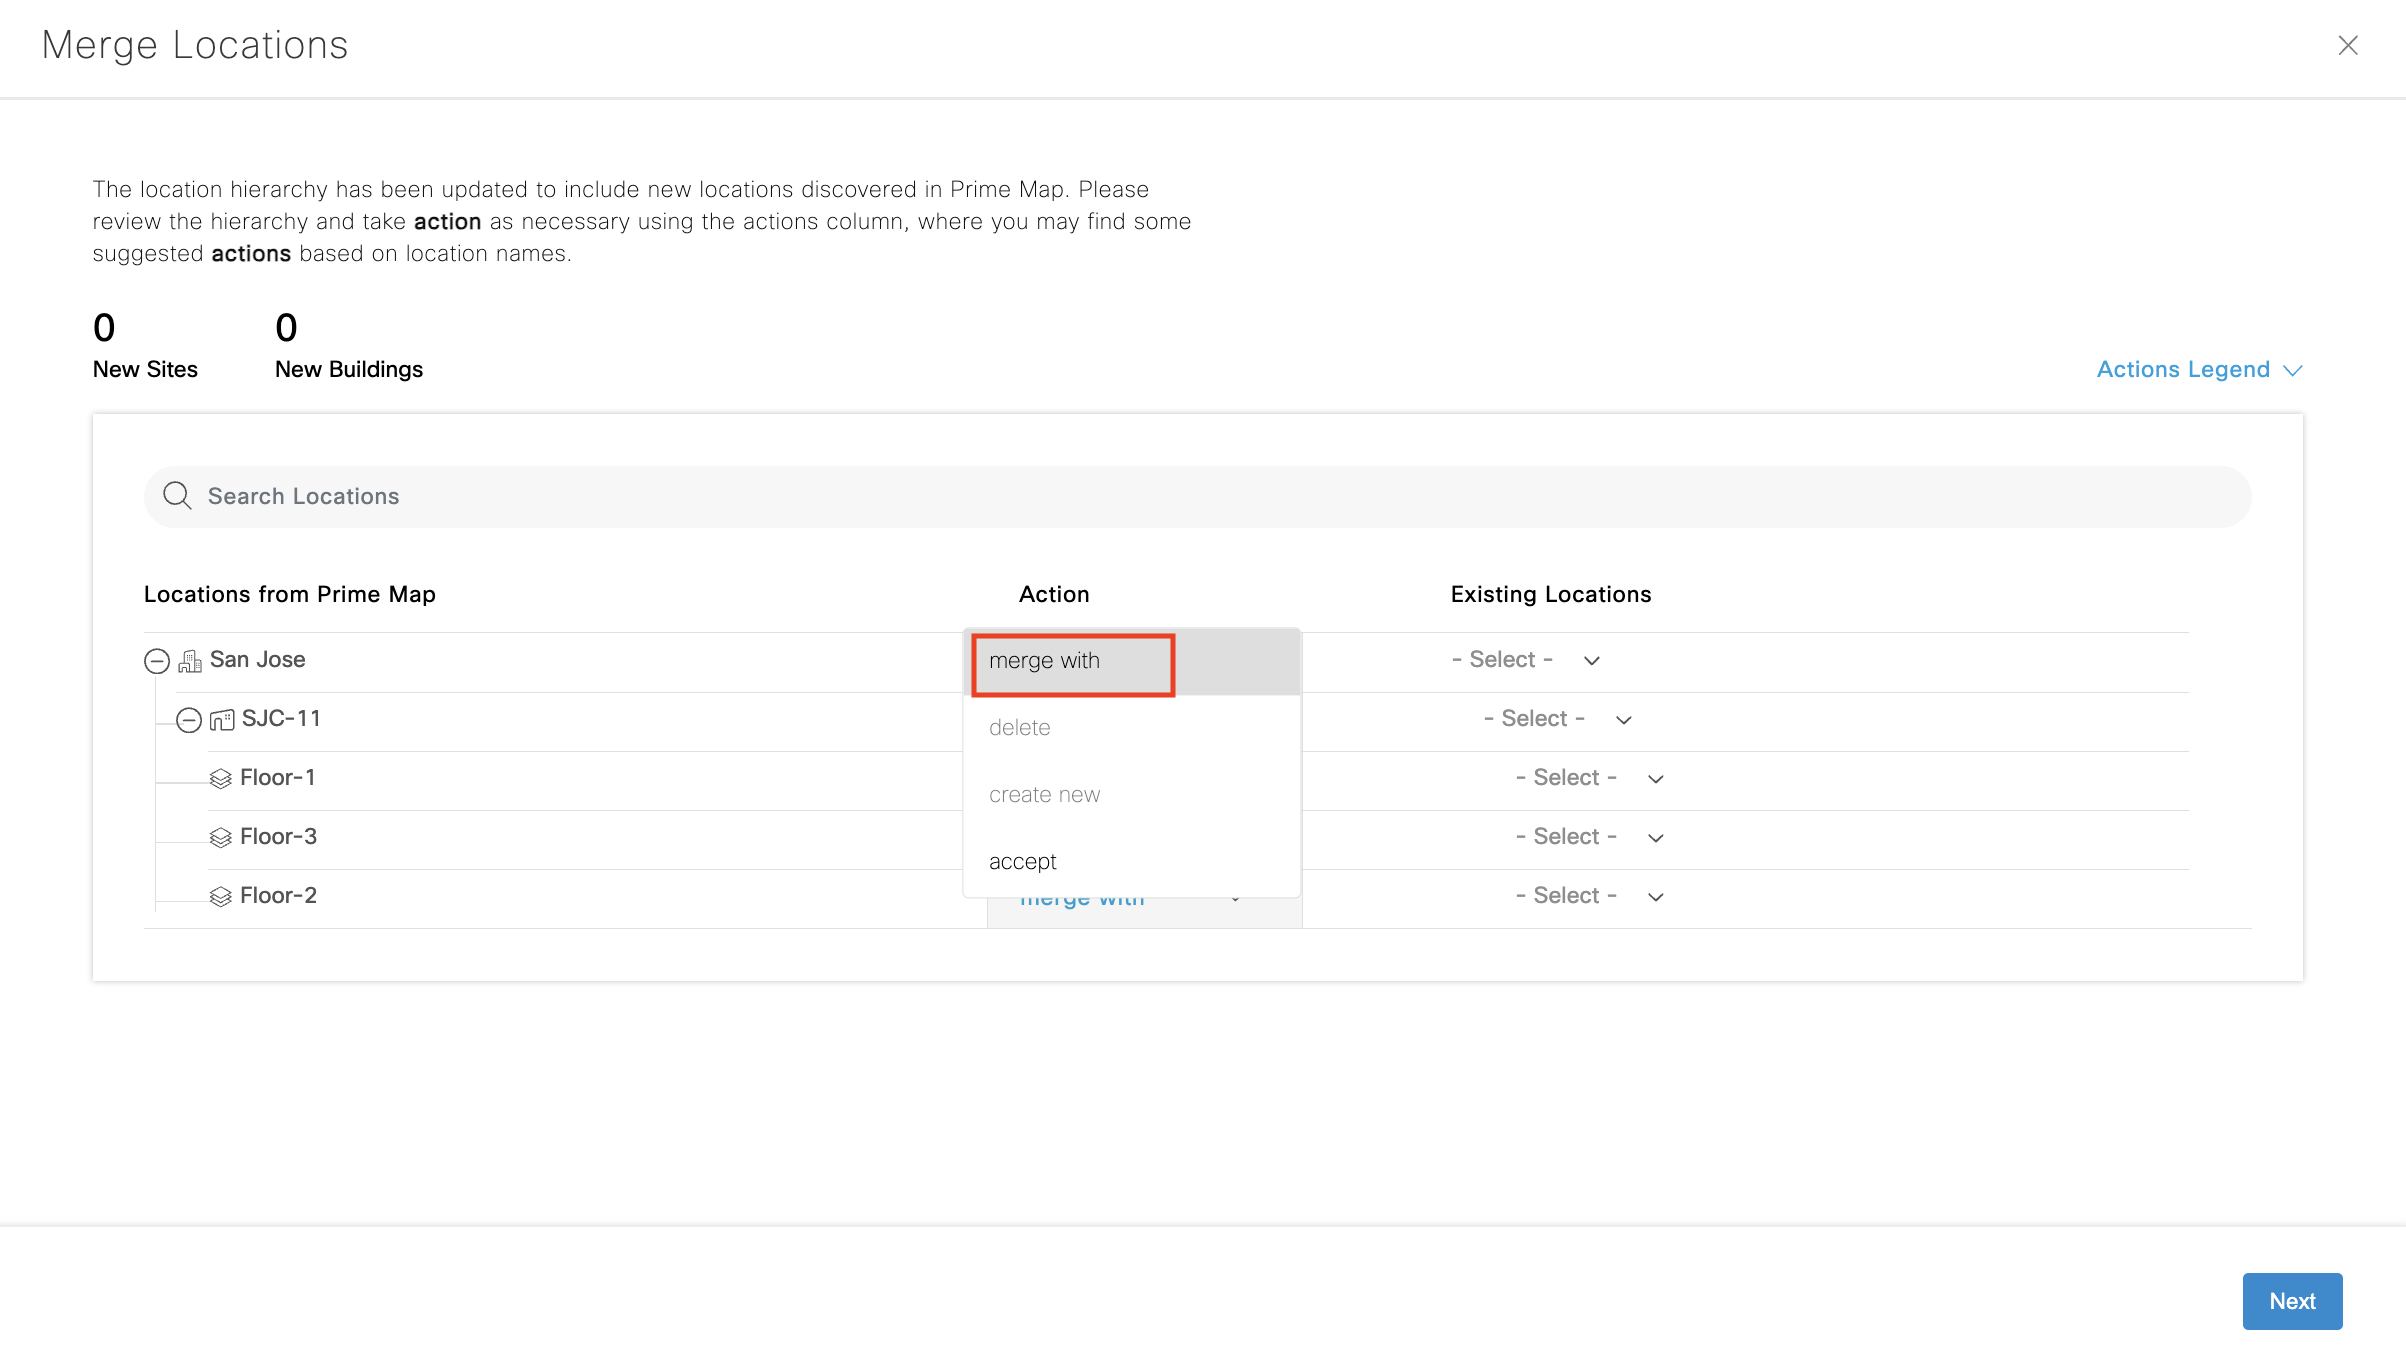
Choose ‘merge with’ to merge same location hierarchies that would have been previously created through Excel sheet upload, DNAC sync, etc. Remember to merge floors, too.
Choose the location that needs to be merged from the dropdown under Existing Locations.
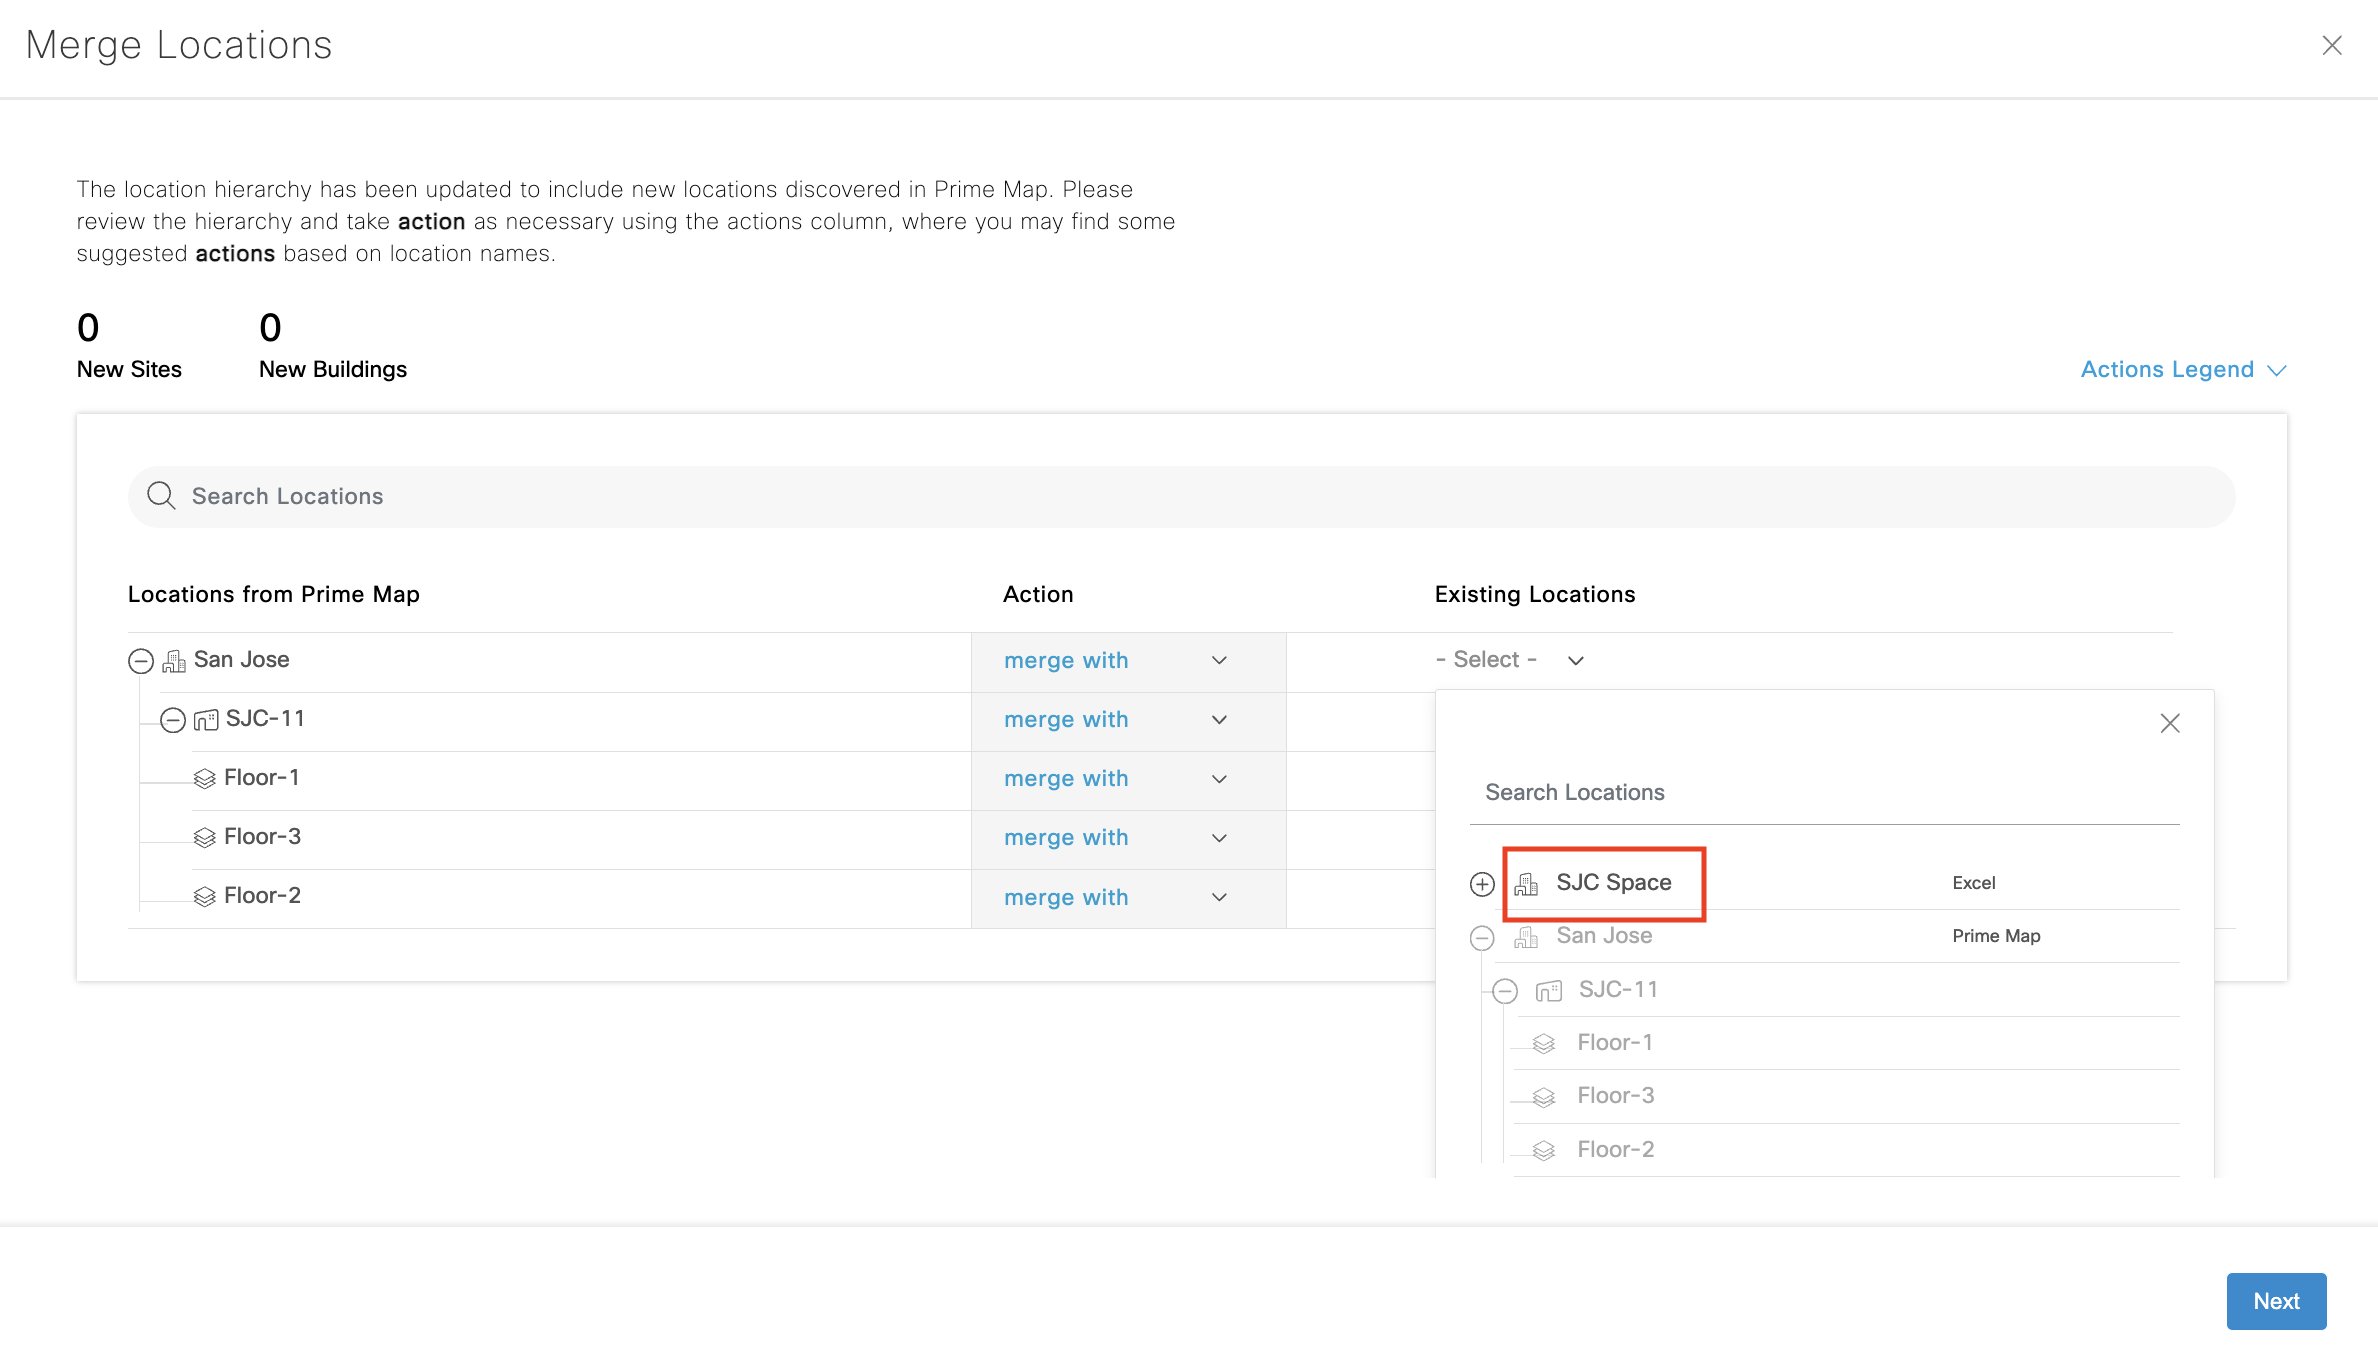
Once this is done the buildings get automatically merged as well.
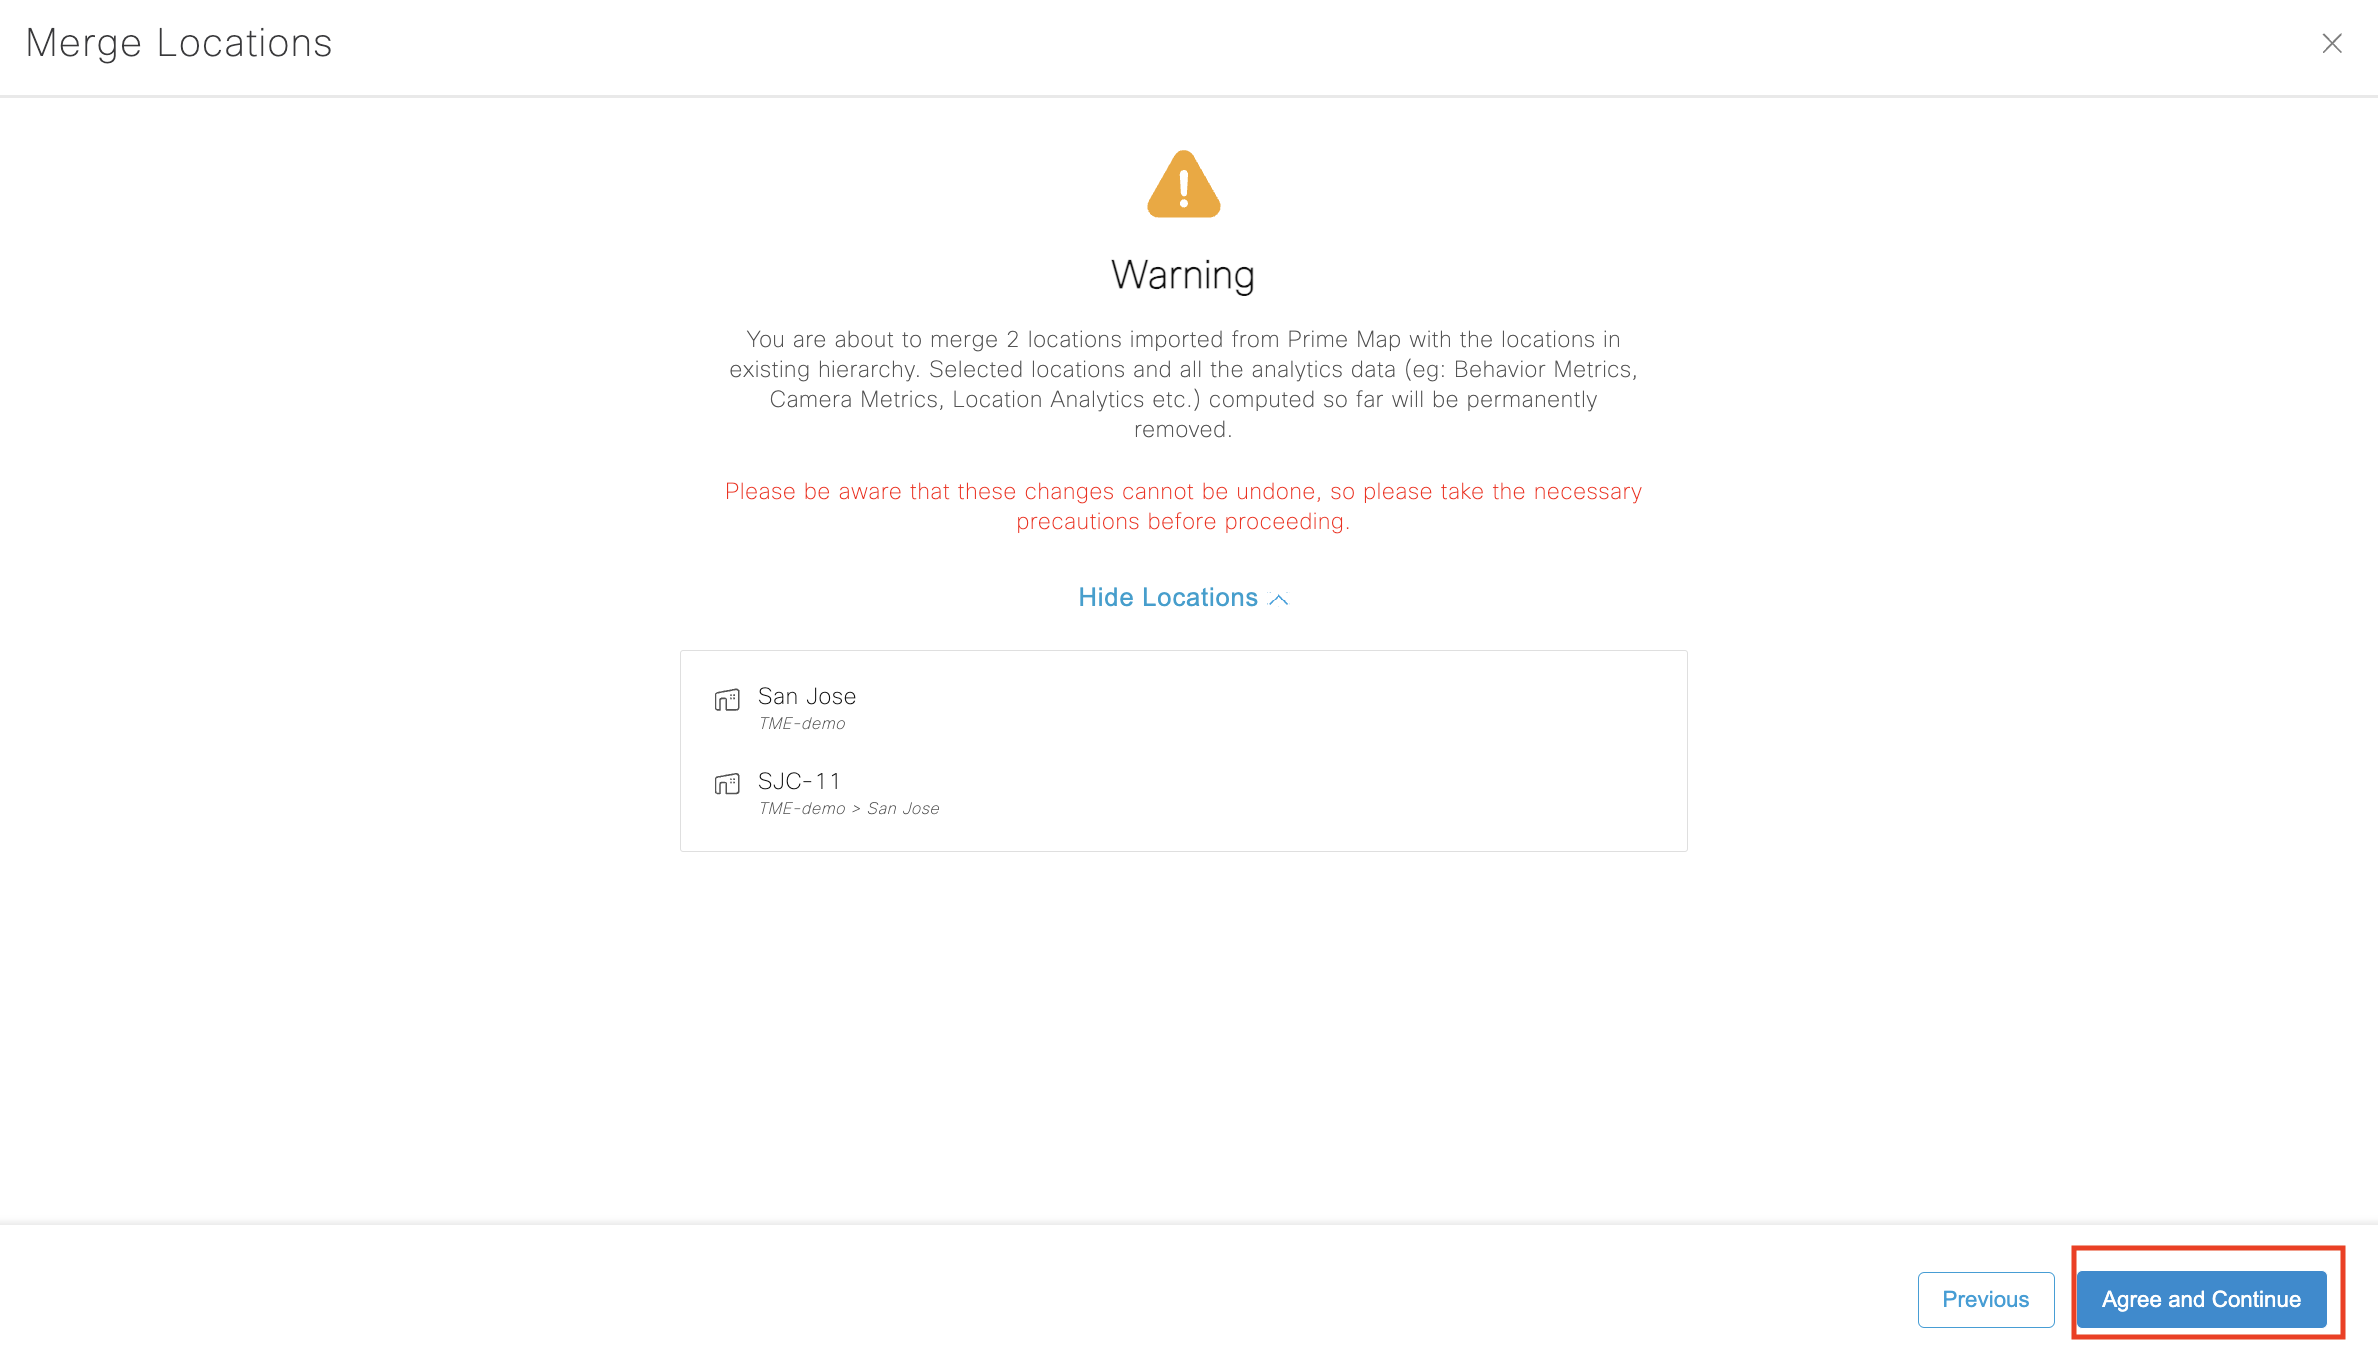
Click “Next” and Select “Agree and continue” once reviewed
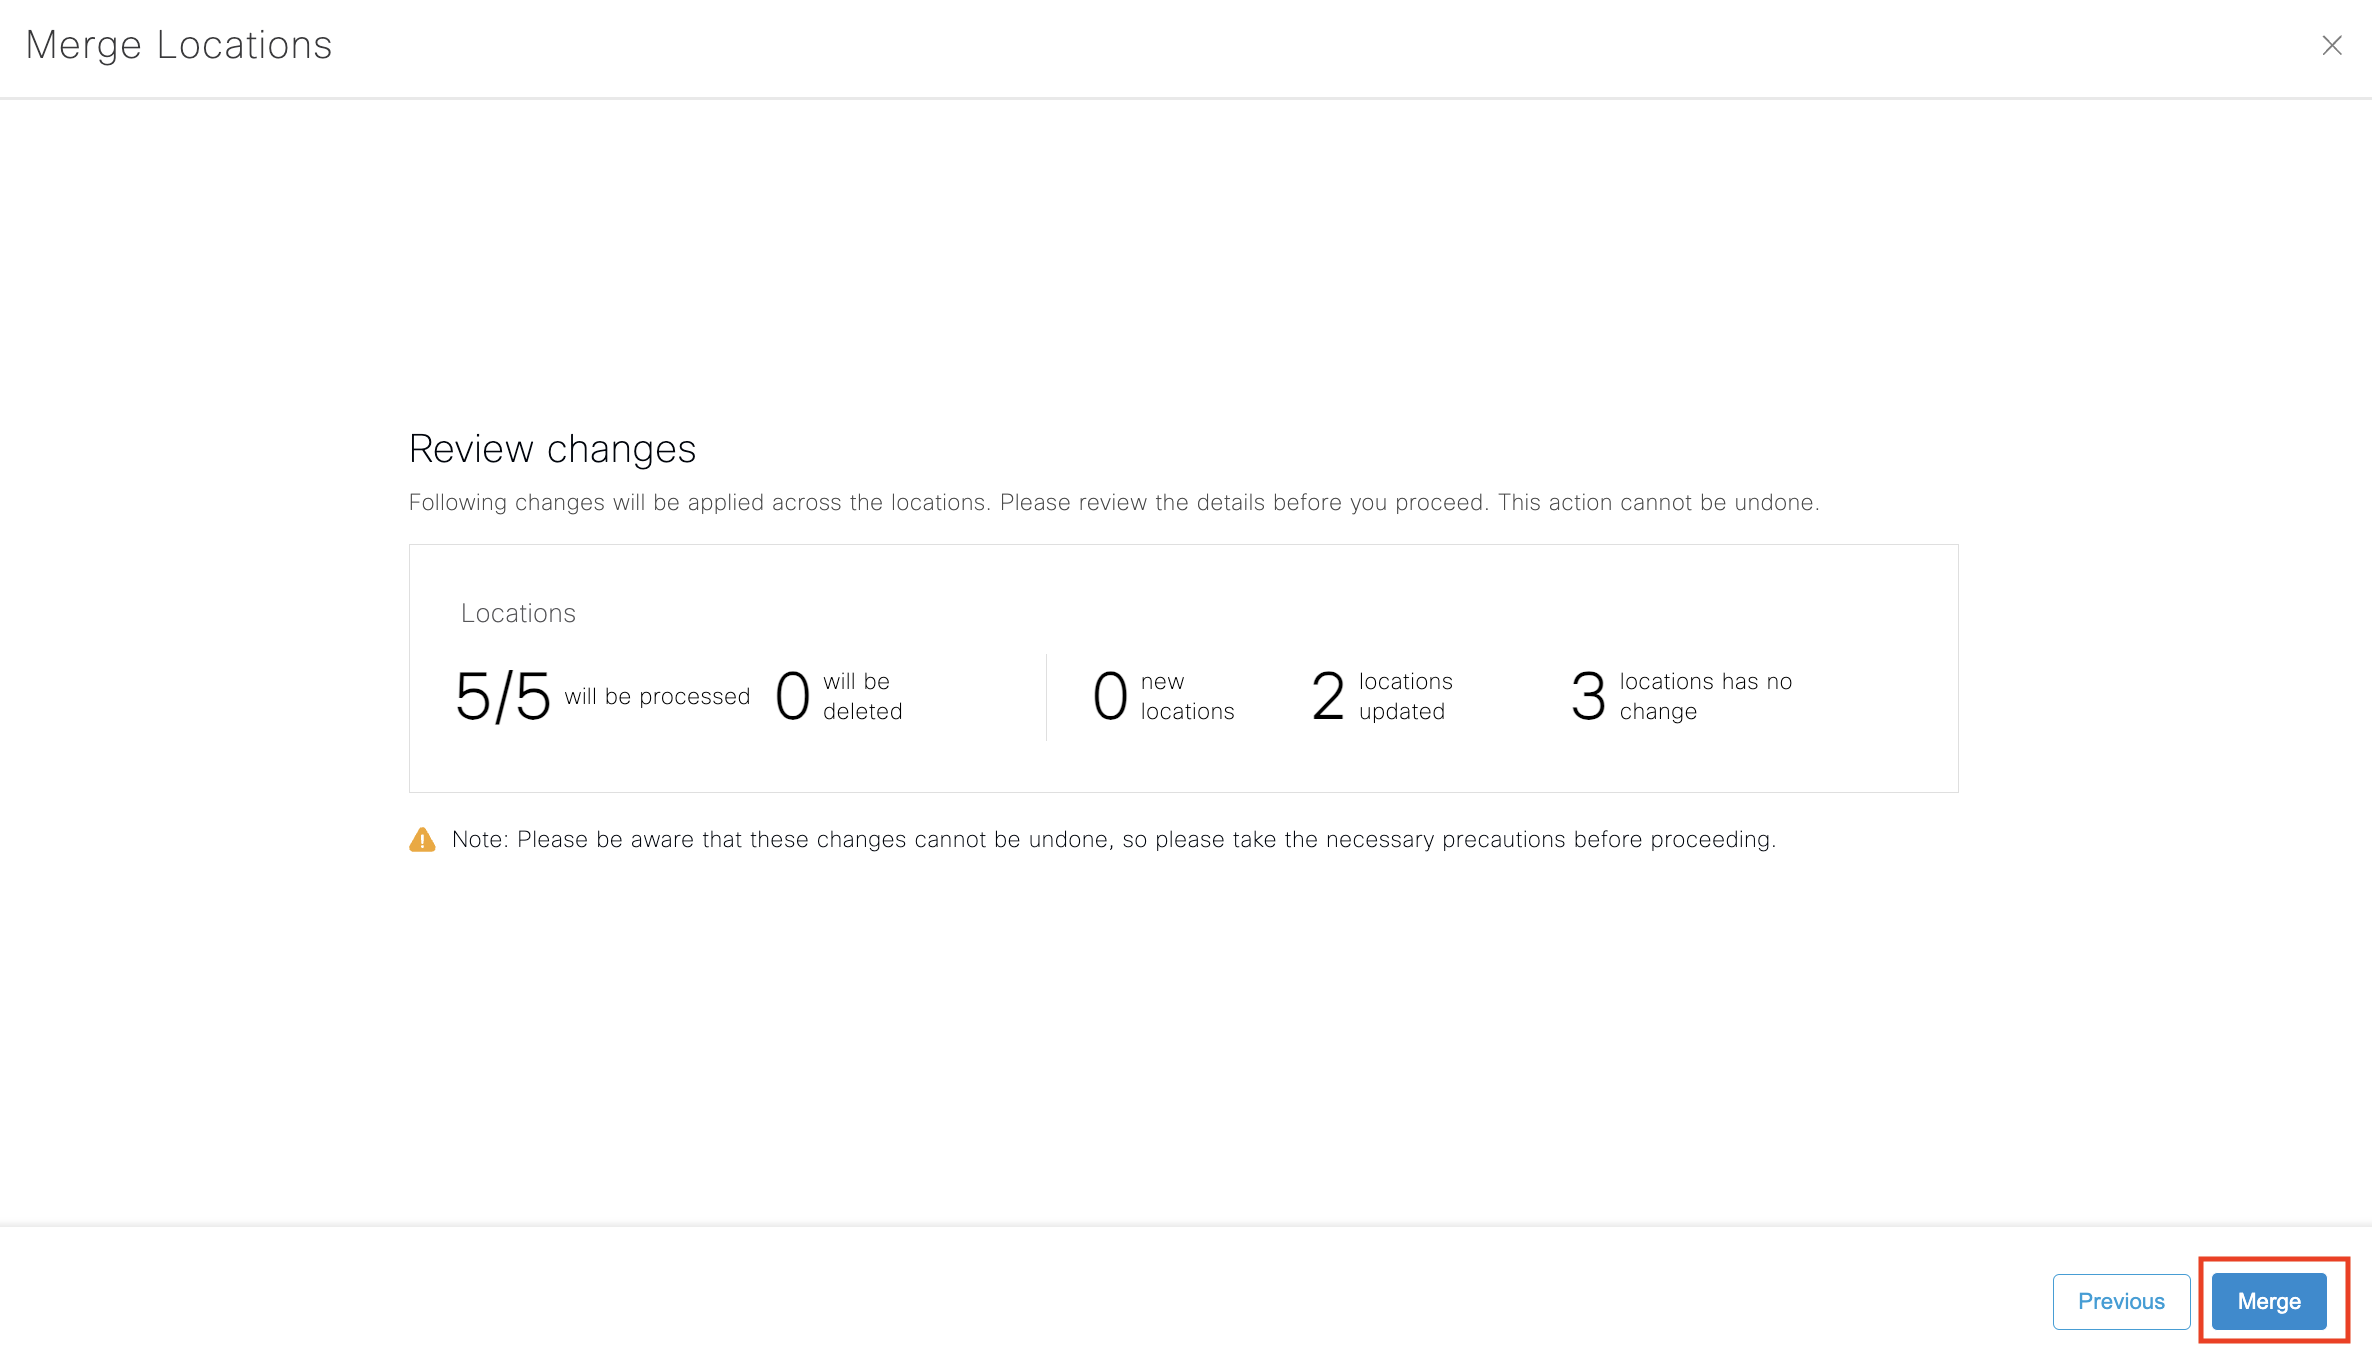
Review changes and click “Merge”
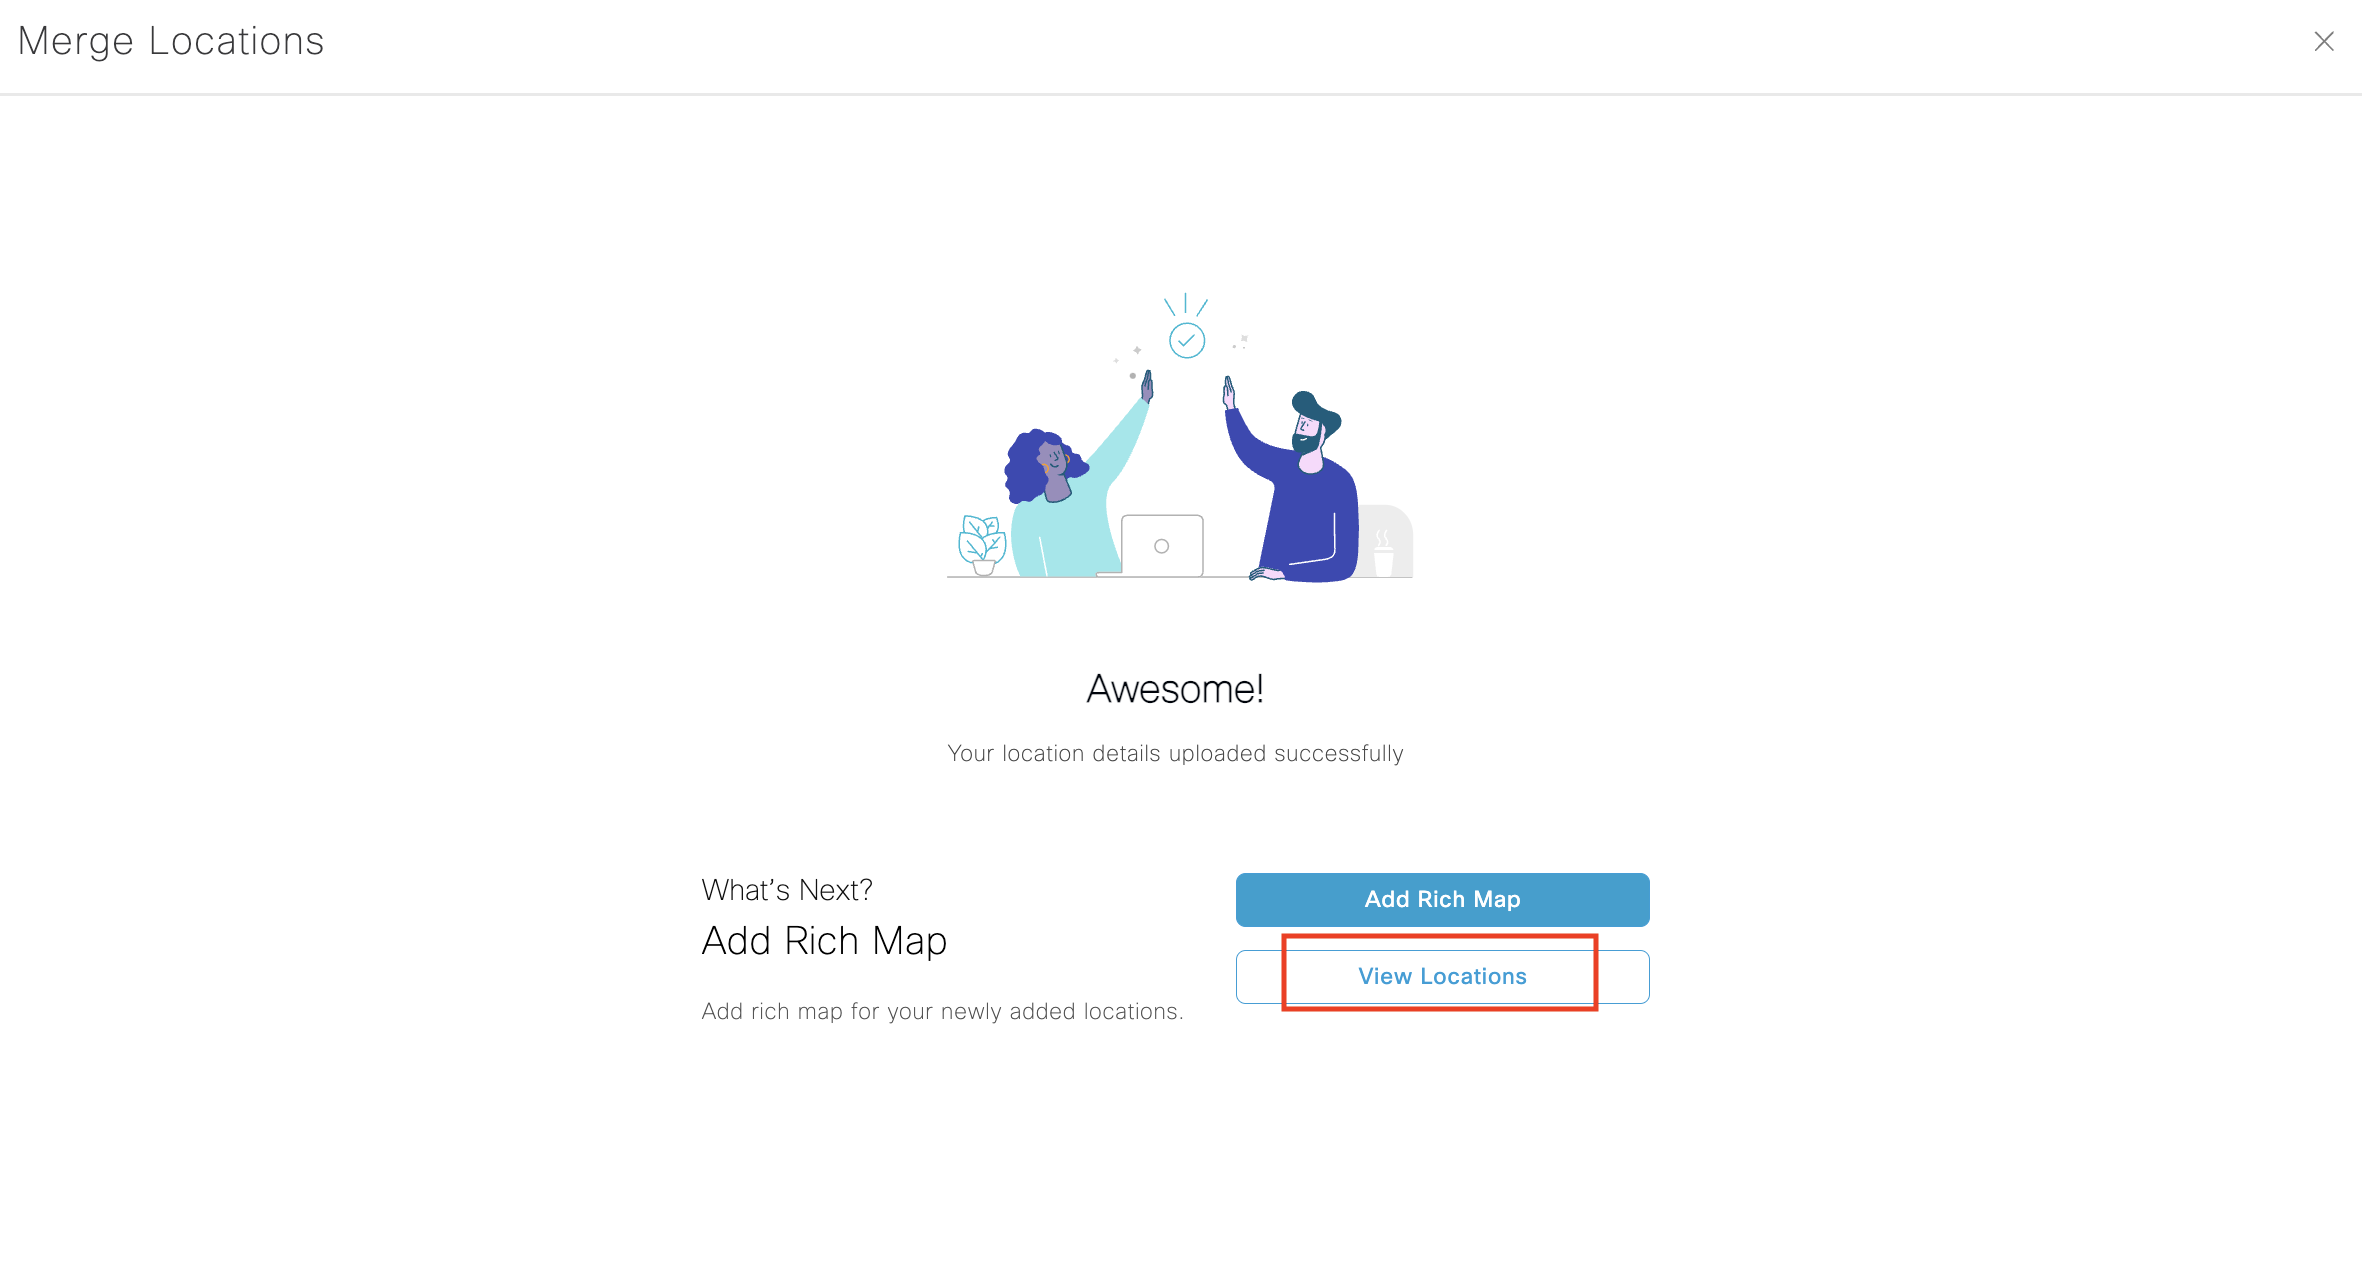
Click on “View Locations”
Once the Location Hierarchy is established the next step is to Upload a .dwg CAD file to generate Spaces Rich Map
Note: After uploading it can take up to approximately 1 week for processing
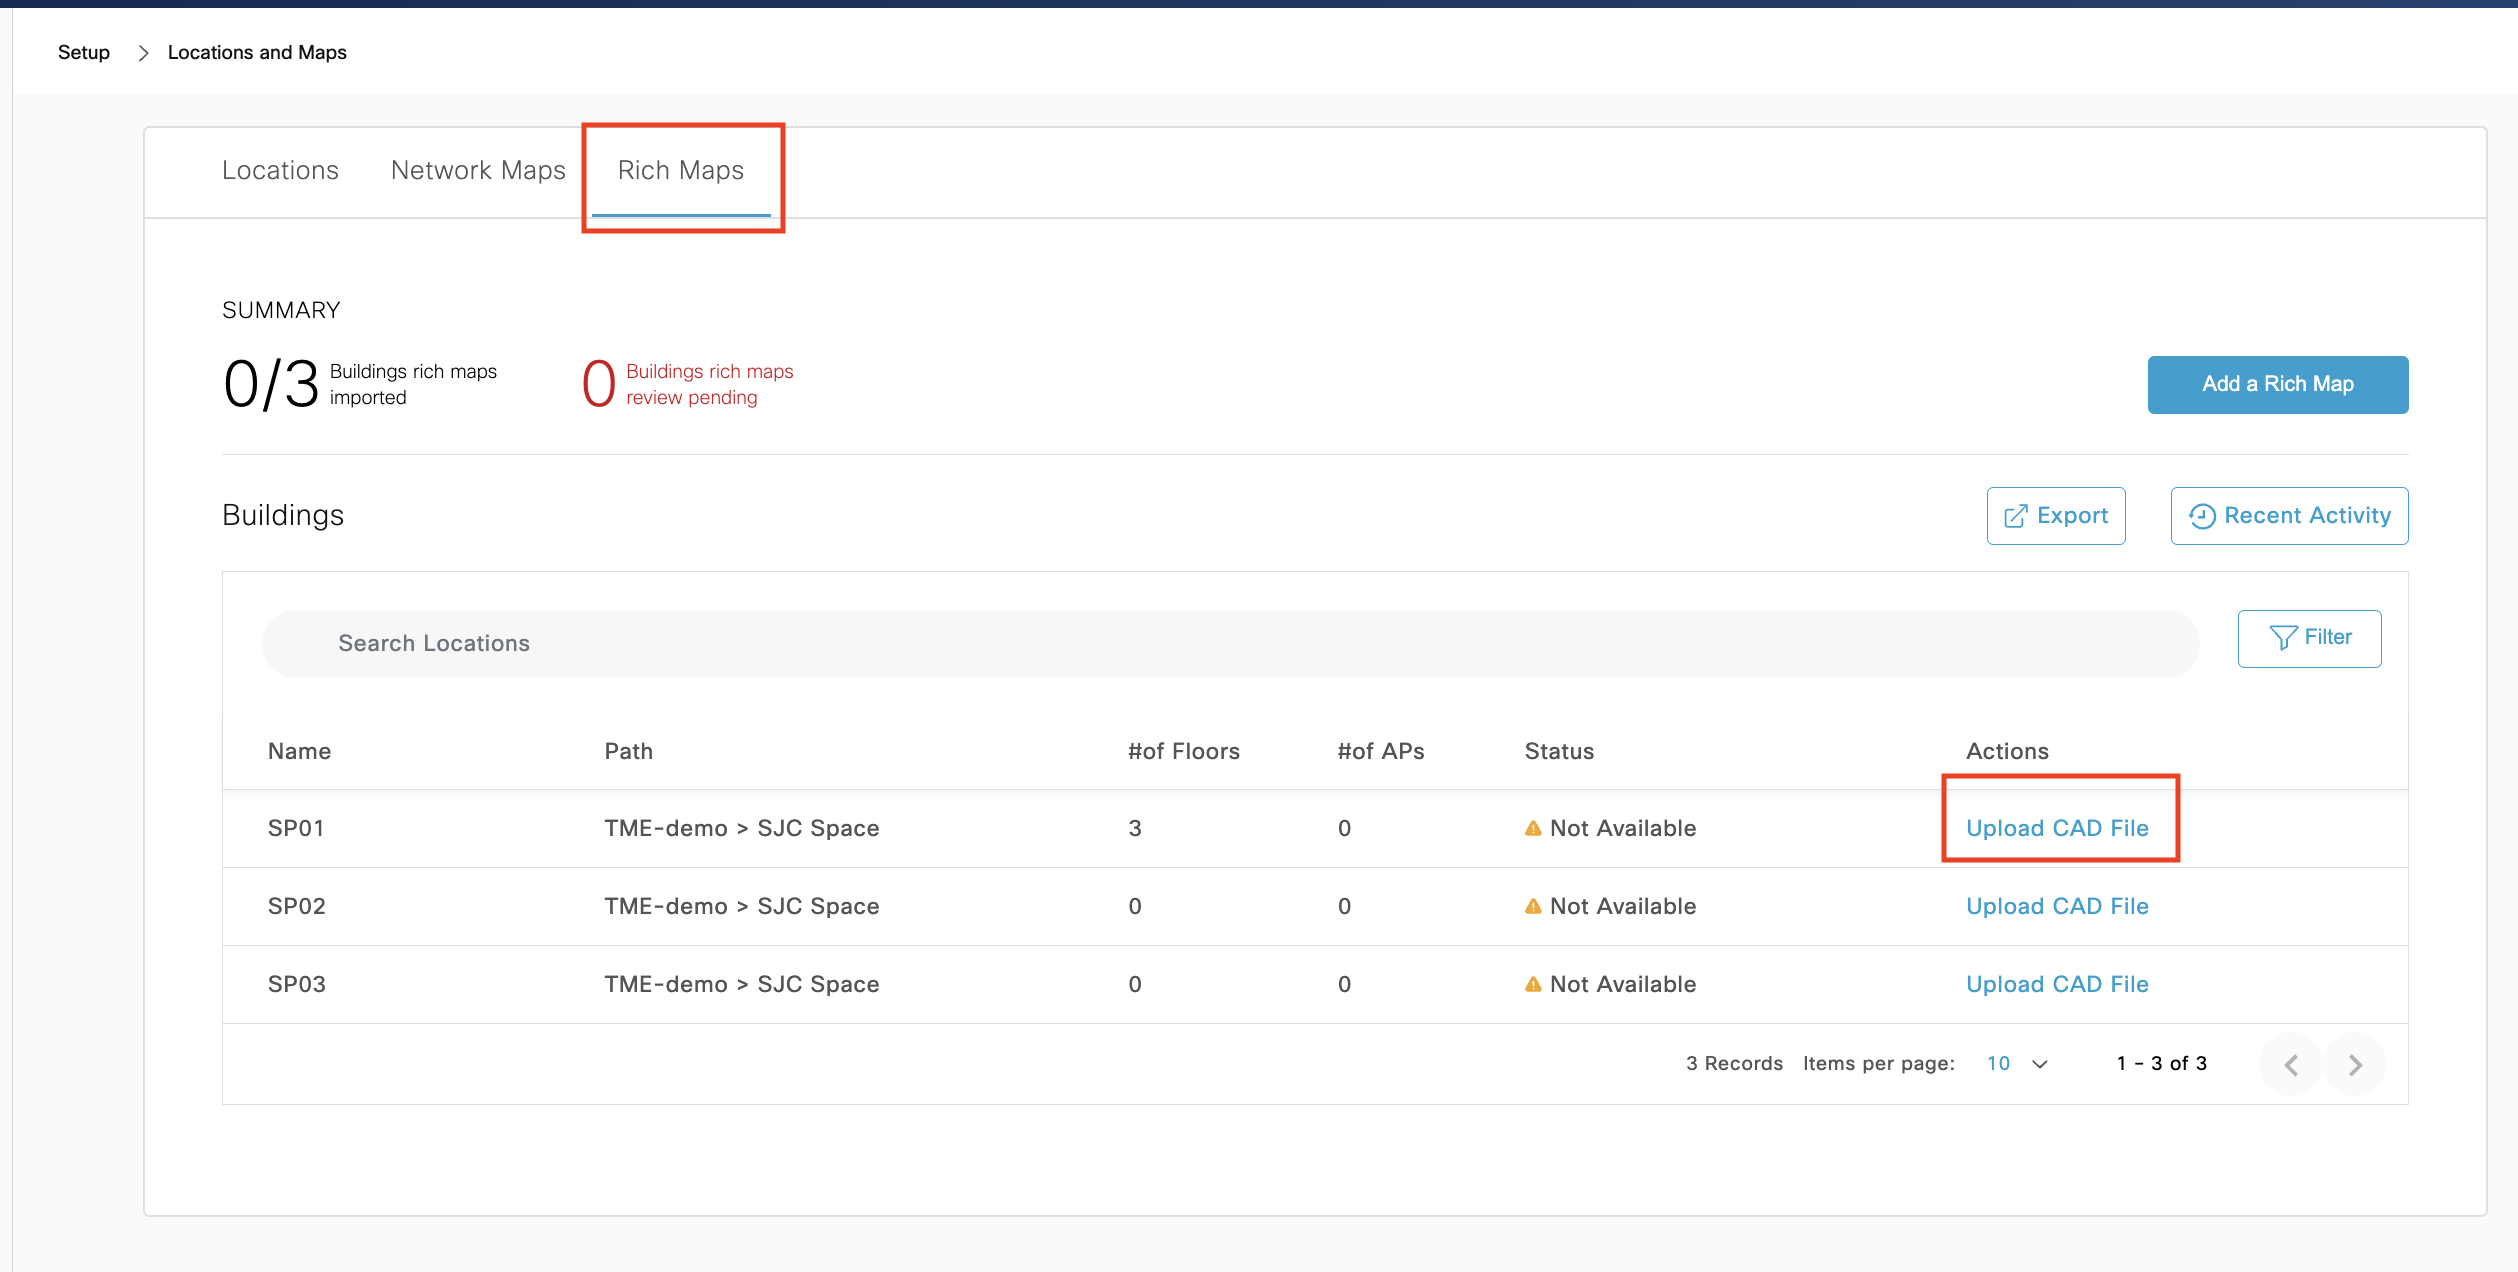
Under Setup > Location & Maps
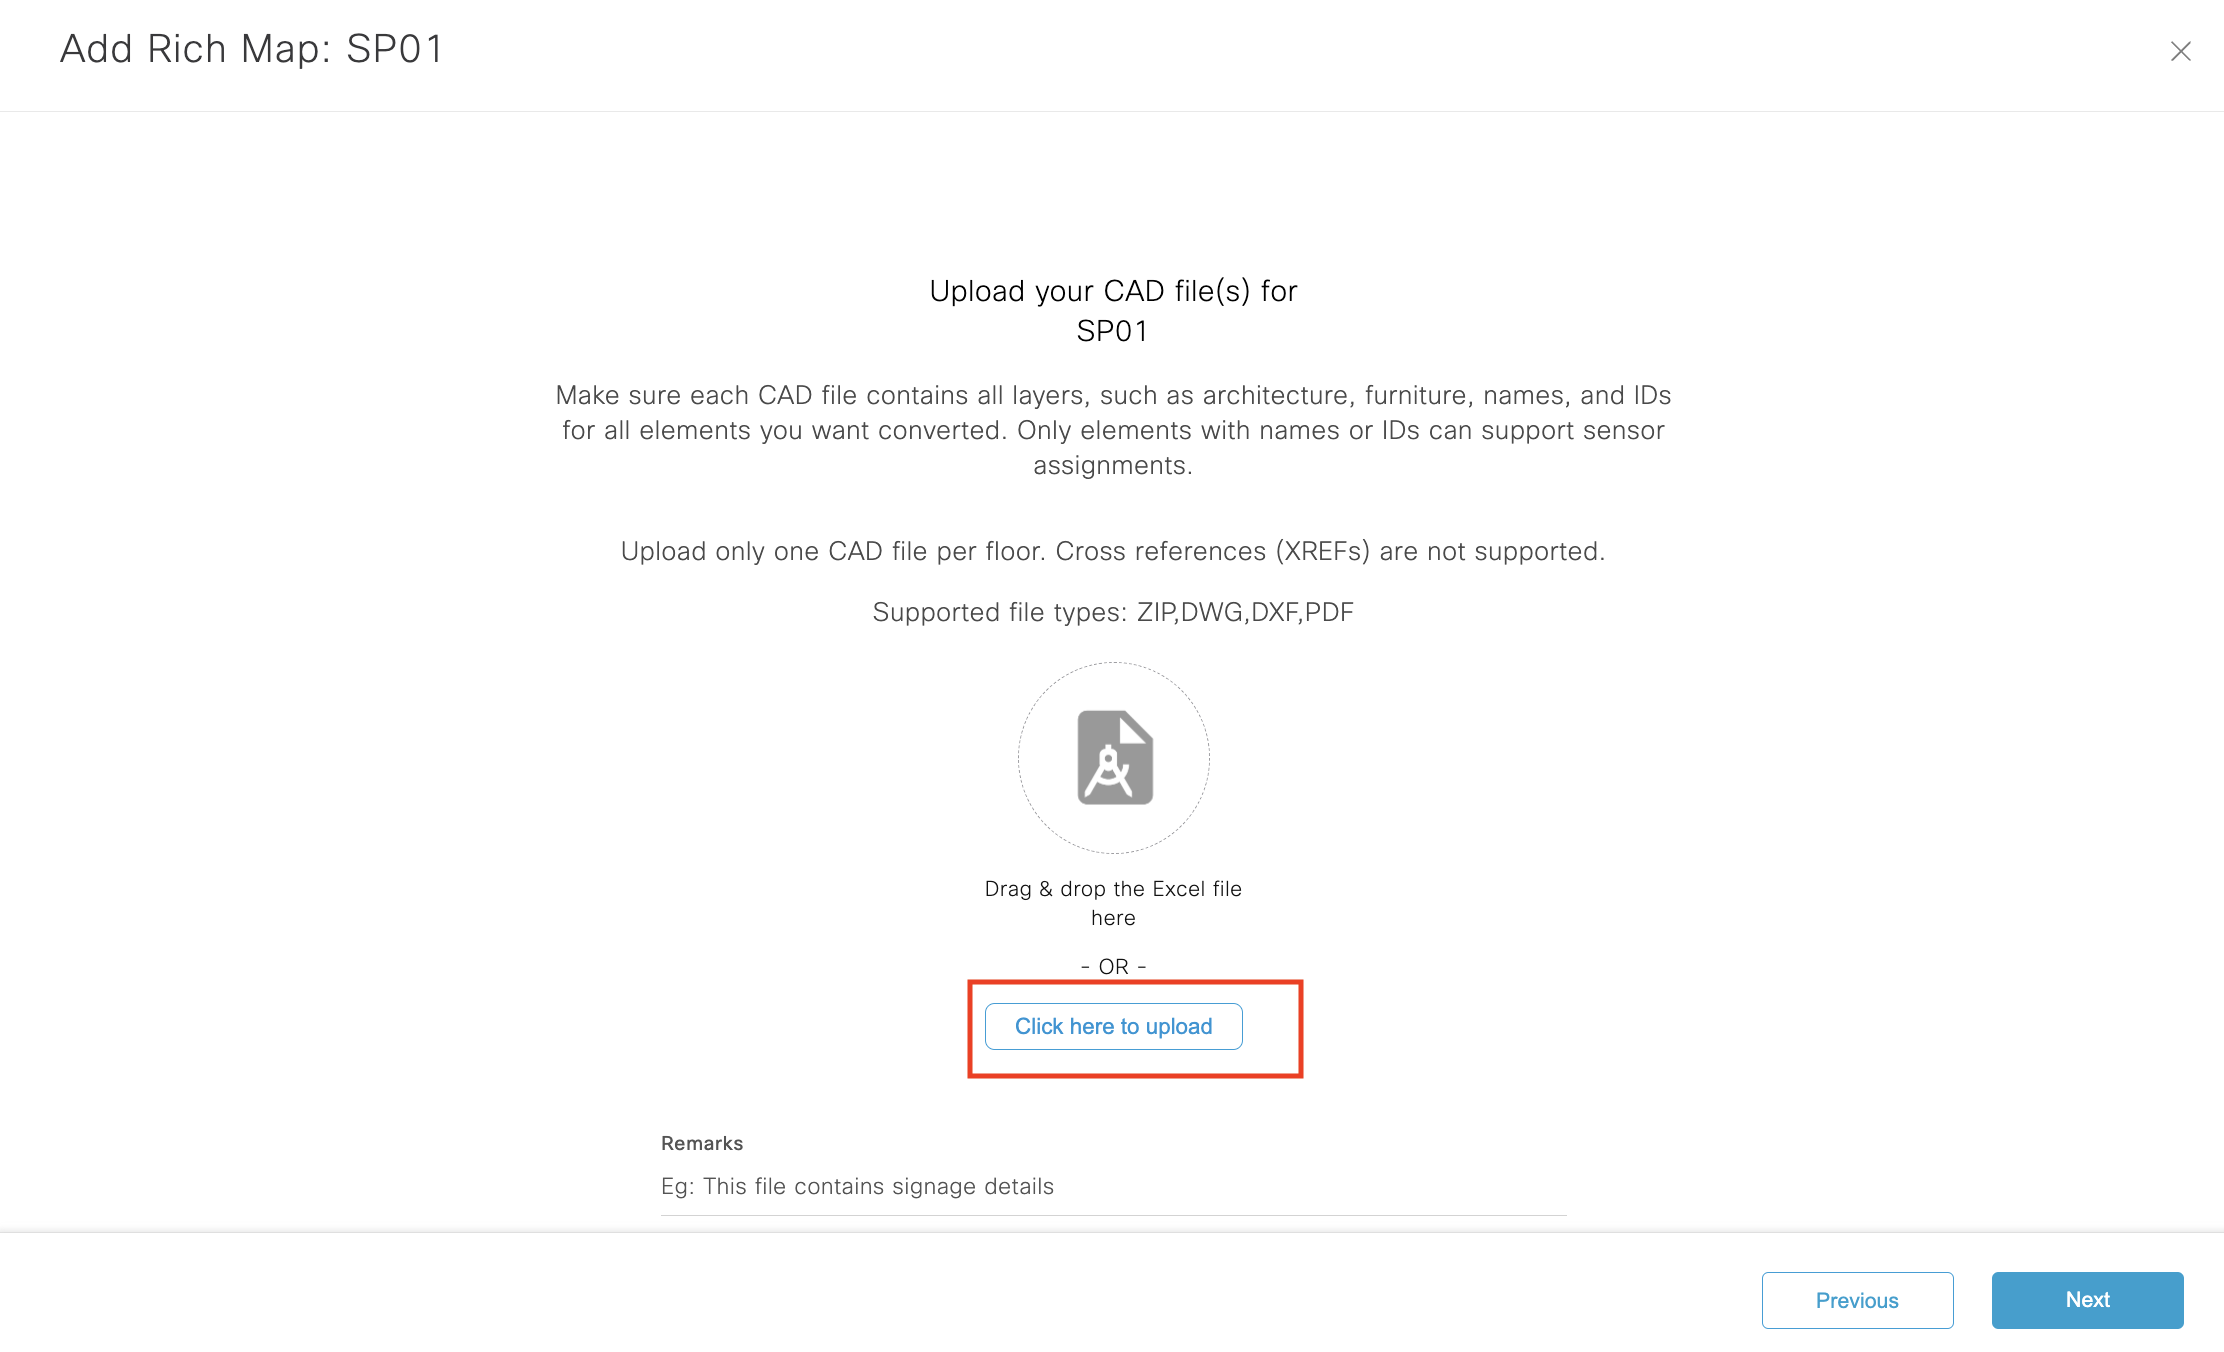
Click on the “Rich Maps” Tab and Navigate to the building from your location hierarchy for which you are adding a Rich Map (i.e. uploading the CAD file(s) and click on “Upload CAD file”).
CAD files can be bundled into a ZIP file and uploaded at a building level or on a floor-by-floor basis with individual DWG files per floor.
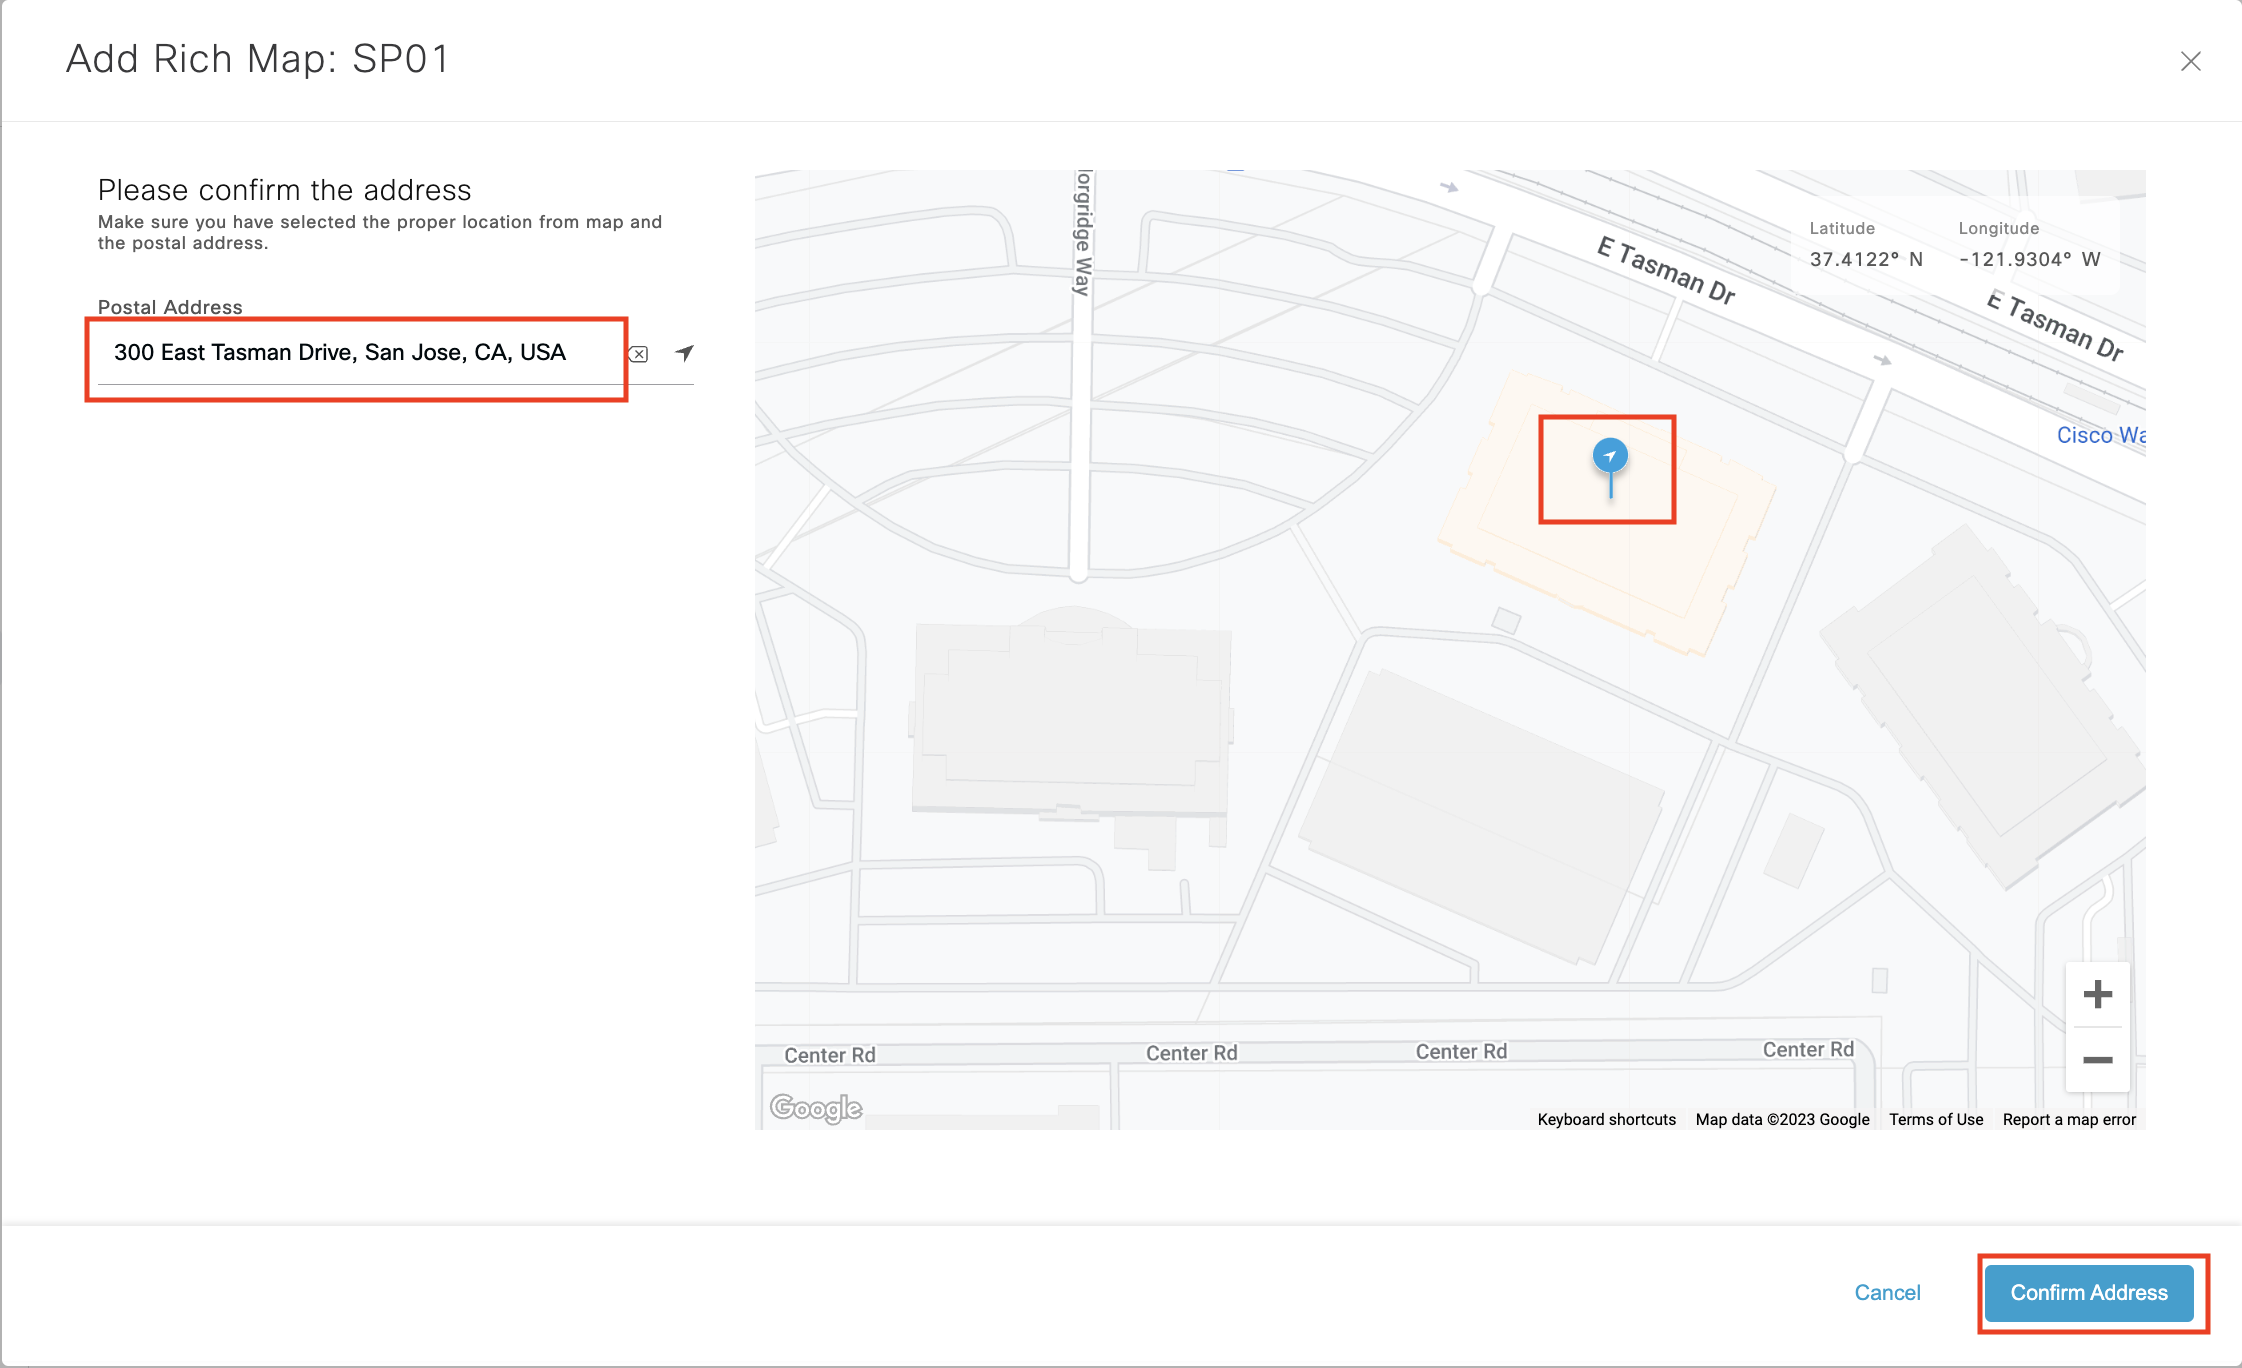
Provide and Confirm the correct building address.
Verify if the location pin is on the right address, if not, you can drag and drop the pin on the center or the focus area of the building. Click on “Confirm Address”
Upload CAD files
Note:
Enter notes in ‘Remarks’ to clarify any details about your floorplans and Click “Next”
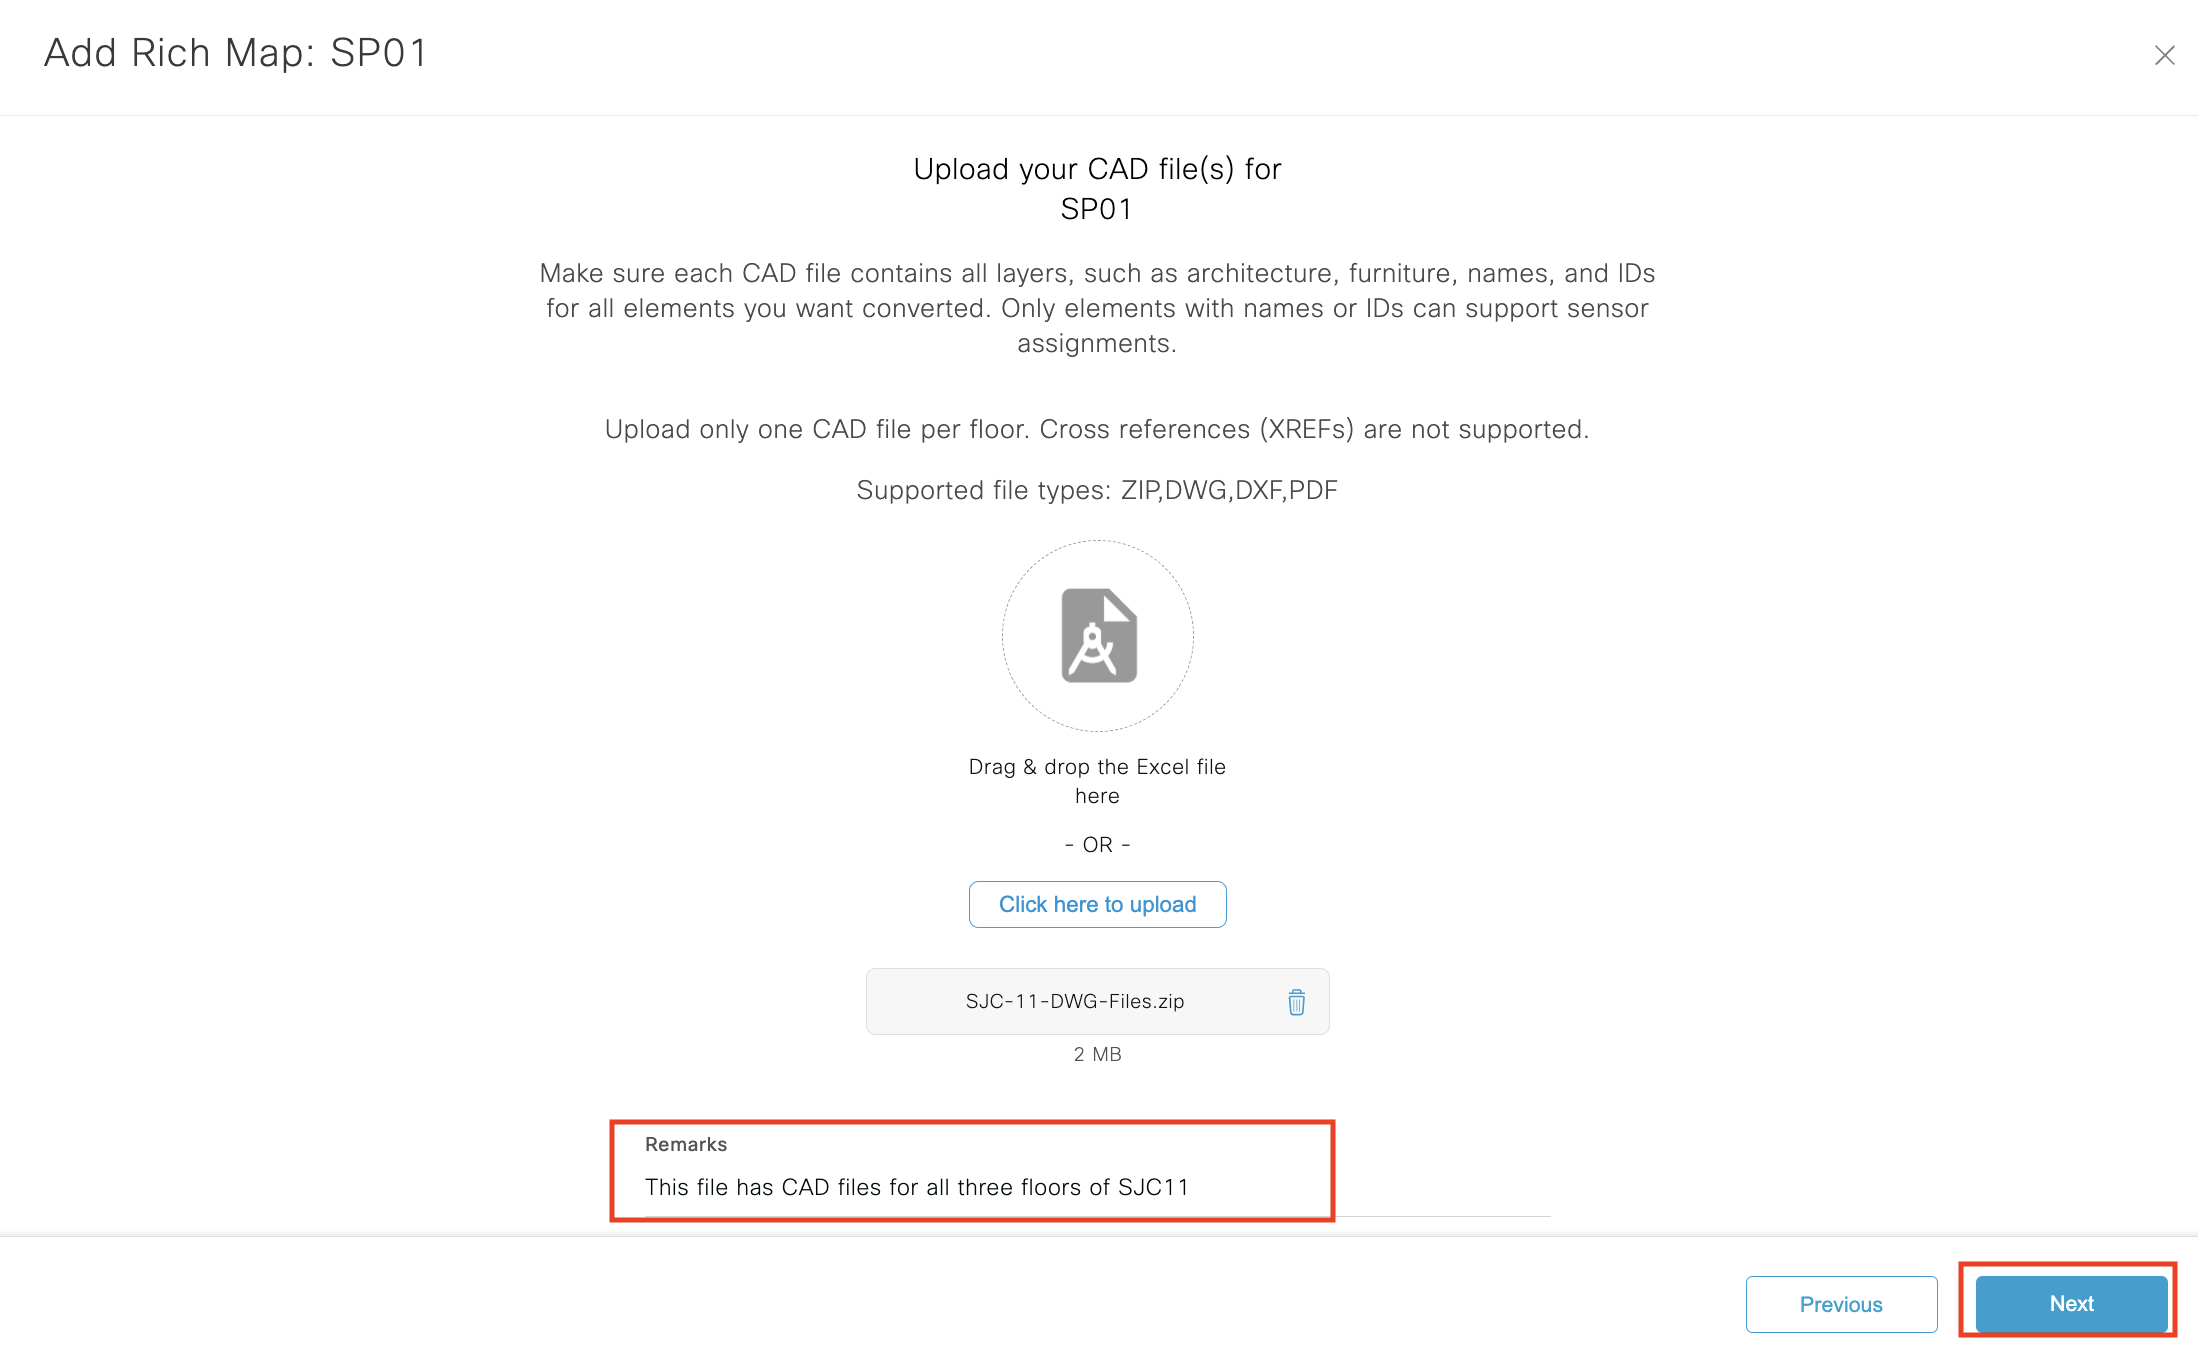
Note: After uploading it can take up to approximately 1 week for processing and QA.
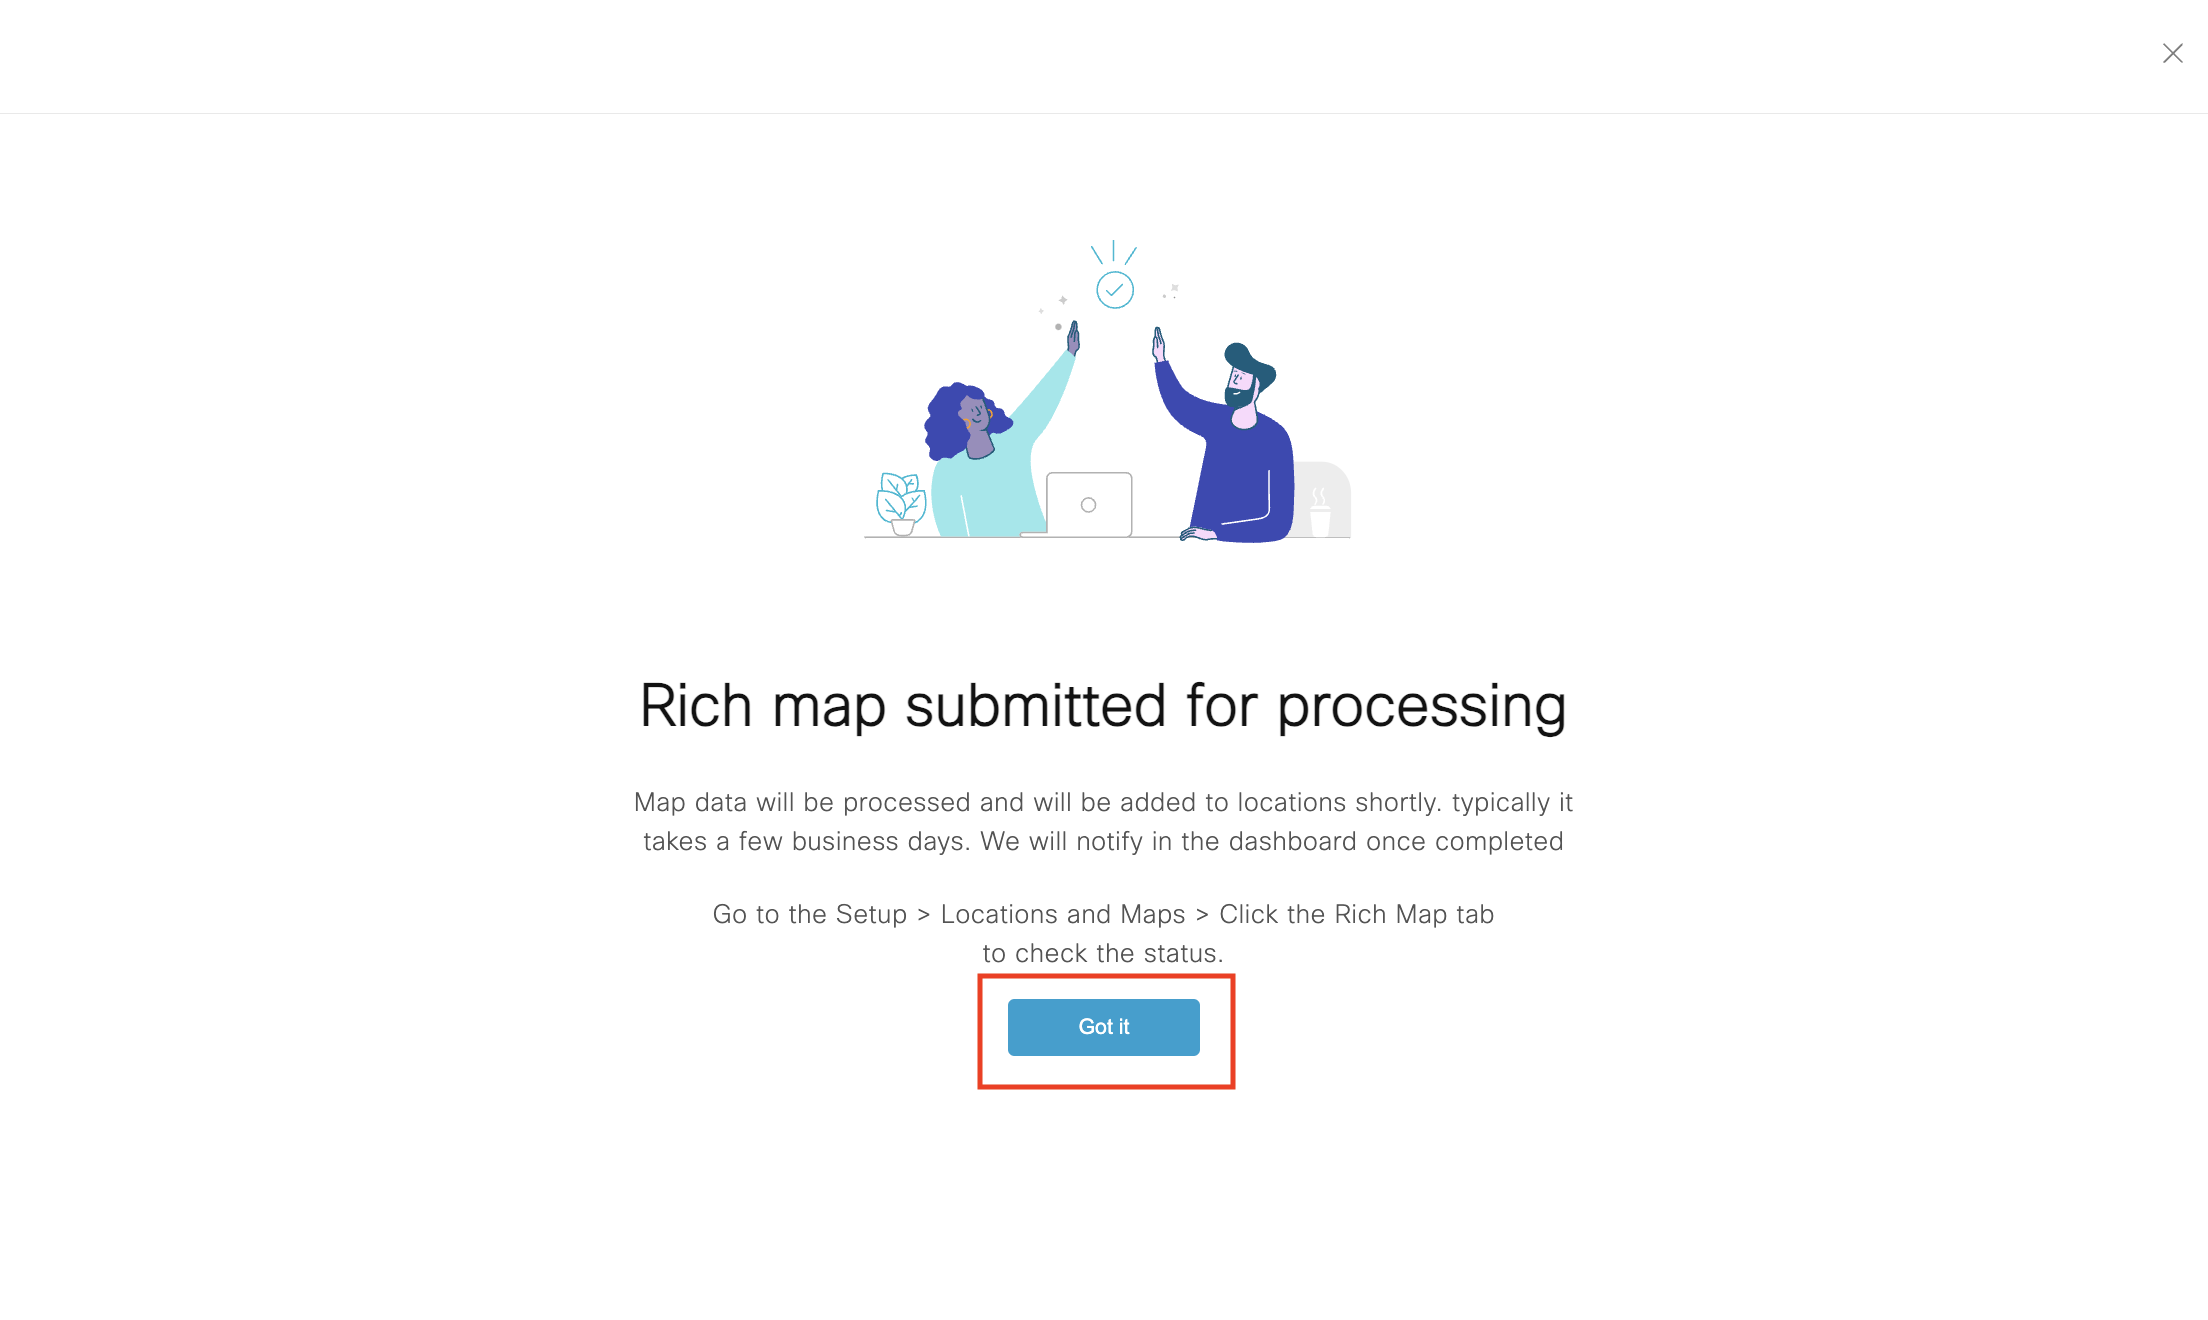
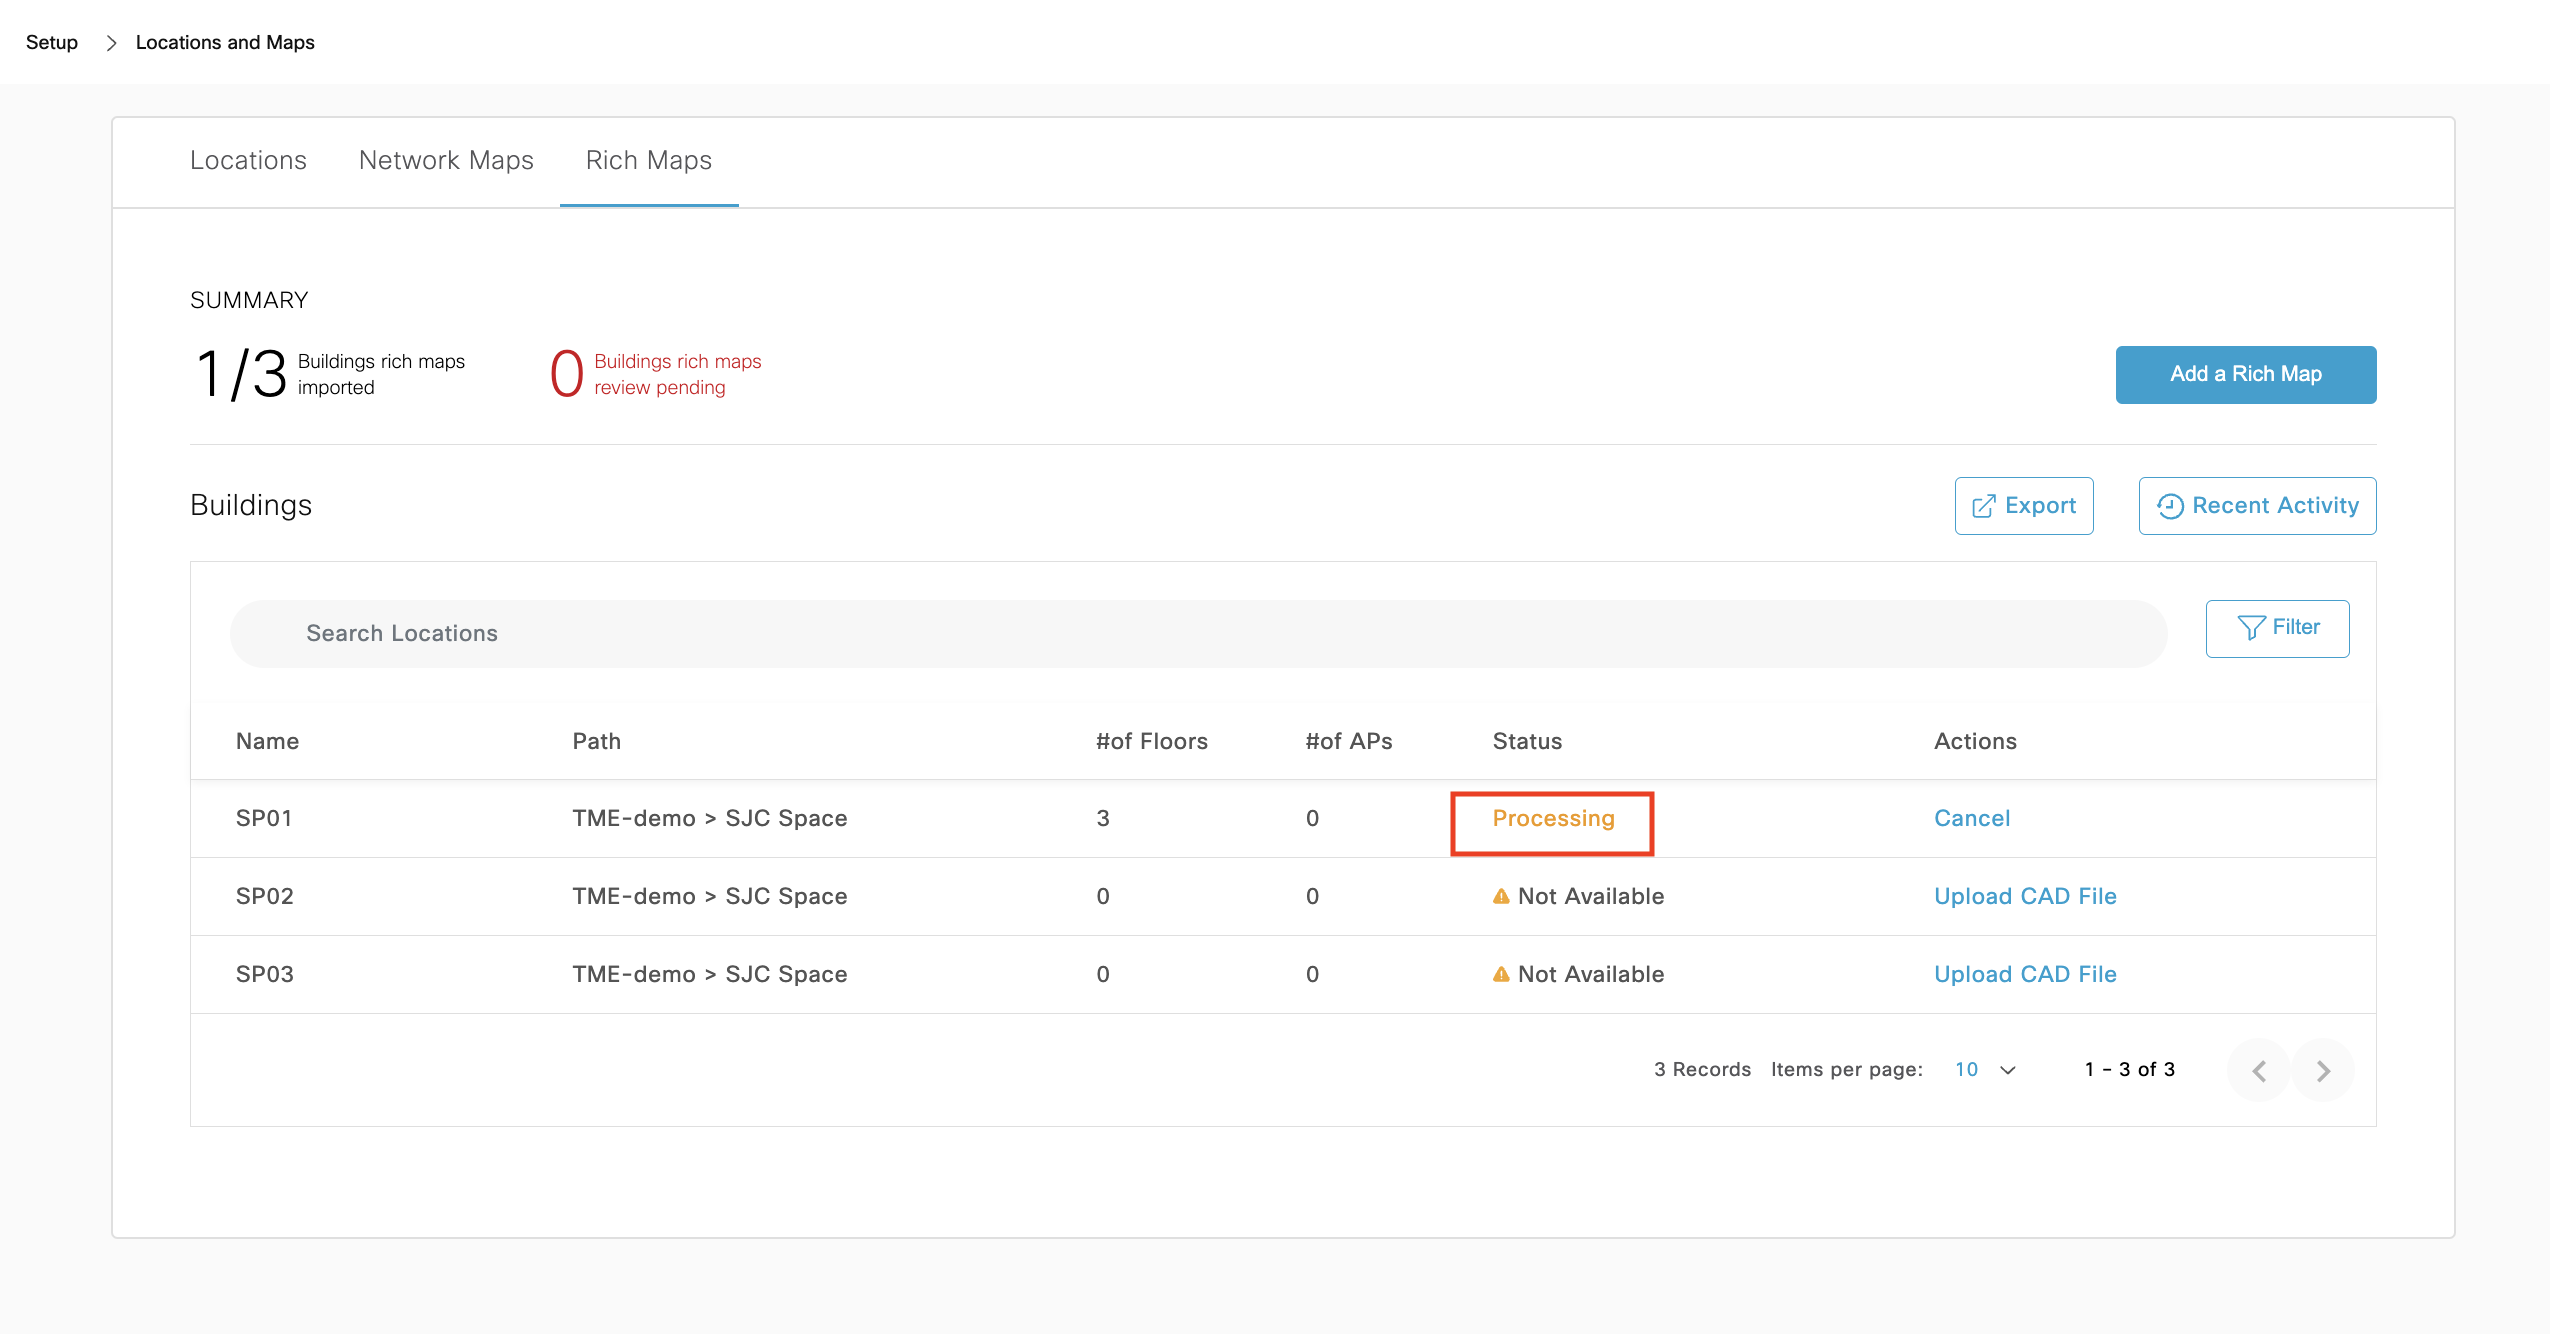
After successful upload the Status changes to ‘Processing’
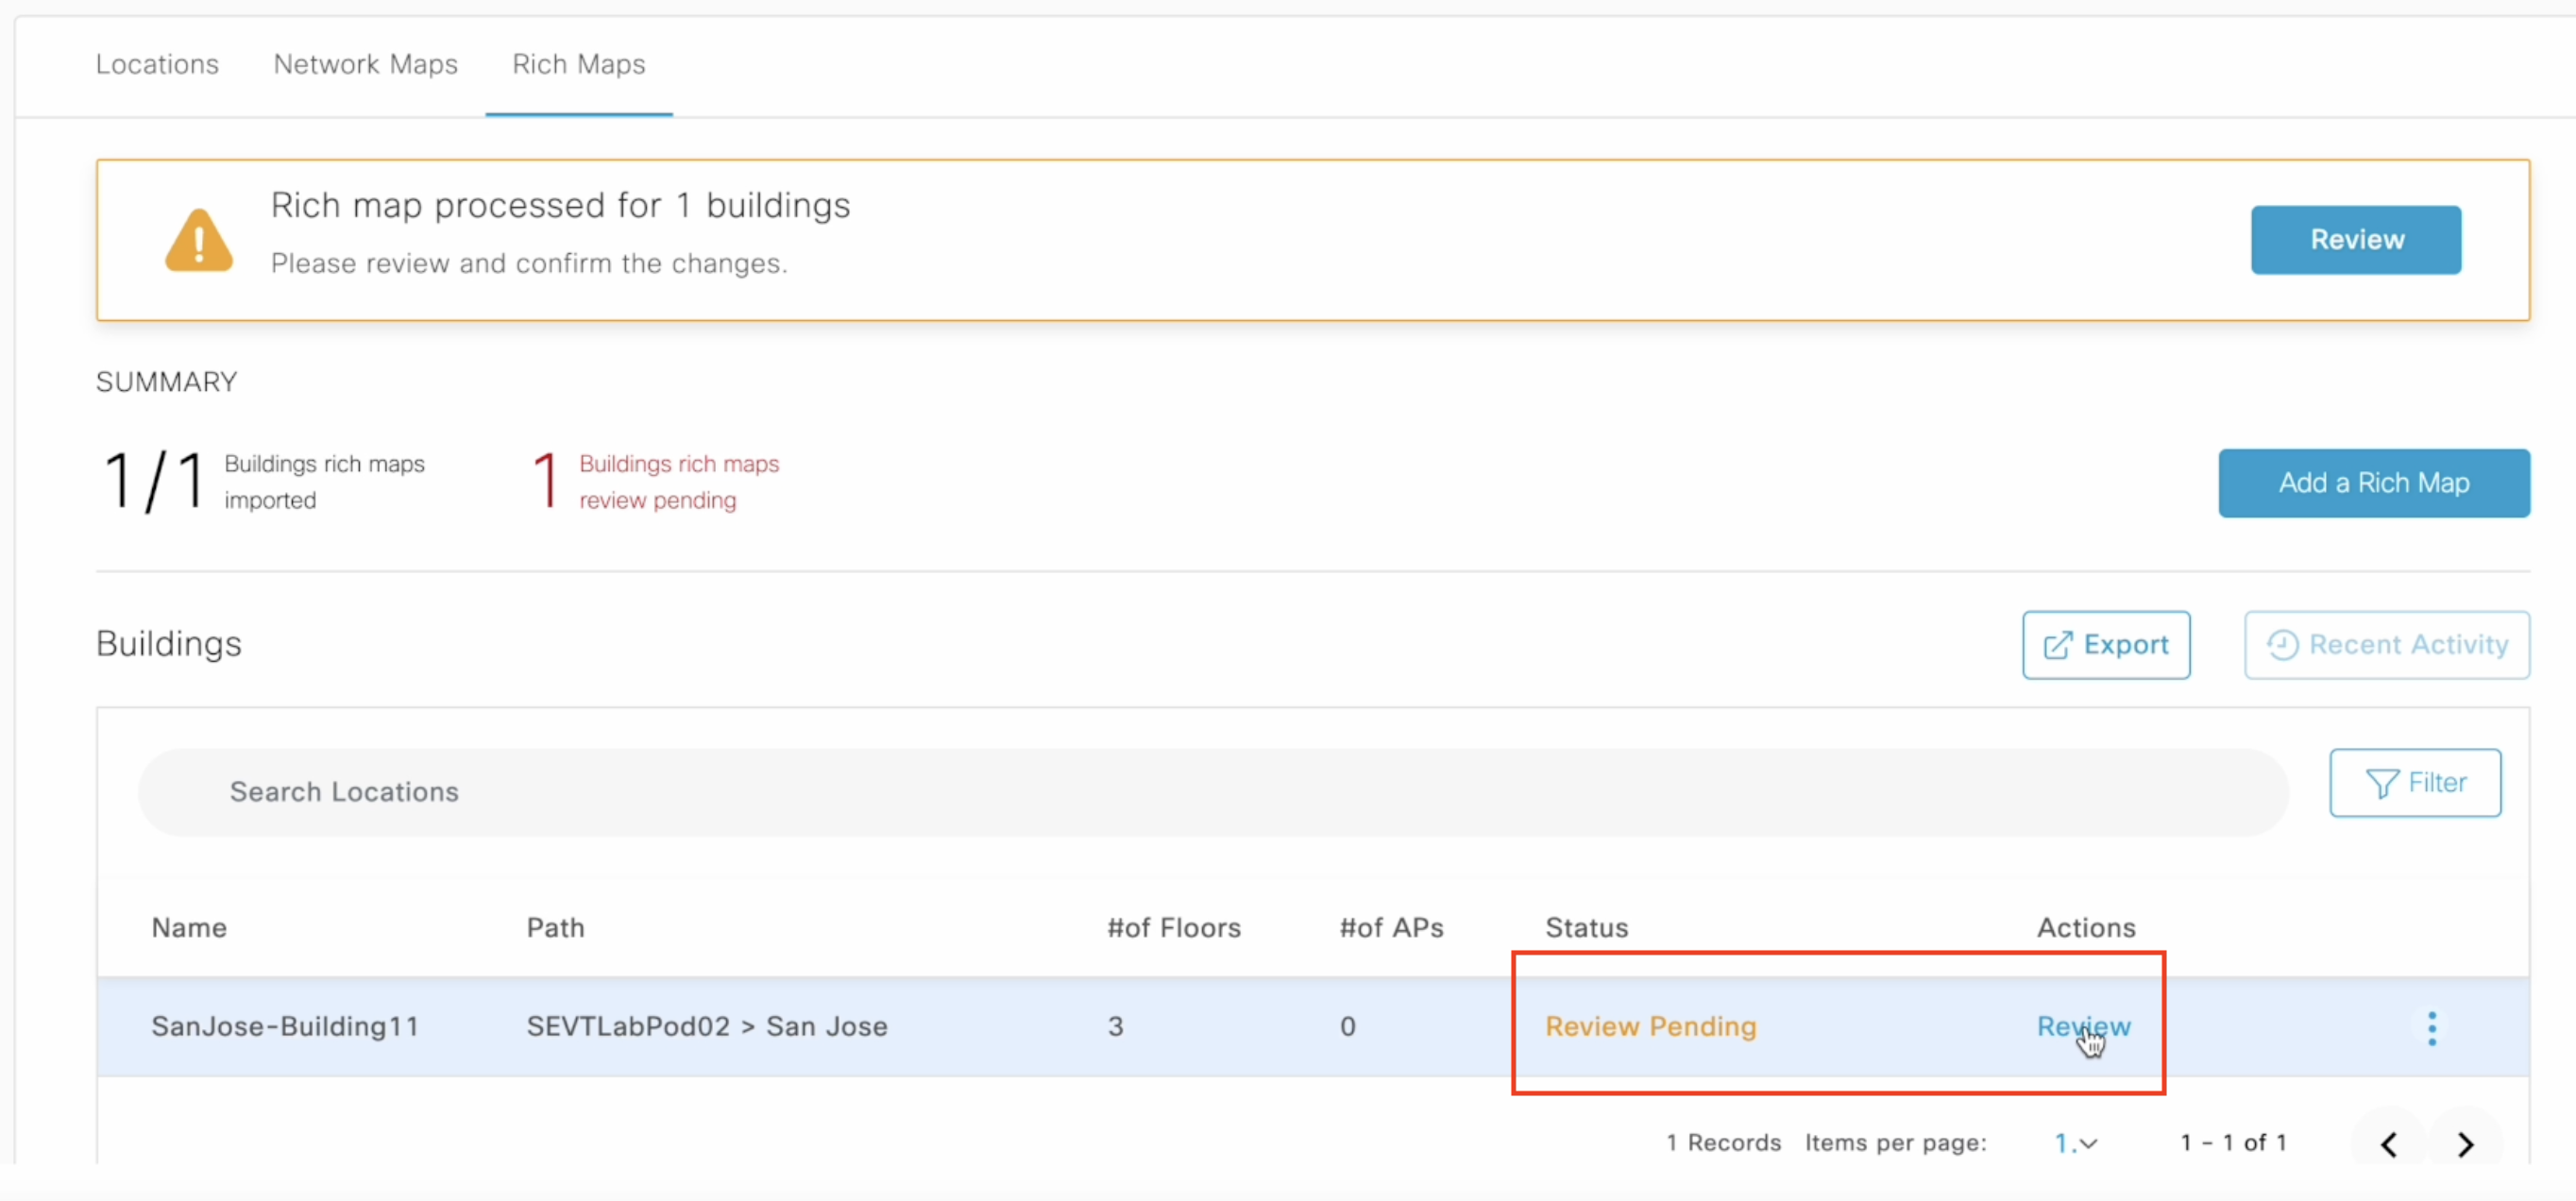
Once processed, Status changes to ‘Review Pending’. Click on “Review” to view unpublished Rich Map.
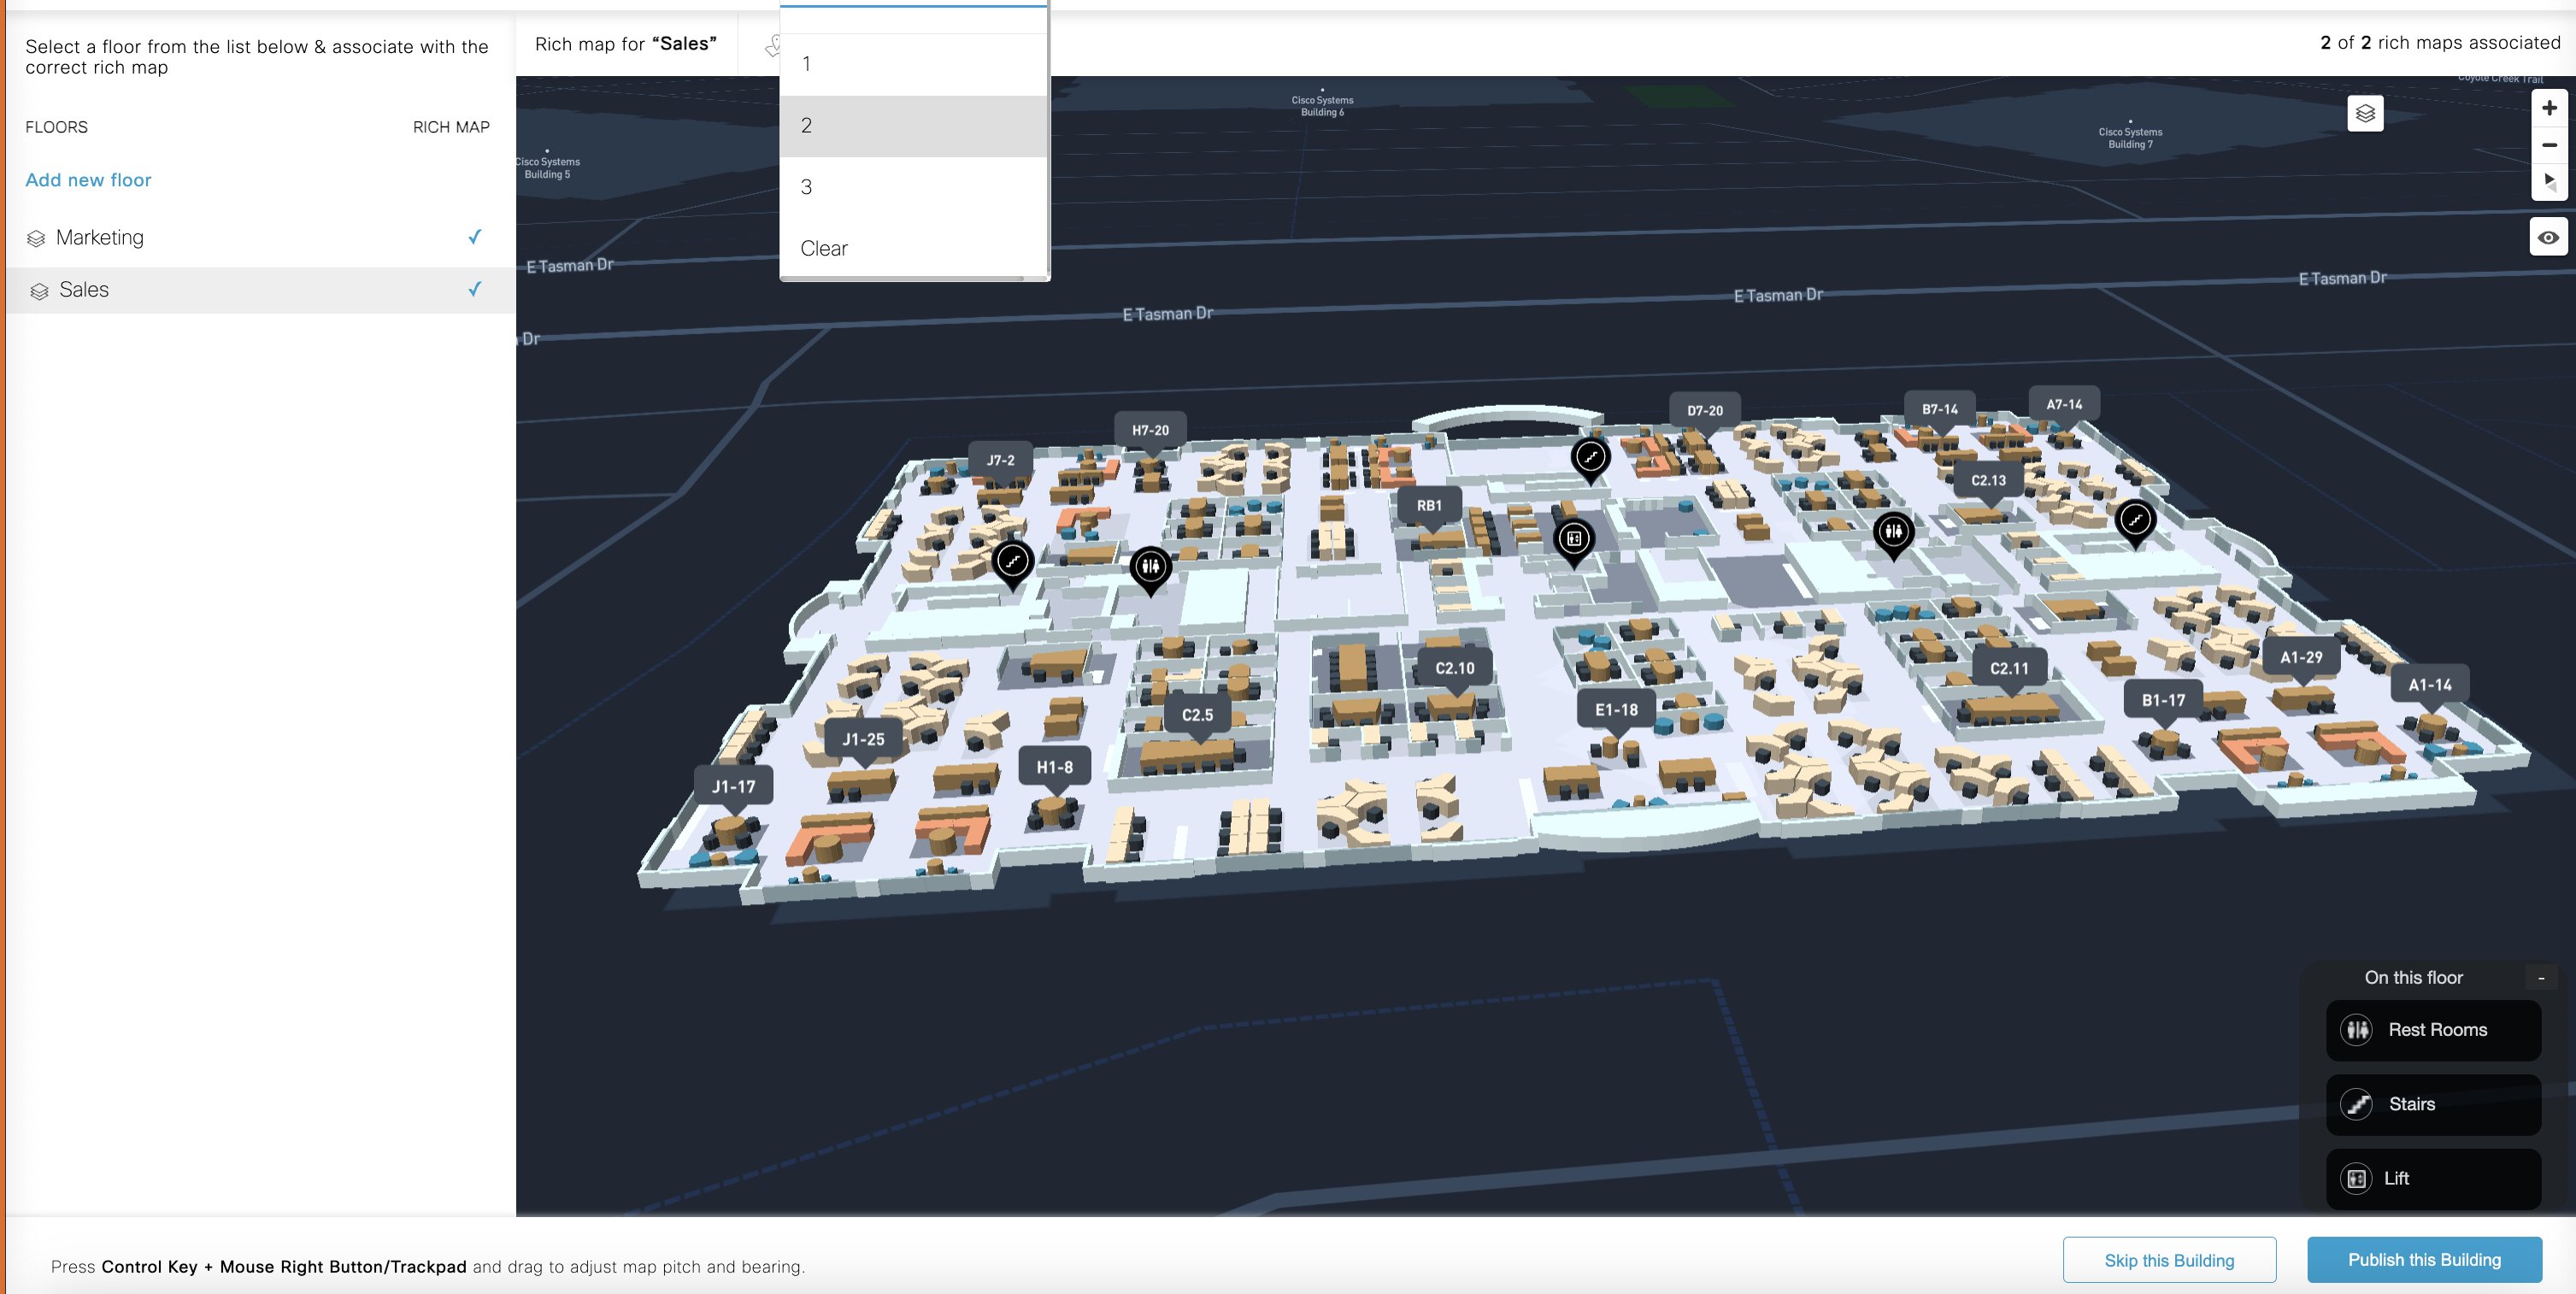
Associate floor names to your floor numbers
We can link Floor Names with the Business Hierarchy. Floor Information here has been imported from the Network Hierarchy and is ready for association
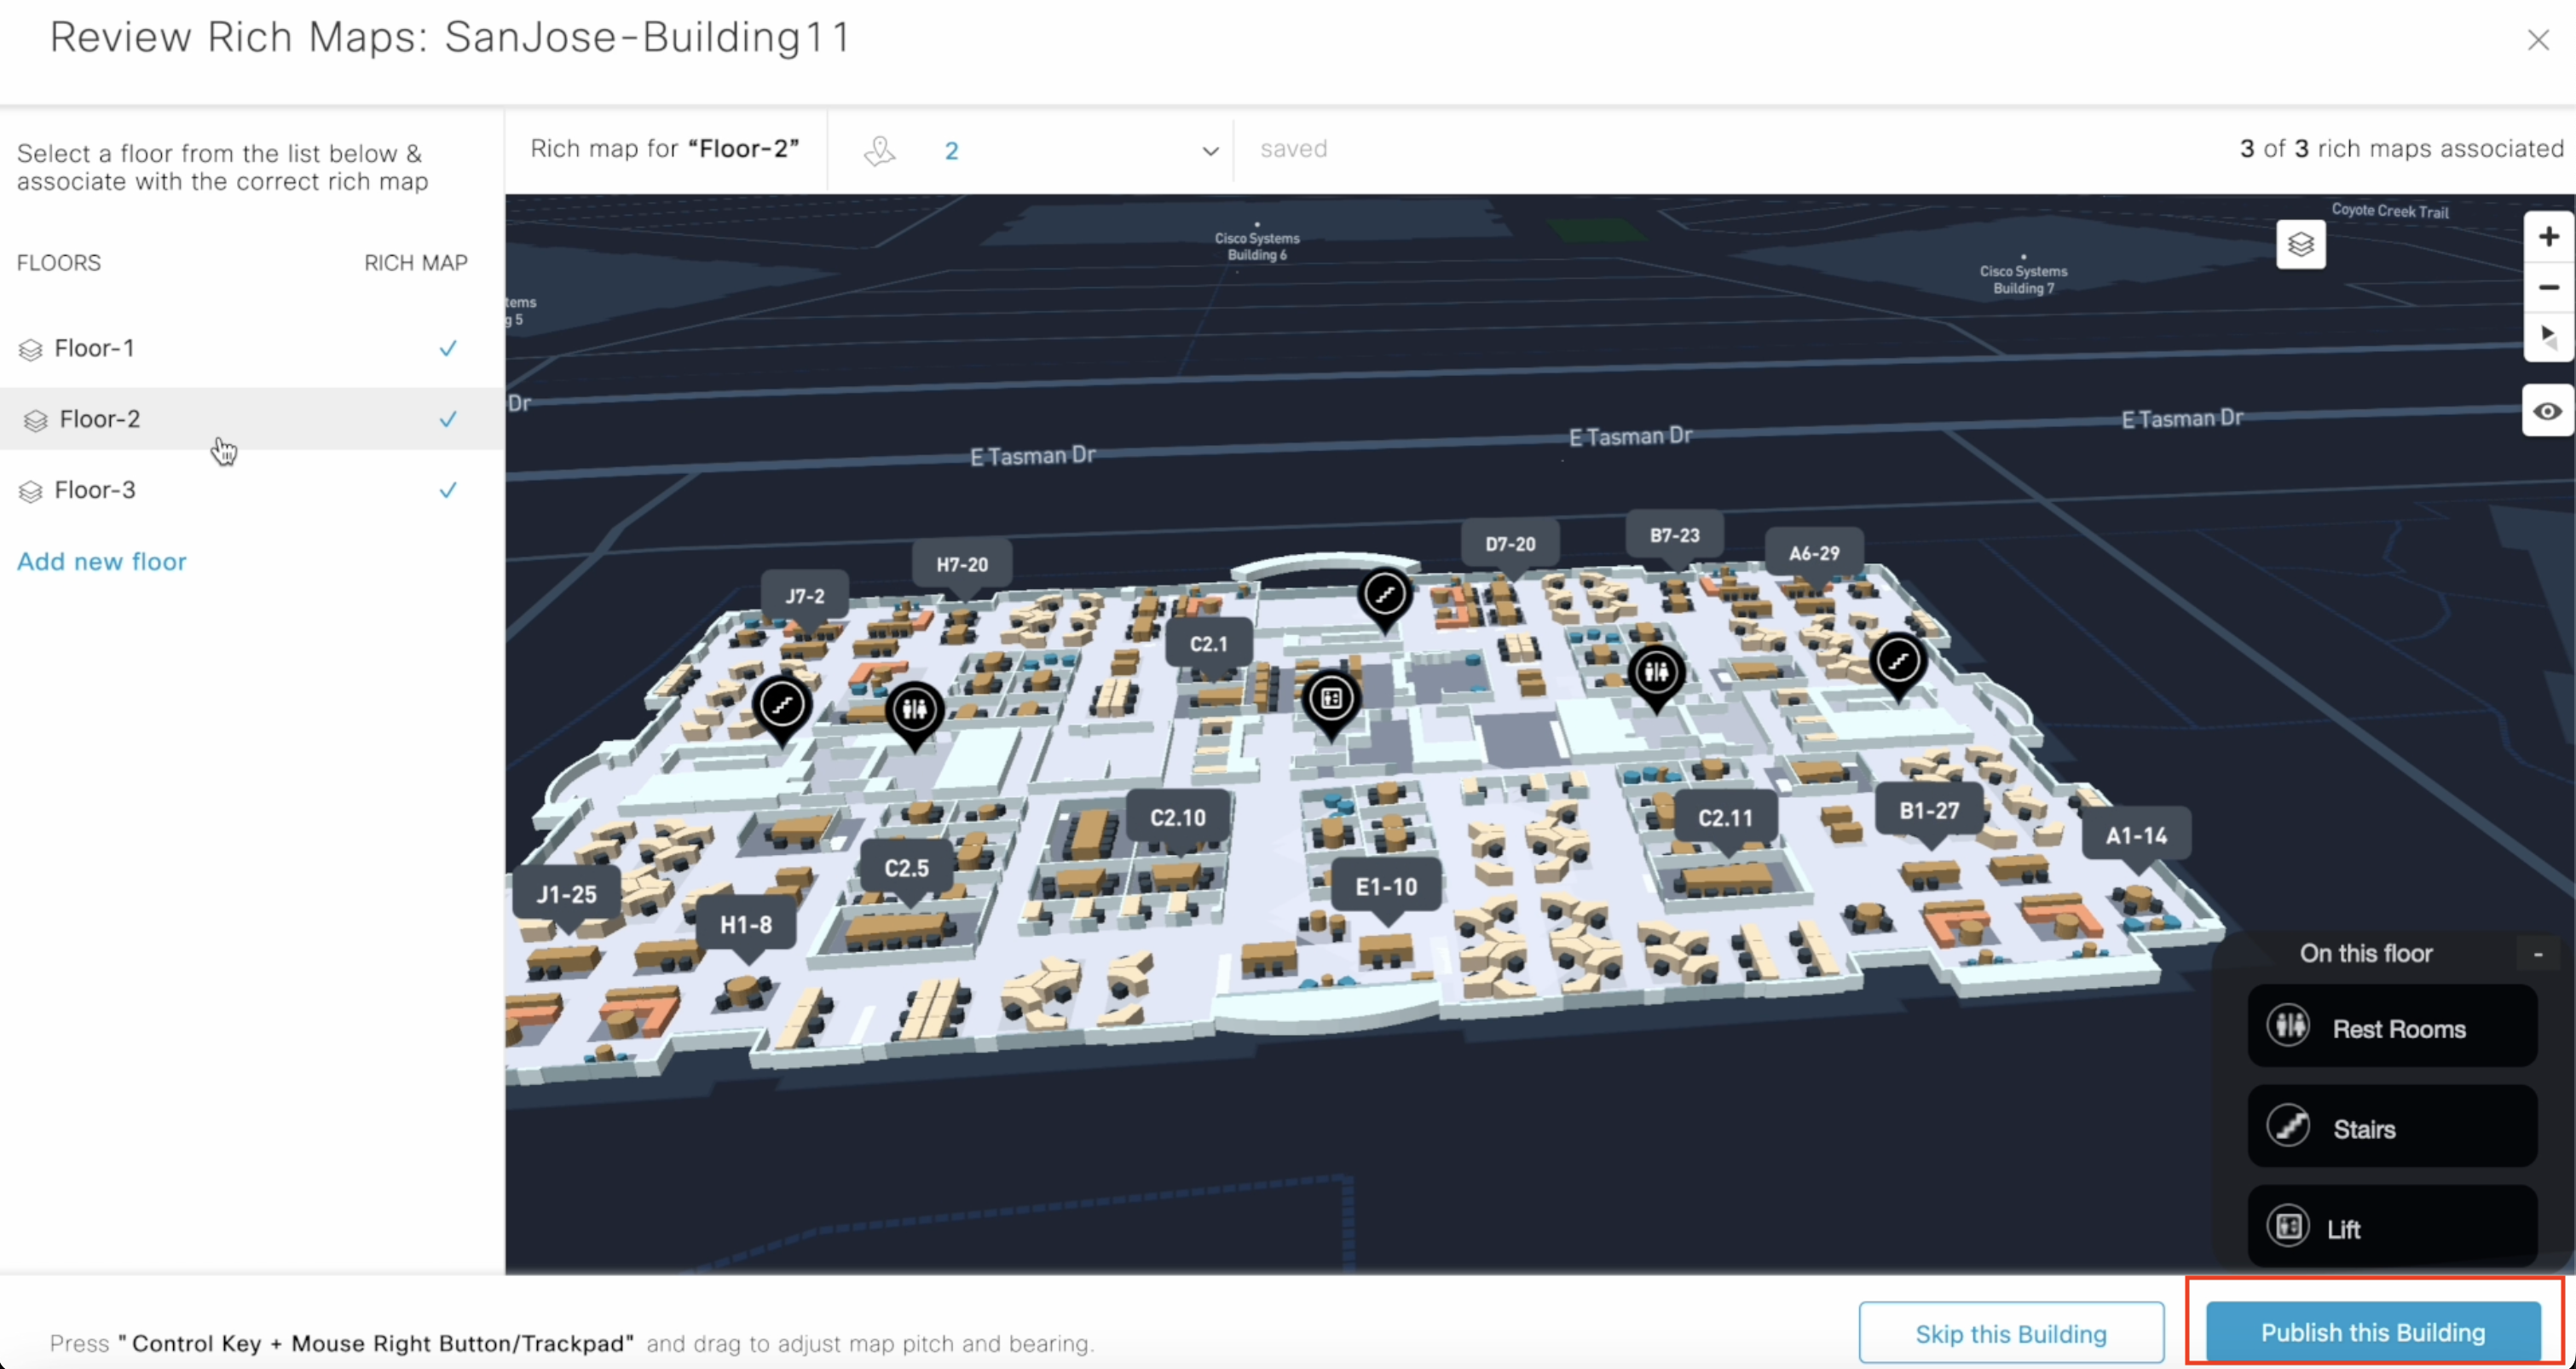
Add/Edit Room Labels

Once everything looks good, Select “Publish”
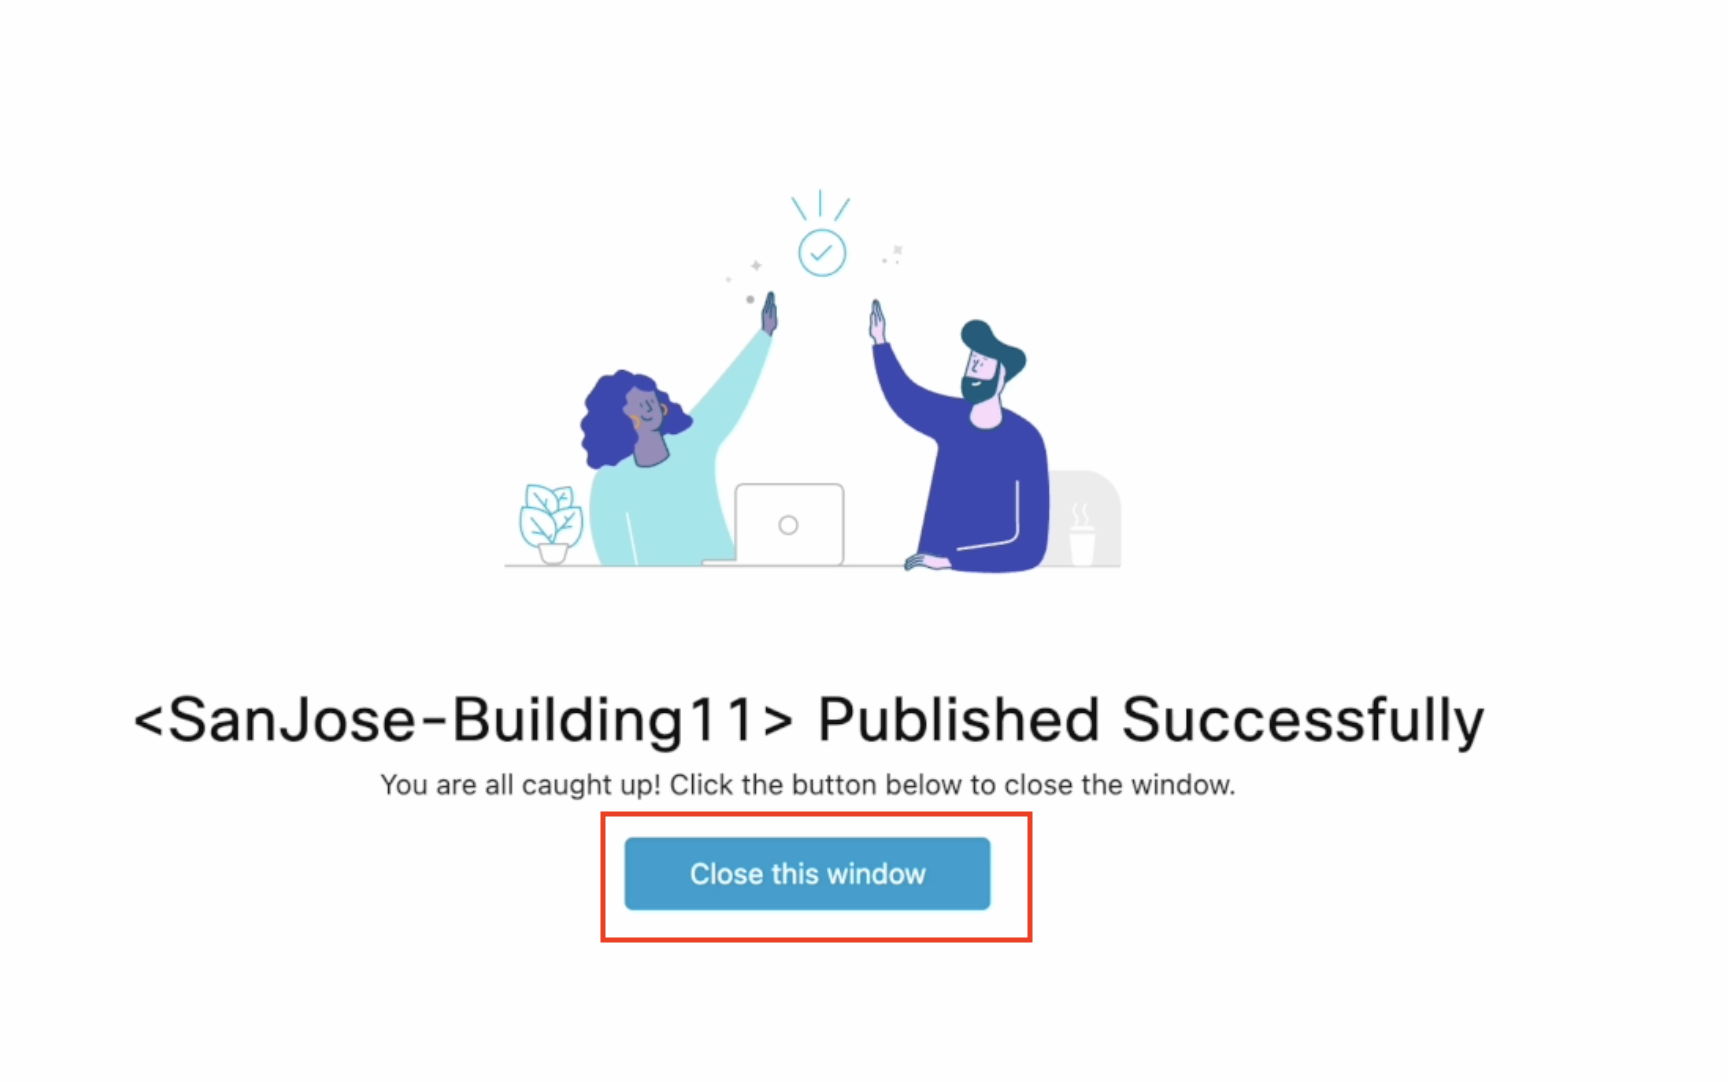
You can also View/Edit once the Rich Map is published.
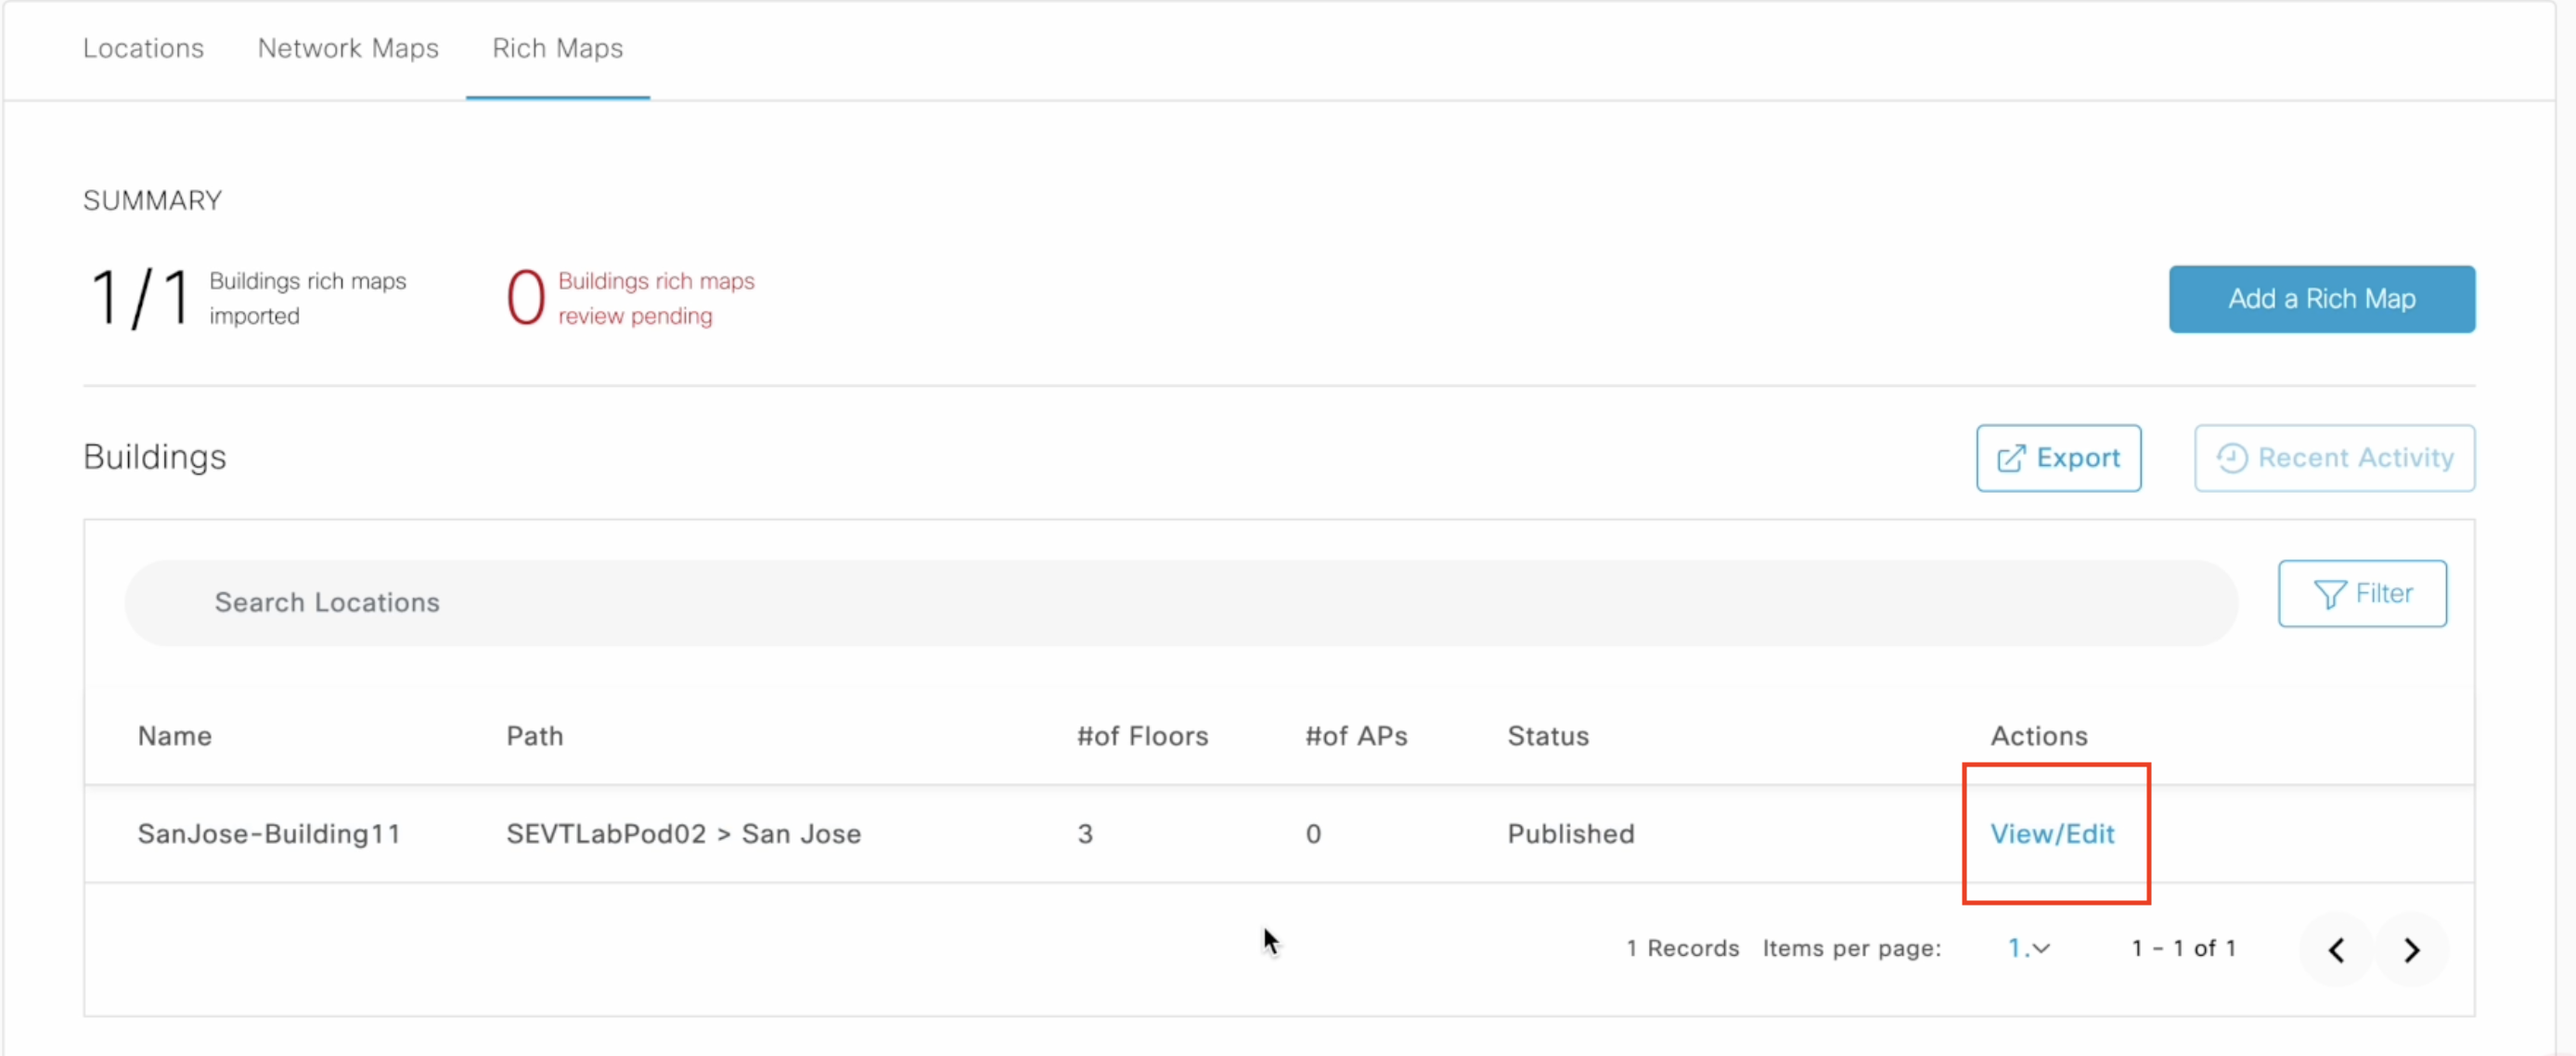
After publishing once, any further edits to the Rich Map go into a Draft state. Click “Publish” again and all draft edits reflect on digital signage and other apps immediately.
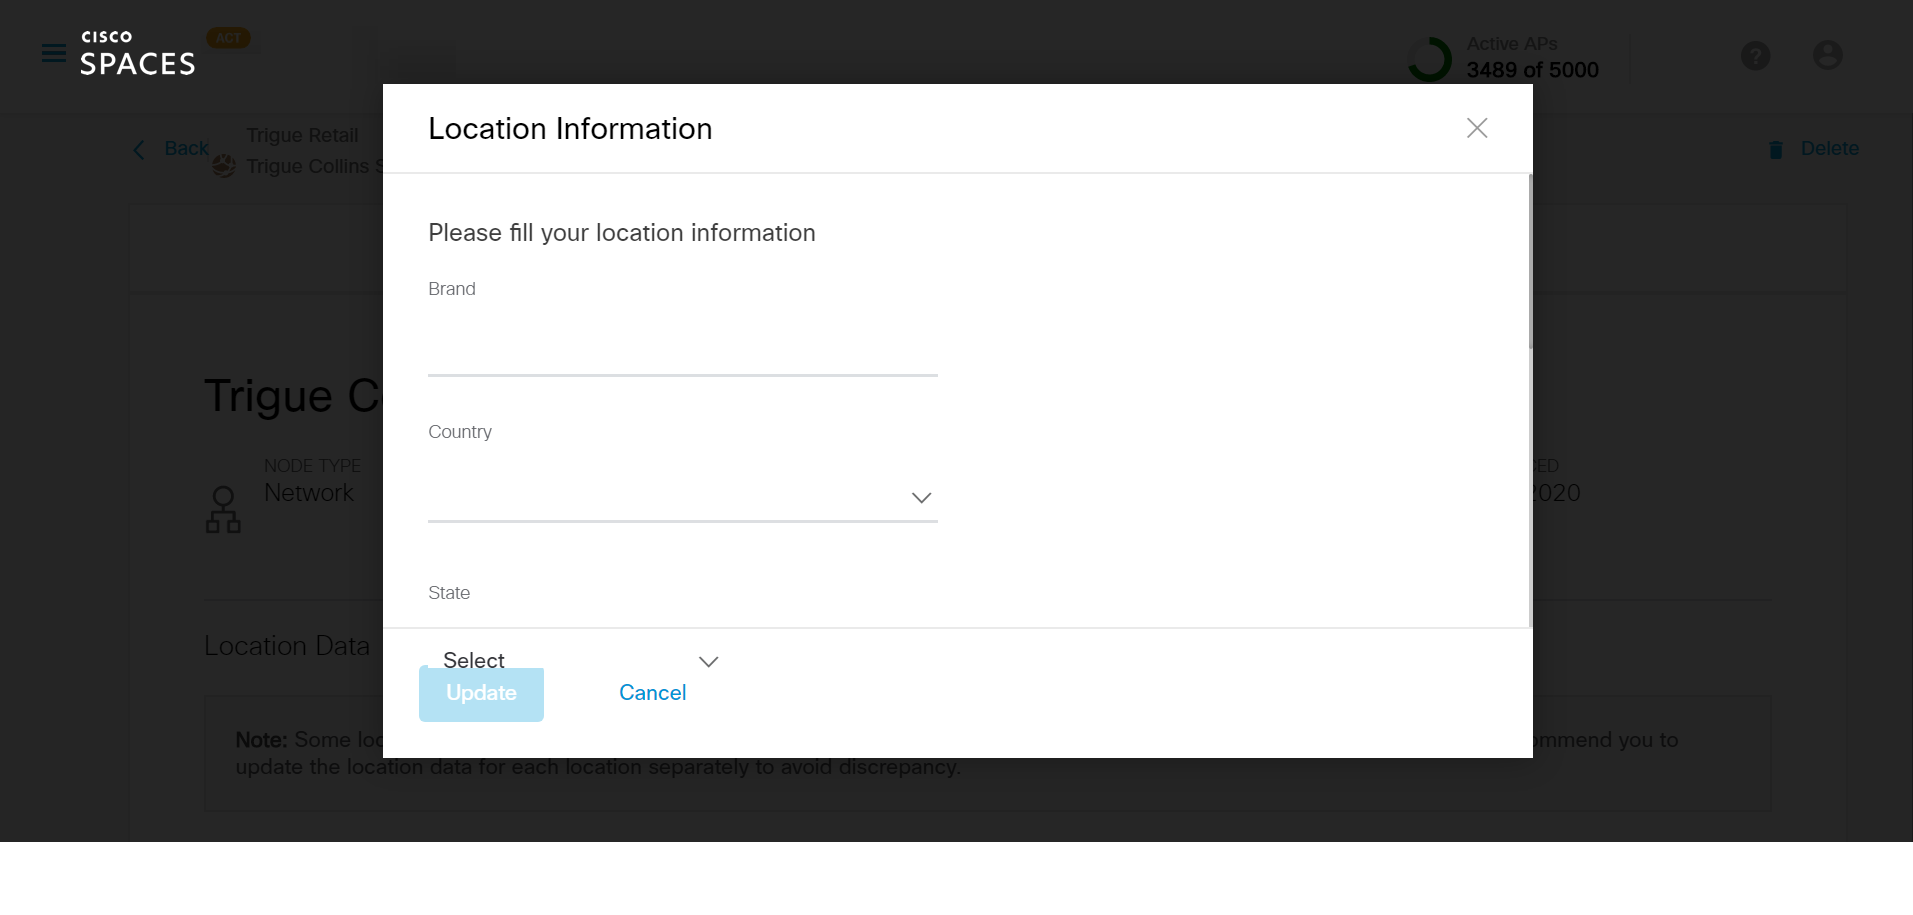
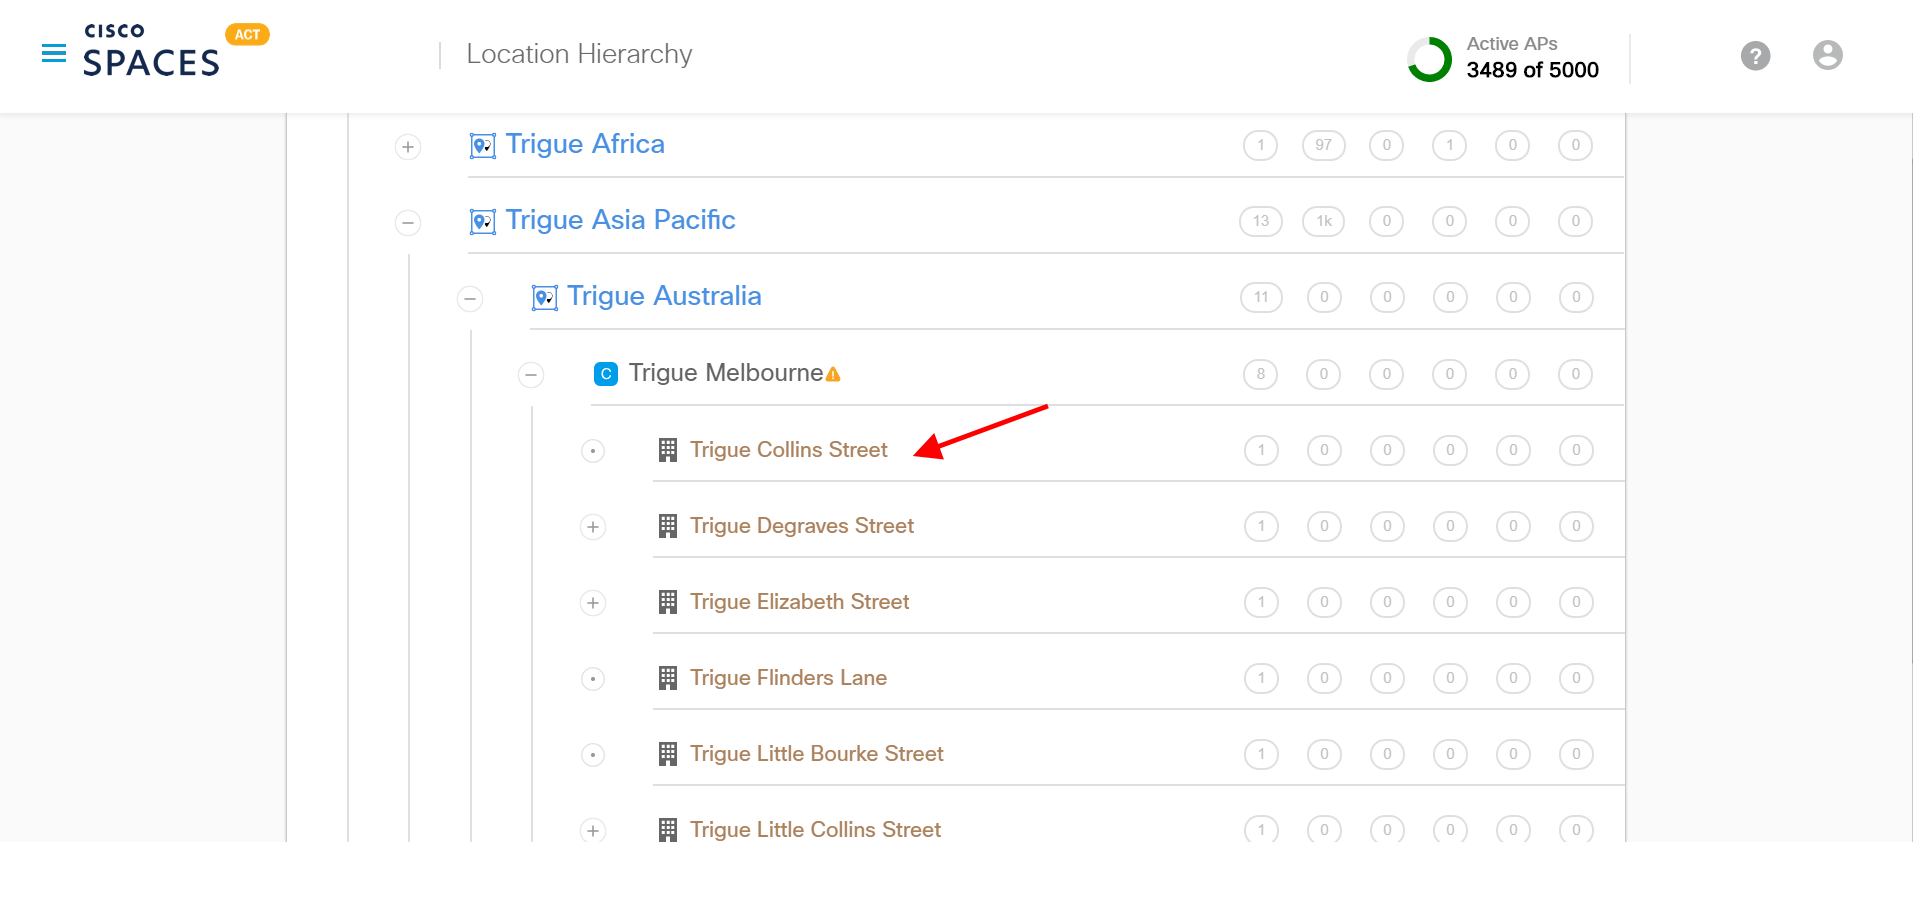
In the Location Hierarchy page, click on the Location where you want to add location info.
Click “Edit” on Location Data.
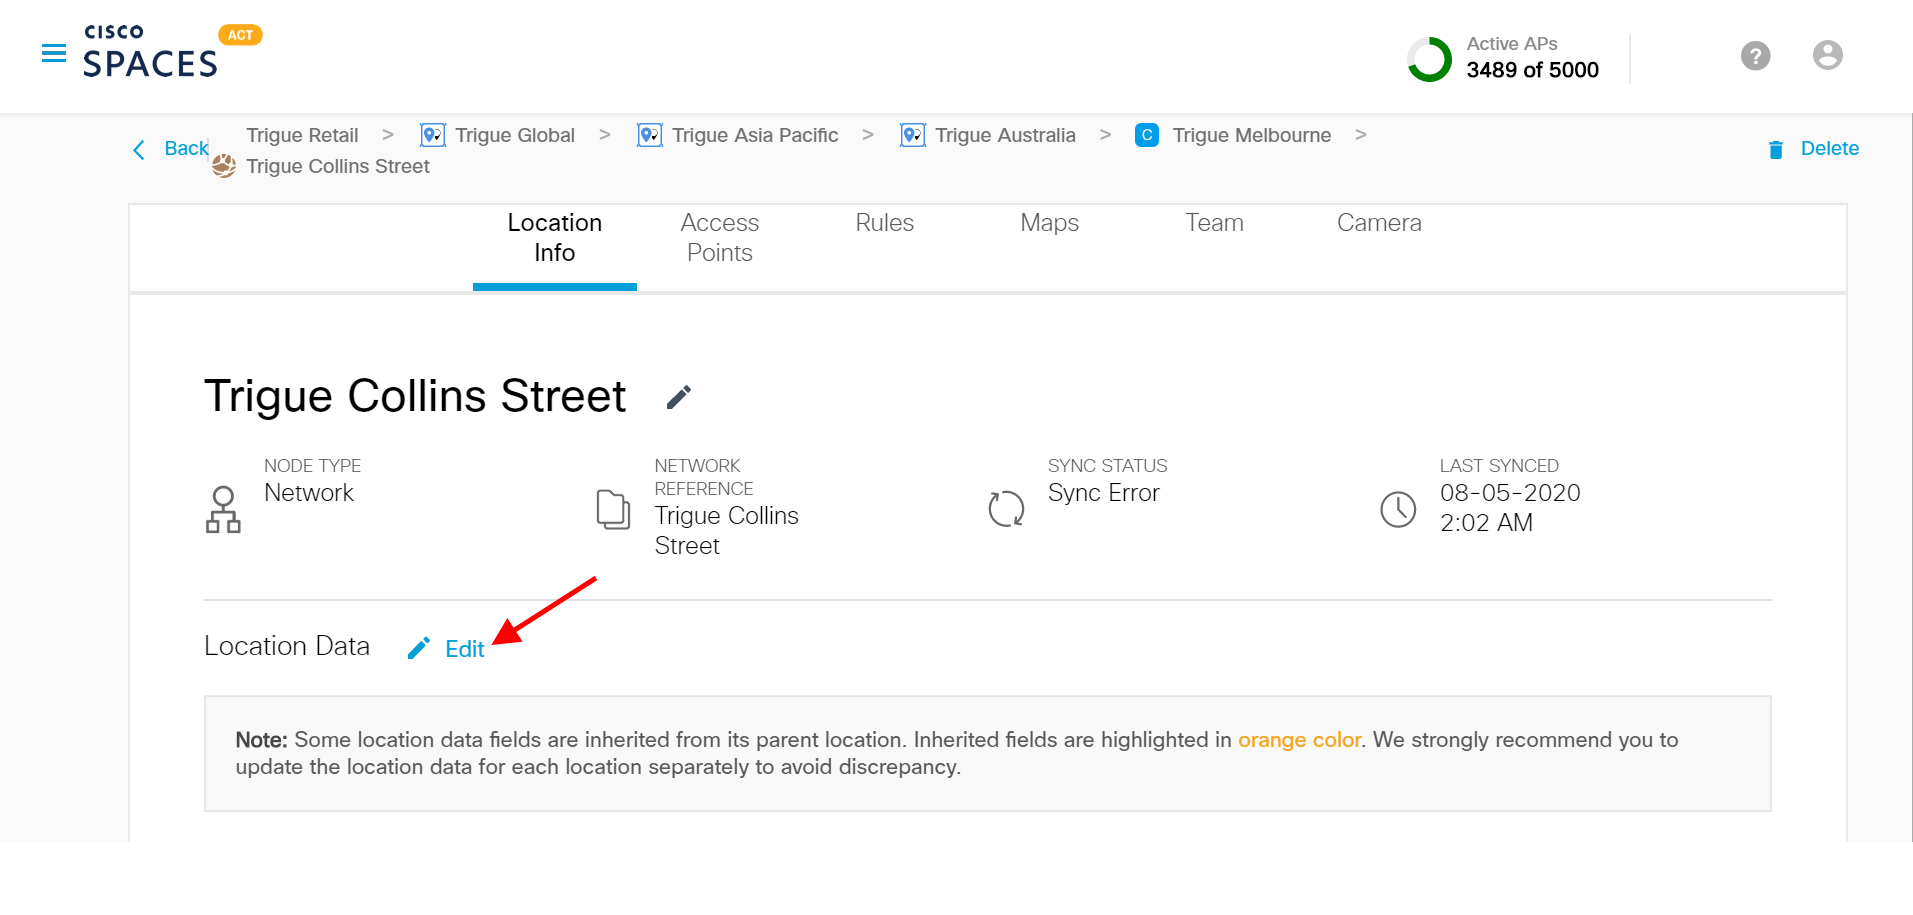
Enter Location Info such as Brand Name, Country, City, Address, Timezone, area units in Sq. Ft/Sq. Mt and click Update.